
Did you know that over 2 billion corn-based dishes are prepared in American kitchens each year? Many home cooks are discovering that traditional favorites can be made healthier without losing authentic flavors.
This guide reveals how to create delicious homemade versions using a simple ingredient swap. By choosing vegetable-based alternatives, you can achieve the same wonderful texture that makes these dishes so special.
Whether you’re preparing your first batch or looking for a lighter option, this method delivers perfect results every time. The technique works beautifully for various dietary preferences while maintaining the tender quality that defines authentic Mexican cooking.
You’ll learn professional tips and insider secrets that transform your kitchen experience. Imagine serving restaurant-quality creations that impress family and friends with minimal effort.
Key Takeaways
- Healthier alternative to traditional preparation methods
- Maintains authentic flavor and texture despite ingredient changes
- Suitable for various dietary preferences including vegan options
- Simple technique that works for both beginners and experienced cooks
- Delivers consistent, professional-quality results at home
- Uses readily available ingredients for easy preparation
- Perfect for creating memorable meals for family gatherings
Introduction to a Delicious Tamale Masa Recipe
Corn has been at the heart of Mesoamerican cuisine for millennia, with preparation methods transforming over generations. Ancient cooks created these wrapped delights without any added fats, relying solely on corn’s natural qualities.

What Makes This Recipe Unique?
This approach stands out by using a plant-based alternative to traditional pork fat. The result is a lighter, healthier version that maintains authentic texture and taste.
What’s remarkable is how this adaptation preserves the essential qualities that make these dishes special. The corn dough achieves perfect fluffiness while being suitable for various dietary preferences.
You get all the richness without compromising on flavor or accessibility. This makes the preparation welcoming for everyone at the table.
Overview of Traditional vs. Modern Techniques
Traditional methods typically involve whipping animal fat until light and airy. This technique developed over centuries to enhance the corn mixture’s texture.
Modern approaches reflect evolving culinary preferences and health awareness. Contemporary cooks have discovered that vegetable-based alternatives work beautifully.
The evolution from ancient fat-free preparations to today’s options shows how cuisine adapts while honoring tradition. This balance between heritage and innovation creates exciting possibilities for home cooks.
Essential Ingredients for Authentic Tamale Masa
Selecting proper corn products makes all the difference when creating authentic homemade versions of this classic dish. The right combination of simple elements transforms basic pantry items into something truly special.
Masa Harina and Corn Flour Explained
Masa harina forms the foundation of traditional corn dough. This special flour comes from nixtamalized corn treated with an alkaline solution. The process enhances nutritional value and creates authentic flavor.
While both masa harina and corn flour work, they produce different results. Masa harina designed for tortillas creates smoother, fluffier textures than coarser corn flour labeled for tamales.
Trusted brands like Maseca, Bob’s Red Mill, and King Arthur offer reliable options. Premium choices like Masienda’s heirloom corn masa harina deliver exceptional quality.
The Role of Oil, Baking Powder, and Salt
Vegetable-based oil replaces traditional animal fats while maintaining richness. It adds moisture and prevents dense textures during cooking.
Baking powder acts as a leavening agent. It creates tiny air pockets for lighter results. Though optional, it significantly improves the final product.
Salt enhances natural corn flavors and balances richness. Proper seasoning before cooking ensures perfect taste since some flavor dissipates during steaming.
These five simple ingredients create authentic corn dough that rivals traditional preparations. Understanding their roles ensures culinary success every time.
Tools and Techniques for Perfect Masa Dough
Your approach to combining ingredients plays a crucial role in achieving the ideal texture for traditional wrapped dishes. The equipment you select and your mixing technique determine both the process efficiency and final quality.
Hand Mixing vs. Stand Mixer
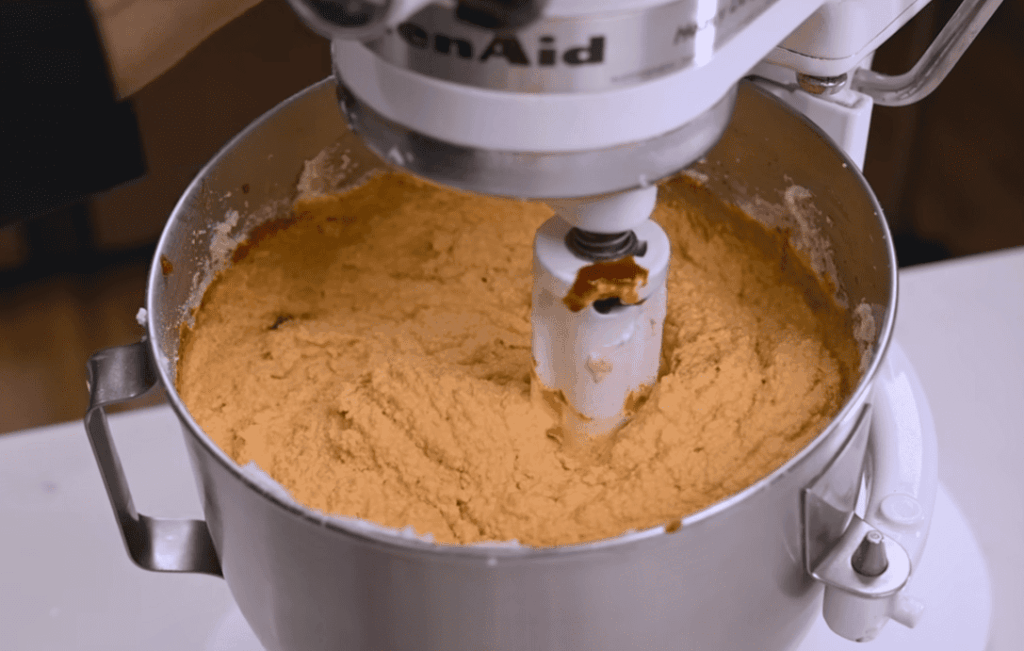
Modern kitchen tools offer wonderful flexibility for preparing your corn mixture. A sturdy stand mixer provides excellent power for thorough blending without arm fatigue.
This appliance handles thick batters efficiently. Many home cooks prefer brands like KitchenAid for their reliable performance.
Traditional hand mixing remains a valid option for those who enjoy the process. Using a large bowl and wooden spoon creates authentic results through personal effort.
Achieving the Right Consistency
The perfect dough should resemble smooth peanut butter in texture. This creamy quality ensures easy spreading without tearing delicate wrappers.
Test your mixture by scooping a small portion. It should hold its shape while remaining spreadable.
If the consistency feels too thick, gradually add liquid one tablespoon at a time. For mixtures that are too thin, incorporate small amounts of dry ingredients until balanced.
Proper texture makes assembly straightforward and guarantees tender, moist results. Taking time to achieve this ideal state pays dividends in final quality.
How to Make Tamale Masa Recipe With Oil
Let’s dive right into the hands-on process of creating your corn dough. Following these clear steps will lead you to a perfectly textured base for your homemade creations.
Step-by-Step Directions
First, gather your components. You will need one pound of masa harina, baking powder, salt, three-quarters of a cup of vegetable-based fat, and three to five cups of vegetable broth.
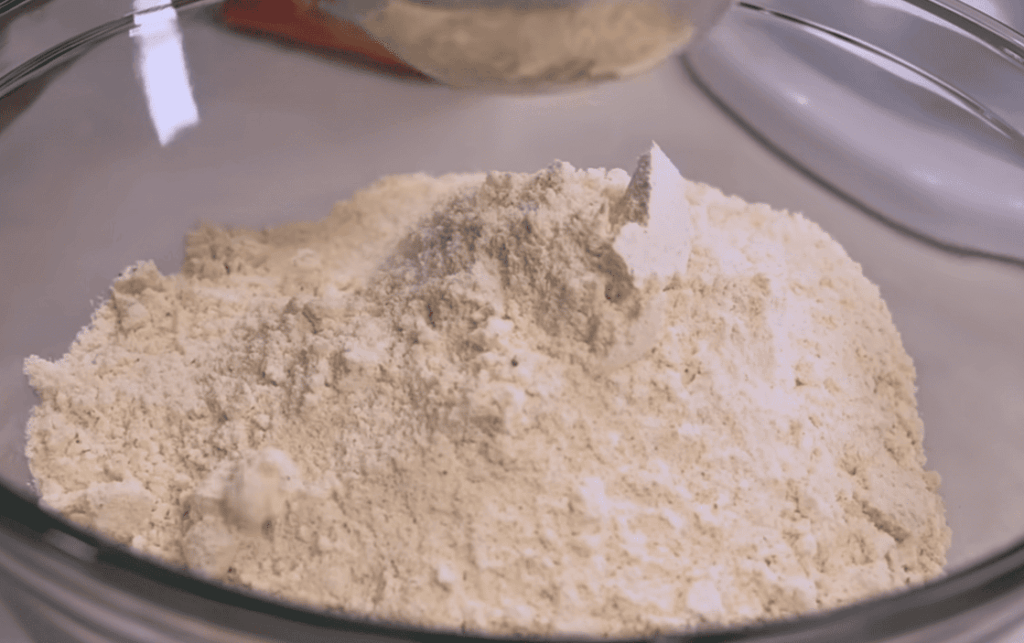
In a very large mixing bowl, combine the dry ingredients. Use your hands or a whisk to blend them evenly. This ensures the leavening agent and seasoning are distributed throughout the flour.
Next, form a well in the center of your dry mixture. Pour in the fat and about one cup of broth. Begin blending on a low speed to incorporate the liquids without making a mess.
Gradually increase your mixer’s speed while slowly adding more broth. Stop occasionally to scrape the bowl‘s sides. The goal is a tender consistency that feels like smooth peanut butter.
The total amount of liquid needed can vary. Drier climates might require the full five cups, while humid areas may need less. This recipe yields enough for a generous family meal.
Finally, taste your dough and adjust the salt lightly, as some flavor mellows during cooking.
Preparing Your Masa: Tips and Tricks
The secret to perfect corn dough lies in how you bring together the dry and wet components. Proper technique ensures the ideal consistency for spreading and cooking.
Mixing Dry and Liquid Ingredients
One crucial factor is temperature. Ensure all components are at room temperature before starting. Cold liquids can hinder proper absorption and affect the final texture.
Begin by combining your dry mixture in a large bowl. Pour in the fat and about two cups of broth. Let this sit for approximately 15 minutes.
This resting period allows the flour to fully hydrate. The liquid permeates evenly, creating a smoother, more cohesive dough.
Start kneading using your preferred method—hands, wooden spoon, or mixer. Add more broth gradually while continuing to blend.
If your mixture resembles wet sand that crumbles easily, it needs more liquid. Incorporate tiny increments of broth while mixing continuously.
Patience is essential during this process. Add liquid gradually rather than all at once. This prevents the dough from becoming too wet or soupy.
Scrape the bowl’s sides frequently during mixing. This ensures no dry pockets remain, creating consistent texture throughout.
When mixing by hand, use a folding and pressing motion similar to kneading bread. This develops the structure while distributing ingredients evenly.
Remember that hydration continues even after mixing. If not using immediately, cover with a damp towel to prevent surface drying.
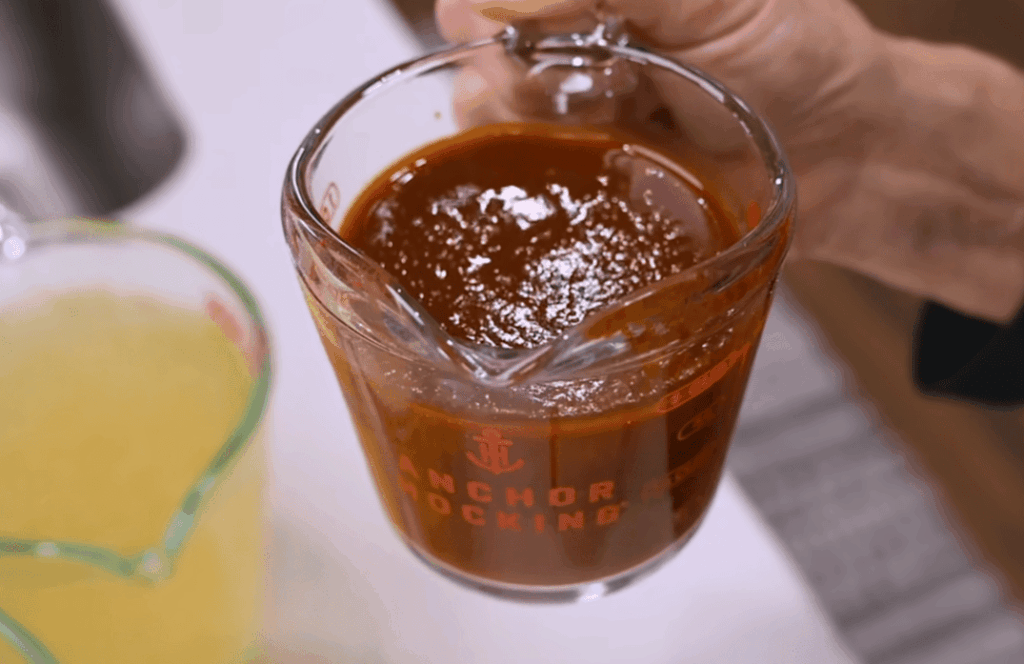
Choosing the Best Oil for Your Recipe
The type of fat you select can dramatically influence both the texture and taste of your final creation. Neutral-flavored options allow the corn and filling components to shine through without competition.
Canola and standard vegetable oils remain popular choices for their affordability and mild character. These options provide the necessary richness while maintaining a clean flavor profile.
Avocado oil offers a premium alternative with health benefits and a subtle, buttery quality. It works beautifully with both savory and sweet variations.
Some cooks enjoy using olive oil for its distinctive taste, though it can impart a slight green tint. This becomes a matter of personal preference rather than a strict rule.
Coconut varieties generally aren’t recommended due to their strong, sweet flavor that may clash with traditional seasonings. The unrefined version particularly carries this characteristic.
Always measure the full three-quarters cup as specified for proper texture and moisture balance. This careful measurement ensures consistent results every time.
Understanding the Science Behind Masa Hydration
The hydration process for traditional corn dough is more scientific than many home cooks realize. Environmental conditions dramatically affect how dry ingredients absorb liquid components.
Consistency and Texture Considerations
Achieving the perfect spreadable quality requires understanding starch behavior. When corn flour meets broth, starches swell and create the desired smoothness.
The ideal dough should feel like creamy peanut butter. This texture ensures easy spreading without tearing delicate wrappers during assembly.
Adjusting Broth Levels Based on Humidity
Kitchen humidity significantly impacts liquid requirements. In moist climates, corn flour absorbs less broth due to ambient moisture.
Drier environments demand more liquid—sometimes up to five cups. The key is gradual addition while monitoring consistency closely.
Seasonal changes also affect hydration needs. Summer humidity may require less broth than winter’s dry air.
Always start with the minimum suggested amount and add incrementally. This approach prevents over-hydration and ensures perfect results regardless of location.
Adapting Your Recipe for Healthier Options
The beauty of contemporary cooking lies in its flexibility to accommodate diverse dietary needs while maintaining cultural authenticity. This approach allows traditional dishes to evolve while preserving their essential character.
Many home cooks discover that simple ingredient swaps can transform classic preparations. These changes make beloved foods accessible to everyone at the table.
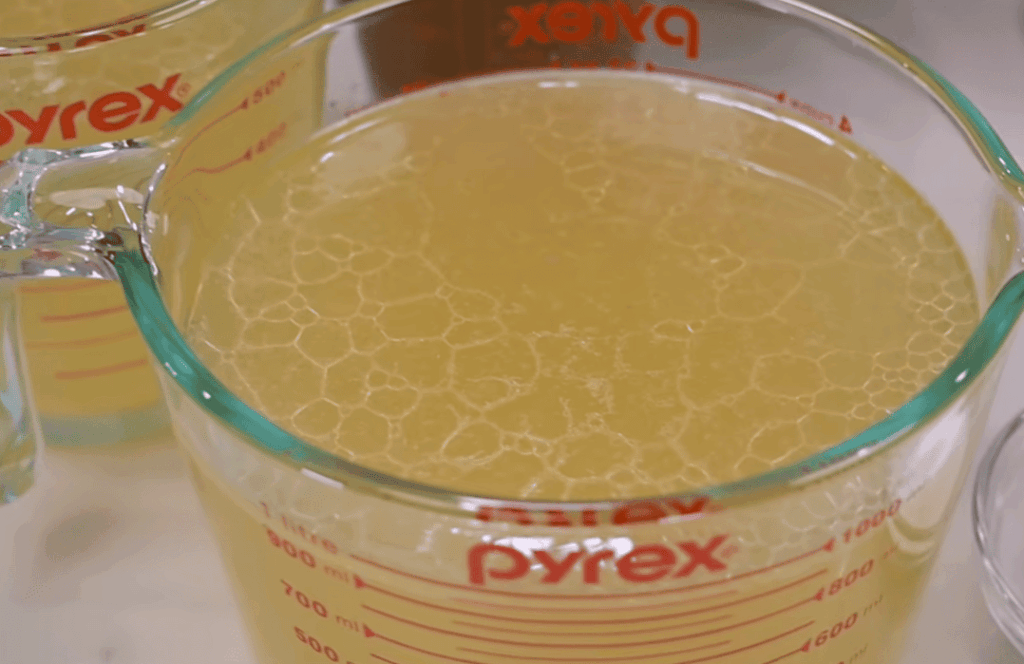
Using Vegetable Broth for Vegan Tamales
Traditional preparations often include chicken broth even when using plant-based fats. Switching to vegetable broth creates completely vegan options without compromising flavor.
This simple substitution works beautifully. High-quality vegetable stock provides rich, savory notes that complement the corn base perfectly.
The result is a lighter, healthier version that maintains authentic texture. This adaptation significantly reduces saturated fat compared to traditional methods.
Choose a well-seasoned vegetable broth or make your own. Simmer vegetables, herbs, and spices for a deeply flavorful base. This ensures your plant-based creation tastes satisfying and authentic.
Whether following a vegan lifestyle or simply exploring healthier eating, this approach delivers excellent results. The same batch of dough can accommodate both plant-based and traditional fillings.
Creative Filling Ideas for Your Tamales
Personalizing the heart of your homemade delights begins with selecting flavors that speak to your taste preferences. The interior components transform simple corn dough into extraordinary culinary experiences.
Whether you prefer classic savory options or adventurous sweet creations, the possibilities are endless. Each filling brings its own character to the final dish.
Traditional Savory Fillings
Classic savory options remain popular for good reason. Shredded chicken combined with tangy salsa verde creates a timeless favorite.
Other traditional choices include slow-cooked pork in rich red sauce or tender beef in guajillo sauce. Vegetarian lovers enjoy bean and cheese combinations or roasted pepper variations.
“The best fillings balance moisture and flavor without overwhelming the corn base.”
Sweet and Unique Variations
Dessert versions open up creative possibilities. Think cinnamon-raisin combinations or fresh fruit like strawberries and pineapple.
Chocolate chips or dulce de leche create indulgent treats. Fusion flavors like breakfast-style options with eggs offer exciting twists.
| Filling Type | Popular Combinations | Flavor Profile | Best For |
|---|---|---|---|
| Traditional Savory | Chicken with salsa verde, Pork in red sauce | Rich, spicy, authentic | Family gatherings |
| Vegetarian Options | Bean and cheese, Roasted peppers | Creamy, mild, versatile | Dietary preferences |
| Sweet Variations | Cinnamon-raisin, Fruit-filled | Sweet, aromatic, dessert-like | Special occasions |
Remember to use about 2 tablespoons of filling per piece. Shape it into a rectangular log for even distribution. Avoid overly wet sauces to prevent sogginess.
Your creative fillings will make each batch uniquely yours. Experiment with different combinations to discover personal favorites.
Incorporating Authentic Mexican Techniques
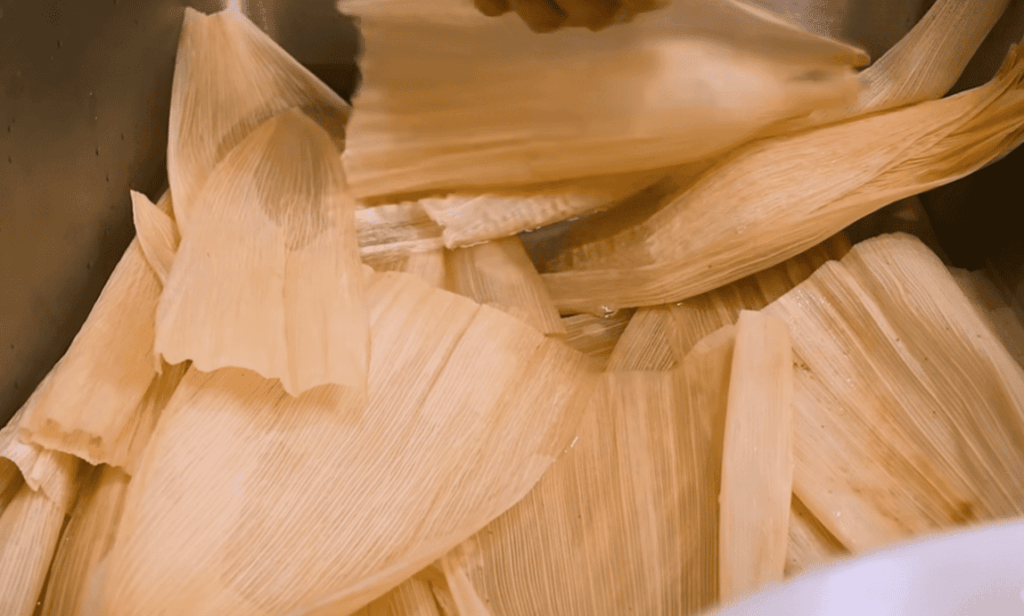
Proper preparation of natural wrappers is the first step toward creating authentic homemade delicacies. Traditional Mexican kitchens begin by rehydrating dried corn husks, which serve as the perfect natural containers.
Preparing Corn Husks and Other Essentials
Start by placing your dried corn husks in a large stockpot or Dutch oven. Cover them completely with warm water to begin the softening process.
Since corn husks naturally float, you’ll need to weigh them down with something heavy. A plate or pot lid works perfectly to keep them fully submerged.
Allow the husks to soak for at least 40 minutes. They should become soft and pliable, ready to fold without cracking. Longer soaking times won’t harm them.
While your corn husks are soaking, this is the ideal time to prepare other components. This makes the assembly process smooth and efficient once everything is ready.
When you’re ready to assemble, lay one corn husk on your cutting board. Position the wide end toward you with the smooth side facing upward.
Authentic Mexican cooks often use torn strips of corn husks as natural ties. Some traditional methods include adding a small olive or bay leaf for extra flavor.
Taking time to properly prepare your corn husks ensures your creations will be authentically delicious. They’ll hold together perfectly during the steaming process.
Assembling Your Tamales: A Detailed Guide
Proper assembly is the bridge between prepared components and finished homemade delicacies. This stage brings everything together in a satisfying creative process.
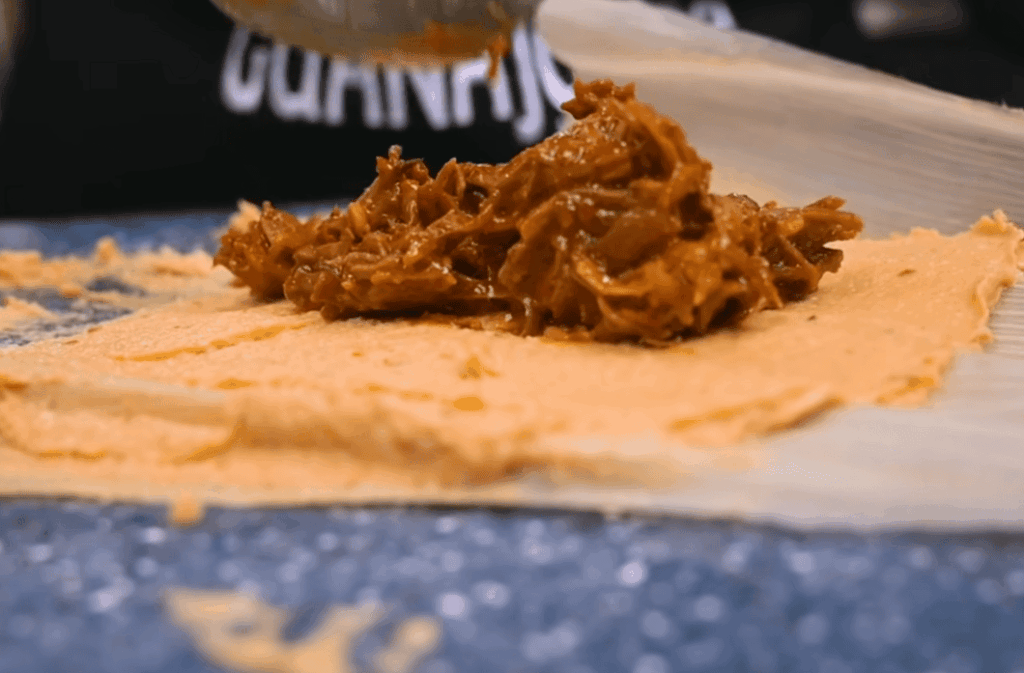
Spreading the Masa on Corn Husks
Begin by placing one prepared corn husk on your work surface. Position the wide end toward you with the smooth side facing upward.
Add about ¼ cup of corn dough to the center of the bottom half. A large cookie scoop makes this step much easier and ensures consistent portions.
Spread the mixture outward into a square shape. Leave about ½ to 1 inch of border around the edges. This prevents the interior components from leaking out during cooking.
You can use wet fingers, a spatula, or even a putty knife for spreading. Experiment to find what feels most comfortable for your technique.
Folding and Tying Techniques
Add approximately 2 tablespoons of your chosen interior to the center. Shape it into a rectangular log running down the middle.
Fold one long side inward to cover the center portion. Then bring the opposite side over to overlap, similar to folding a brochure.
Next, fold the narrow bottom end upward toward the center. This creates a secure packet with the top remaining open.
Secure each package by tearing thin strips from soaked corn husks. Alternatively, use kitchen twine wrapped around the center. Position them with open ends up for steaming.
Steaming and Cooking Your Tamales Perfectly
The final transformation from raw ingredients to finished delicacies happens during the cooking stage. Gentle steaming preserves the delicate texture while ensuring thorough cooking.
This method keeps everything moist and prevents drying out. The slow heat penetration creates perfect results every time.
Effective Steaming Methods
Traditional steaming requires careful setup. Add water to your stockpot, keeping it below the steamer basket level.
Arrange your creations standing upright with openings facing upward. This positioning allows proper steam circulation.
Bring the water to boiling, then reduce to a steady simmer. Cover with a tight-fitting lid for consistent heat.
Modern cooks can use pressure cookers for faster results. The Instant Pot method cuts cooking time significantly.
Monitoring Cooking Time and Texture
Traditional steaming takes approximately 45 minutes. Check periodically to ensure water hasn’t evaporated.
Add hot water if needed to maintain steam production. The consistent moisture is crucial for proper texture.
Test for doneness by carefully removing one piece. The wrapper should peel away cleanly when ready.
If the dough remains sticky, continue cooking for five more minutes. Repeat testing until perfect texture is achieved.
Pressure cooking reduces the time to 25 minutes on high pressure. Allow natural pressure release for ten minutes before quick release.
Proper cooking ensures firm yet tender results. The interior should be fully cooked without gumminess.
Storing and Reheating Leftover Masa
Many families discover that preparing components in advance streamlines their cooking experience. This approach saves valuable time when you’re ready to assemble your final creations.
Proper Short-Term and Long-Term Storage
For immediate future use, place your prepared corn mixture in an airtight container. Store it in the refrigerator for up to three days.
When ready to use, remove the container about thirty minutes beforehand. Let the contents reach room temperature for optimal spreading consistency.
If the mixture feels dry after refrigeration, add a tablespoon of broth. Mix gently to restore the smooth, spreadable texture.
For longer preservation, freezing works beautifully. Place the corn dough in freezer-safe containers or bags.
Cover the surface with plastic wrap before sealing the lid. This extra step prevents freezer burn effectively.
Frozen corn mixture maintains quality for about three months. Thaw it gradually in the refrigerator overnight.
Don’t worry if thawed dough appears crumbly at first. This texture change is completely normal after freezing.
Let the thawed mixture sit covered at room temperature. After about an hour, gently knead it back to perfect consistency.
Proper storage methods ensure your prepared dough stays fresh and ready. This planning makes your cooking process smoother and more enjoyable.
Bringing It All Together for Authentic Homemade Tamales
Creating a memorable meal is about more than just following steps. It’s about the joyful experience of bringing people together.
Your final assembly becomes smooth with practice. Set up a dedicated station with your corn dough, fillings, and husks within easy reach.
Final Assembly and Serving Suggestions
Many families turn preparation into a social event called a tamalada. Friends and family gather, sharing stories and laughter while working as a team.
After steaming, let your creations rest for 5-10 minutes. This allows the texture to firm up, making them easier to handle.
To serve, simply remove the inedible corn husks. Place the warm delights on a plate for everyone to enjoy.
Traditional garnishes elevate the flavor beautifully. Consider these classic options for your homemade tamales.
| Topping Category | Specific Suggestions | Flavor Impact |
|---|---|---|
| Savory & Creamy | Mexican crema, crumbled queso fresco | Adds richness and cool contrast |
| Spicy & Fresh | Salsa verde, pickled jalapeños, fresh cilantro | Provides heat and bright, herbal notes |
| Complete Meal Sides | Mexican rice, refried beans | Creates a festive and satisfying feast |
The beauty of learning to make tamale dishes at home is total customization. You control the filling, size, and toppings to create exactly what your family loves.
Conclusion
You have now mastered a fantastic technique for creating delicious homemade treats. This method offers a wonderful alternative that is both healthier and incredibly satisfying.
The journey from simple ingredients to a complete meal is truly rewarding. You learned how to blend masa harina with oil to create the perfect dough. This foundation opens the door to countless delicious possibilities.
Remember the key measurements: four cups of flour, three-quarters of a cup of fat, and broth as needed. Your first batch is a learning experience. Practice will make your skills even better.
Share your creations and start new traditions. The joy of making these from scratch is a gift you can give to family and friends. Enjoy every delicious bite of your culinary success!