Did you know that over 4 million tamales are consumed daily across the United States? This staggering number shows just how deeply this traditional dish has woven itself into American culinary culture.
Welcome to your complete guide for creating authentic homemade delights using fresh seasonal ingredients. We’ll walk you through every step of the process, from selecting the perfect produce to achieving that ideal fluffy texture that makes these creations so special.
Whether you’re new to this cooking method or looking to refine your technique, our approach provides clear instructions that make the process enjoyable for home cooks of all skill levels. These seasonal treats celebrate the sweetness of fresh ingredients while offering a lighter alternative to traditional meat-filled versions.
Throughout this guide, you’ll learn tips and techniques that ensure your results turn out perfectly every time. By the end, you’ll have the confidence to make these delicious creations for family gatherings or whenever you’re craving authentic comfort food.
Key Takeaways
- Master the complete process from ingredient selection to final preparation
- Learn techniques for achieving the perfect fluffy texture
- Discover how seasonal ingredients enhance flavor naturally
- Gain troubleshooting advice to avoid common pitfalls
- Create a lighter alternative to traditional meat-filled versions
- Build confidence to prepare these for special occasions
- Enjoy authentic flavors with clear, approachable instructions
Introduction and Recipe Background
The rich history of these steamed delicacies spans generations and cultural celebrations. Understanding their origins helps appreciate why they remain so cherished in Mexican cuisine today.
The Story Behind Tamales
These wrapped bundles have been central to Mexican food culture for centuries. Families traditionally gather during holidays and special events to prepare large batches together.
The process itself becomes a bonding experience. Multiple generations often participate, sharing techniques and stories while creating these delicious creations.
Why This Recipe Stands Out
This approach simplifies the traditional method while preserving authentic flavors. It reduces the time commitment significantly without sacrificing quality.
Home cooks can achieve restaurant-quality results with clear, tested instructions. The focus remains on fresh ingredients and balanced taste profiles.
| Feature | Traditional Preparation | This Approach |
|---|---|---|
| Time Commitment | Several hours to full day | Under 2 hours |
| Skill Level Required | Advanced kitchen experience | Beginner-friendly |
| Flexibility | Fixed traditional methods | Adaptable to preferences |
The versatility allows for customization with different fillings and spice levels. This makes Mexican food more accessible to home cooks of all experience levels.
Ingredients and Essential Tools
The foundation of any great dish lies in choosing the proper elements and having the right tools at hand. This approach ensures your cooking experience stays enjoyable from start to finish.
Key Ingredients Overview
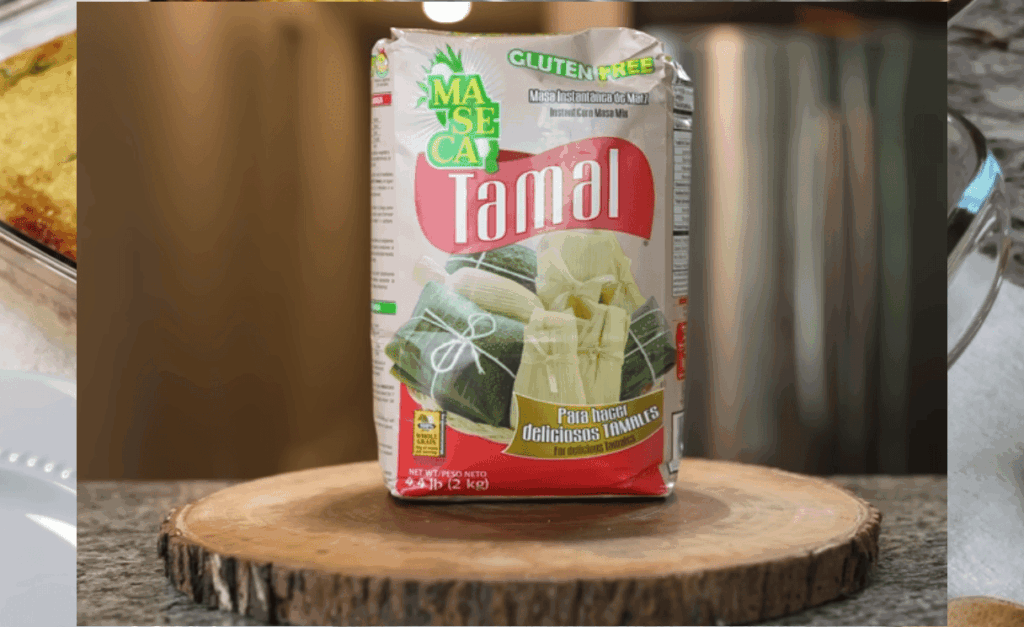
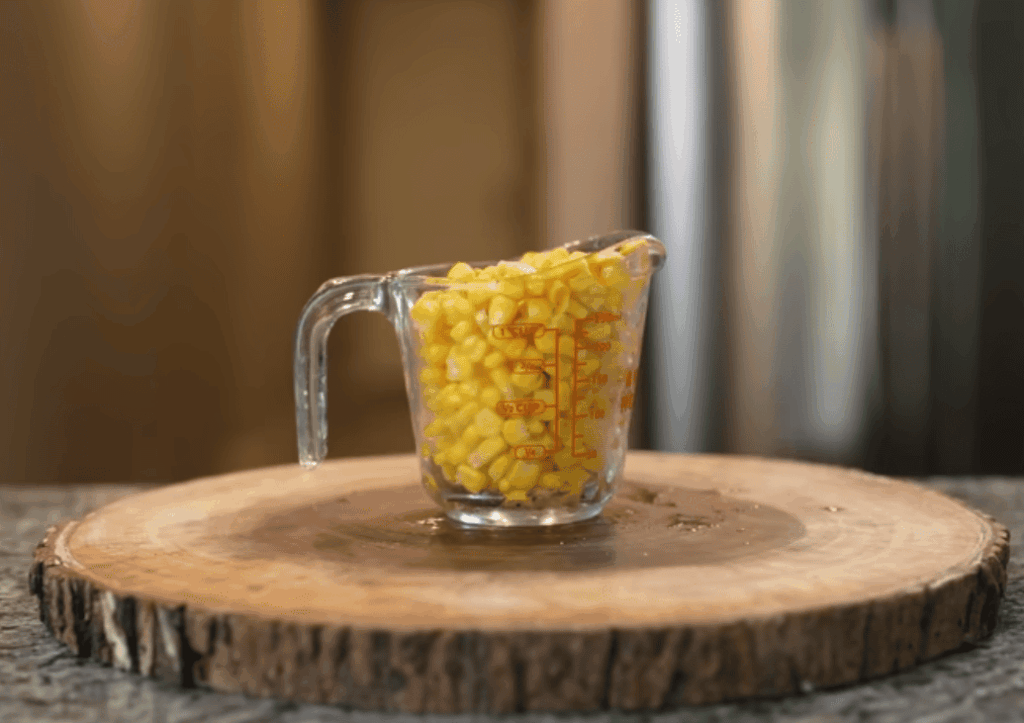
Fresh sweet corn provides the signature flavor in this preparation. For a traditional approach, masa harina creates the perfect dough consistency. Look for Maseca brand in the Mexican food aisle.
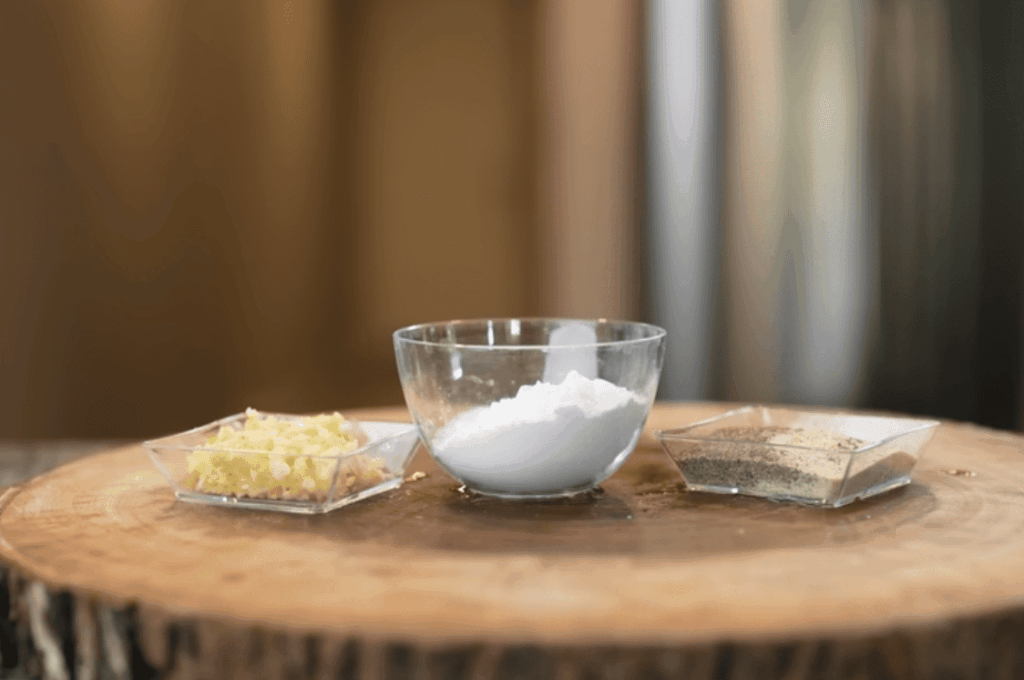
Butter or vegetable shortening work well for the fat component. Each creates slightly different textures. Shredded cheddar or Monterey Jack cheese distributes evenly throughout the mixture.
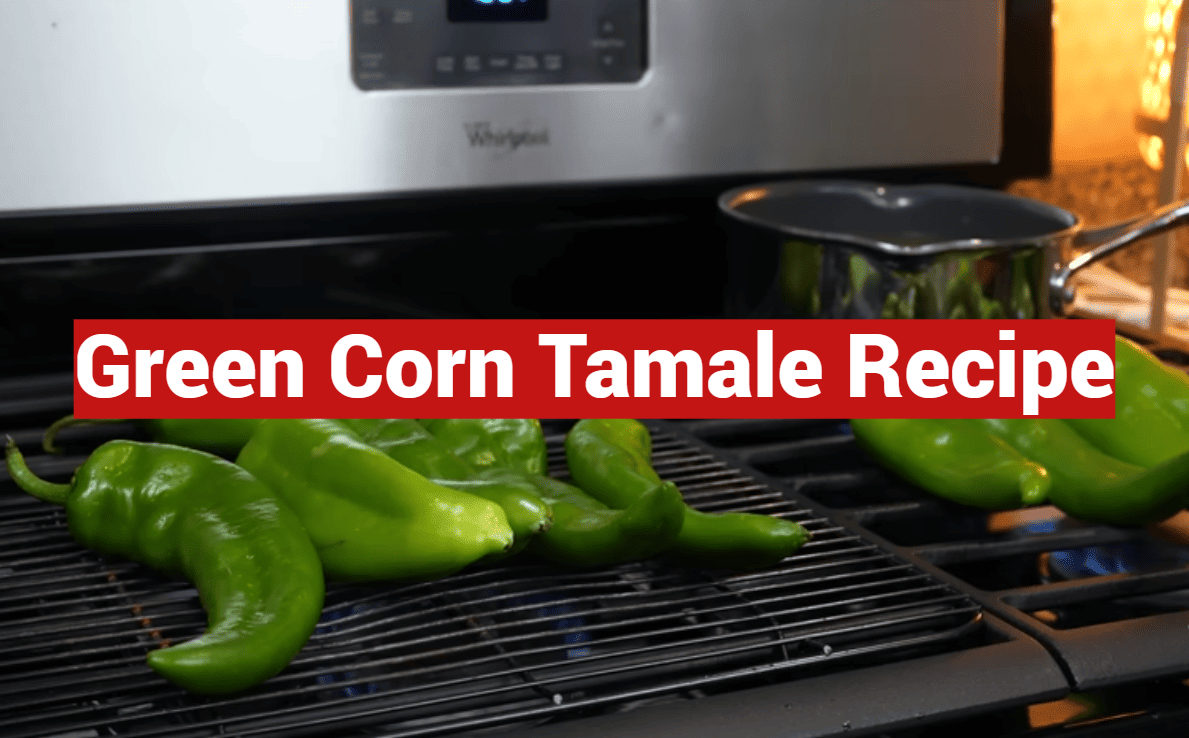
Green chiles add mild heat and complexity. You can use canned varieties or roast fresh peppers. Dried corn husks are essential for wrapping and create authentic results.
Don’t forget seasonings like salt and a touch of sugar. These balance the natural sweetness. Vegetable broth helps achieve proper dough consistency.
Must-Have Kitchen Equipment
A food processor quickly grinds fresh kernels to the right texture. This saves significant preparation time compared to manual methods.
A stand mixer or hand mixer creates light, fluffy dough. Proper mixing ensures the ideal final consistency. You’ll notice the difference in texture.
A large steamer basket fits inside a tall pot with a tight lid. This setup provides even cooking. The steam circulates properly around each piece.
Having these tools ready makes the process smooth. You’ll focus on technique rather than searching for equipment.
Step-by-Step Preparation Process
Getting your ingredients ready is the first exciting step toward creating delicious homemade treats. This phase transforms simple components into something truly special through careful technique.
Preparing Corn Kernels and Masa
Start by trimming both ends from each ear. Carefully remove the outer layers and soak them in water for about two hours. This softening makes them flexible for wrapping.
Use a sharp knife to cut corn kernels from the cob. Scrape down with a spoon to extract the sweet “milk” and remaining bits. This adds moisture and flavor to your masa.
Process the corn kernels in a food processor until finely ground. The texture should be between smooth and slightly textured. This becomes your base dough.
If using masa harina, combine it with softened butter and salt. Blend until the mixture forms coarse crumbs. Gradually add vegetable broth while mixing continuously.
The final consistency should be light and fluffy like cookie dough. If too dry, add liquid slowly. If too wet, incorporate more masa harina.
Assembling the Tamales
Fold in shredded cheese and chopped green chiles at this stage. Distribute them evenly throughout the masa mixture. Every piece will have balanced fillings.
Rinse the soaked corn husks thoroughly to remove debris. Keep them wet as you work. Dry husk material tends to crack during wrapping.
Spread the prepared dough onto each softened husk. Leave adequate space for folding. Proper assembly ensures even cooking and perfect texture.
Steaming Techniques and Cooking Time
The steaming phase is where your wrapped creations achieve their final texture and flavor. This gentle cooking method ensures even heat distribution throughout each piece.
Using a Steamer or Pressure Cooker
For traditional stovetop steaming, place your prepared bundles upright in a steamer basket. The basket should sit in the bottom of a large pot with enough space between items.
Arrange them with open ends facing upward. This allows steam to circulate freely. Avoid overcrowding the pot for best results.
Pressure cookers offer a faster alternative. They reduce cooking time significantly while maintaining quality. The sealed environment creates intense steam quickly.
Managing Water Level and Heat
Proper water management prevents burning and ensures consistent steam. Add hot water until it just touches the basket’s bottom.
Bring the water to a boil over medium-high heat. Then reduce to a steady simmer. Check the water level every 15-20 minutes.
Add more hot water as needed without lifting the lid completely. This maintains the steam temperature inside the pot.
| Method | Cooking Time | Water Level Check | Best For |
|---|---|---|---|
| Stovetop Steamer | 45-50 minutes | Every 15-20 minutes | Traditional preparation |
| Pressure Cooker | 22 minutes | Not needed | Quick results |
| Large Batch Cooking | 50-60 minutes | Every 10-15 minutes | Family gatherings |
Tips for Perfect Consistency and Flavor
The final quality of your creation depends heavily on mastering two key elements: consistency and seasoning. Small adjustments during preparation can dramatically improve both texture and taste.
Adjusting the Masa Mixture
Your dough should feel light and fluffy, similar to cookie dough consistency. If it spreads easily but holds its shape, you’ve achieved the perfect texture.
Fresh ingredients vary in moisture content. You may need more or less masa harina to achieve proper consistency. Wetter ingredients require additional flour to balance the mixture.
Don’t underestimate the importance of salt. It enhances flavor development and affects the final texture significantly.
Balancing Spices and Fillings
When working with chiles, start conservatively if you’re sensitive to heat. Remember that removing seeds reduces spiciness. You can always add more chile flavor on top when serving.
Distribute cheese and chiles evenly throughout the masa mixture. This ensures every bite has balanced flavor rather than concentrated spots.
Taste your raw masa before assembling. Adjust seasoning as needed since steaming will mellow the flavors. Aim for a slightly salty, well-seasoned base.
| Consistency Issue | Possible Cause | Solution |
|---|---|---|
| Too dry and crumbly | Insufficient liquid or over-mixing | Add broth gradually while mixing |
| Too wet and sticky | Excess moisture from ingredients | Incorporate more masa harina slowly |
| Dense texture | Insufficient air incorporation | Whip mixture longer on medium-high speed |
| Uneven flavor distribution | Fillings not mixed thoroughly | Fold ingredients evenly throughout masa |
Serving Suggestions and Storage Ideas
Creating delicious tamales is only half the journey – how you serve and preserve them completes the experience. Thoughtful presentation and proper storage ensure your homemade creations shine from the first meal to the last.
Pairing with Mexican Sides
Serve your freshly steamed tamales with classic Mexican accompaniments. A colorful side of Mexican rice and black beans creates a satisfying plate.
Offer various sauce options for customization. Enchilada sauce adds rich flavor, while fresh salsa provides brightness. Creamy guacamole balances the texture perfectly.
Consider adding a crisp cabbage slaw or chips with queso. These sides provide contrasting crunch to complement the soft masa.
Freezing and Reheating Best Practices
Allow your tamales to cool completely before storage. Rushing this step creates condensation that leads to freezer burn.
Place cooled tamales in their husks into freezer bags. Remove excess air and label with the date. They maintain quality for up to three months in the freezer.
Reheat frozen tamales by steaming for 20-30 minutes. This method preserves texture better than microwaving. For refrigerated leftovers, consume within four days.
Re-steam briefly or microwave with a damp paper towel to refresh the texture. Your homemade tamales will taste freshly made every time.
Mastering the Green Corn Tamale Recipe
Taking your kitchen expertise to the next level involves incorporating professional touches that distinguish amateur from expert results. Once you’ve perfected the basic preparation, these advanced methods will elevate your homemade creations significantly.
Advanced Techniques for Homemade Tamales
For truly exceptional flavor, roast your own poblano or Hatch peppers instead of using canned varieties. The smoky depth from freshly roasted green chiles adds complexity that canned versions can’t match.
Proper corn husk wrapping makes a noticeable difference in both appearance and cooking. Overlapping multiple husks creates secure packages that won’t leak during steaming.
The total preparation time for this approach typically takes about 1 hour 30 minutes for assembly plus 50 minutes cooking. This equals approximately 2 hours 20 minutes from start to finish.
Experiment with different cheese varieties to customize your corn tamales. Sharp cheddar provides tangy notes while Monterey Jack offers mild creaminess.
Adapting for Dietary Preferences
Creating delicious vegan tamales requires simple substitutions that maintain authentic flavor. Use plant-based butter and vegan cream cheese like Tofutti brand for dairy-free versions.
The vegan approach using fresh white corn produces incredibly creamy results. Many people can’t tell these plant-based creations contain no animal products.
For those avoiding dairy, either omit cheese entirely or use plant-based alternatives. The natural sweetness of fresh green corn shines through beautifully in these adaptations.
Your masa mixture will achieve perfect consistency with these substitutions. The final tamale retains its characteristic texture while accommodating dietary needs.
Conclusion
Family kitchens across America are rediscovering the joy of making these traditional wrapped bundles. Your homemade creations deliver authentic Mexican food that surpasses anything store-bought. This approach makes the process achievable for cooks of all levels.
You’ve mastered everything from preparing fresh corn kernels to achieving perfect dough consistency. The techniques for steaming and storage ensure delicious results every time. These skills will serve you for years to come.
The flexibility of this preparation is its greatest strength. Adjust cheese varieties, modify chiles heat, or create vegan versions while maintaining incredible flavor. Quality ingredients like masa harina, butter, and peppers create something truly special.
Don’t let the time commitment intimidate you. Much of the process involves hands-off steam time. The results yield multiple meals that freeze beautifully for future enjoyment.
This method joins treasured family recipes that bring people together. Simple combinations transform into memorable food experiences celebrating tradition and togetherness.