
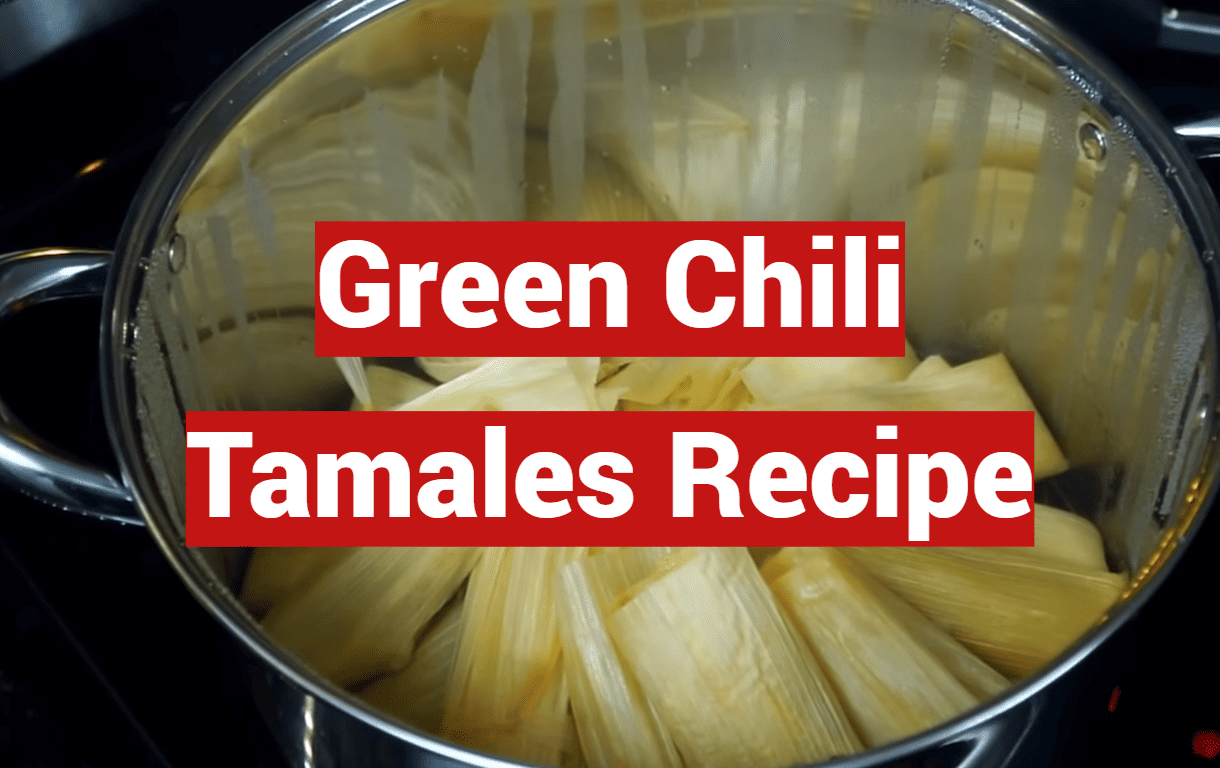
Did you know that during holiday seasons, families across the Southwest often make hundreds of these traditional dishes at once? This beloved Mexican creation brings people together in a way few other foods can match.
Welcome to your complete guide for crafting authentic tamales from scratch. You’ll discover how this cherished dish combines tender masa, savory filling, and vibrant sauce into one unforgettable meal. Our approach walks you through every step of the process.
Whether you’re celebrating a special occasion or simply craving comforting flavors, these creations deliver restaurant-quality results in your own kitchen. You’ll learn professional techniques for creating light, fluffy masa that melts in your mouth.
The combination of roasted tomatillos, peppers, and tender shredded meat wrapped in corn masa creates layers of flavor that make every bite worth the effort. Even if you’ve never made them before, this step-by-step guide breaks down what might seem intimidating into manageable steps.
This method is perfect for batch cooking since the finished products freeze beautifully. You can enjoy homemade versions whenever the craving strikes without repeating the entire process.
Key Takeaways
- Master the art of creating light, fluffy masa that perfectly complements the filling
- Learn professional techniques for achieving restaurant-quality results at home
- Discover how to prepare the tangy tomatillo sauce that gives this dish its signature flavor
- Gain confidence with step-by-step instructions that simplify the process
- Understand proper steaming methods to avoid dense or soggy results
- Learn batch cooking and freezing techniques for convenient future meals
- Create an authentic Mexican dish perfect for celebrations and family gatherings
Introduction to Green Chili Tamales
The art of crafting these steamed delicacies represents more than just cooking—it’s a cultural ritual passed through generations. Each step connects modern kitchens to ancient traditions.
What Are Green Chili Tamales?
These traditional creations feature corn masa dough wrapped around savory fillings. The masa gets steamed inside softened corn husks that infuse subtle corn flavor.
What makes the green version special? Tomatillos and fresh peppers create a brighter, tangier taste compared to earthier red versions.
| Feature | Green Chile Version | Red Chile Version |
|---|---|---|
| Flavor Profile | Bright and tangy | Deep and earthy |
| Key Ingredients | Tomatillos, green peppers | Dried red chiles |
| Texture | Lighter masa | Heartier consistency |
The Allure of Authentic Mexican Cuisine
These dishes hold special meaning in Mexican celebrations. Families often prepare them for holidays and gatherings where treasured recipes get shared.
“Making them together turns kitchen work into cherished family time. The process becomes as important as the final result.”
The difference between homemade and store-bought versions is remarkable. This explains why people dedicate a whole day to mastering this craft. The results become family heirlooms worth preserving.
Essential Ingredients and Tools
Before the assembly process begins, careful selection of core elements ensures your final creation meets authentic standards. Having the right foundation makes the difference between good results and exceptional ones.
Key Ingredients: Corn Husks, Masa Harina & Green Chilies
The foundation starts with quality masa harina, which is specially treated corn flour. This differs from regular corn meal because it undergoes nixtamalization, creating authentic masa that holds together beautifully.
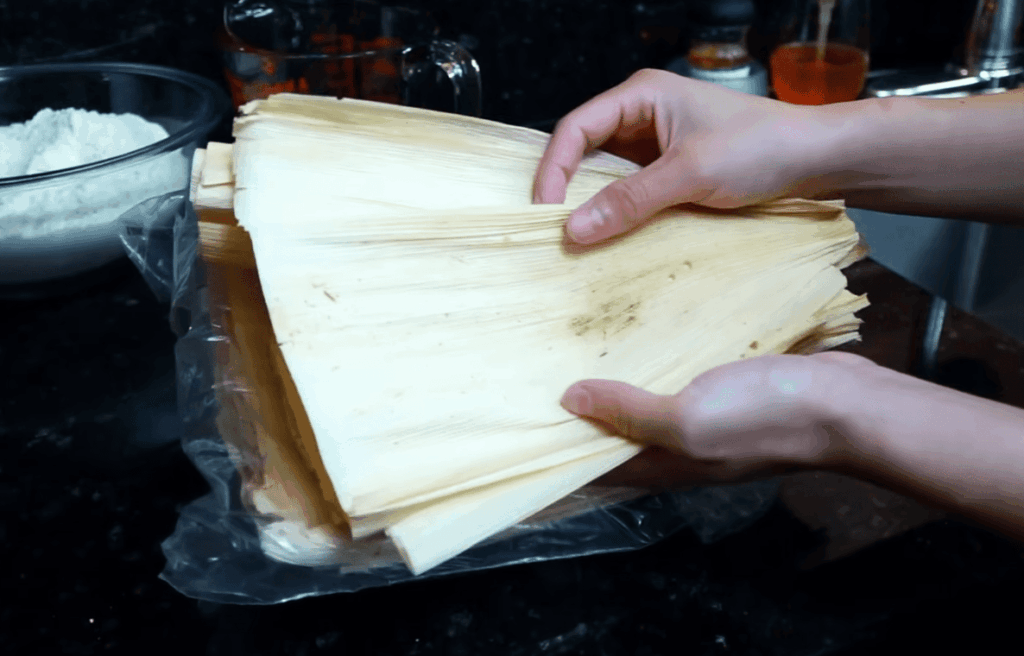
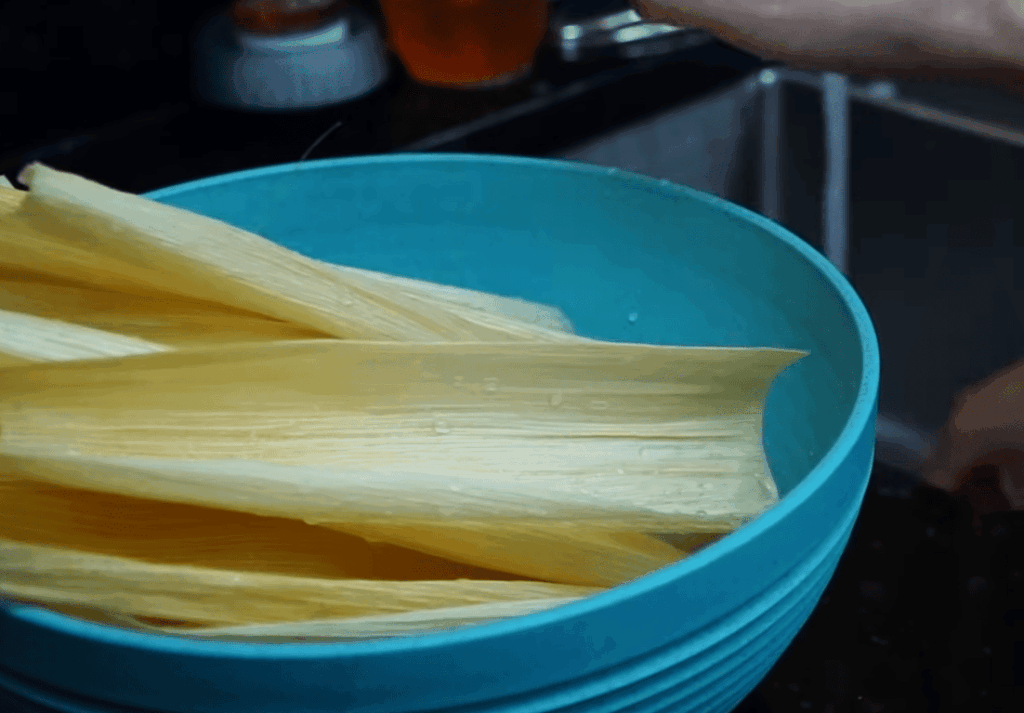
Corn husks serve as both wrapper and cooking vessel. They need thorough soaking for at least three hours until pliable. Dry corn husks will crack during assembly.
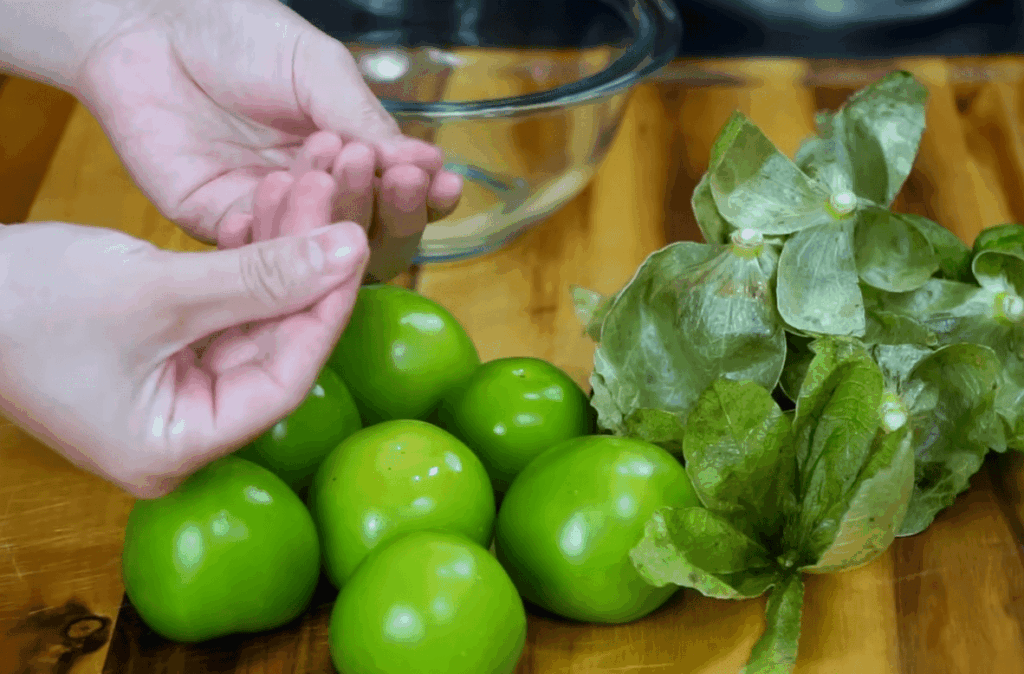
Fresh tomatillos should be firm with tight-fitting papery husks. Rinse them under warm water to remove the sticky coating before roasting. Green chiles provide signature flavor, with options ranging from mild to spicy.
For the masa dough, you’ll need baking powder and salt to create light texture. Fat like lard or vegetable oil gets whipped until creamy. Additional ingredients include broth, garlic, and your choice of protein like shredded chicken or cheese.
Must-Have Kitchen Tools
Essential equipment includes a large pot for soaking corn husks and a steamer setup. An electric mixer helps whip the masa to perfect consistency.
You’ll also want a food processor for pureeing sauces, kitchen gloves for handling hot chiles, and measuring tools for precision. Having the right ingredients and equipment sets you up for success from the start.
Step-by-Step Preparation Guide
The transformation from simple ingredients to finished delicacies begins with mastering two essential components. Getting both the masa and filling right ensures your final creation has perfect balance.
Preparing the Masa Dough
Start by whipping your chosen fat with salt and baking powder. Use an electric mixer on medium-high speed for about one minute. The mixture should become light and fluffy.
Add masa harina in three separate additions while continuing to beat. This technique helps the fat incorporate evenly throughout the dough. Gradually pour in broth while mixing on medium-low speed.
The float test determines if your masa has the right texture. Drop a half-teaspoon of dough into a cup of cold water. If it floats, you’ve achieved the perfect consistency for tender results.
Creating the Savory Filling
Roast tomatillos cut-side down under the broiler. Allow about five minutes per side until they develop blackened spots. This process releases flavorful juices.
Transfer the roasted tomatillos to a food processor. Add seeded chiles and garlic cloves. Process until you have a smooth, vibrant green puree.
Heat oil in a saucepan over medium-high heat. Add the puree carefully—it will sizzle. Stir constantly for approximately five minutes as the mixture thickens and darkens.
Pour in broth and simmer for at least ten minutes. The sauce should coat the back of a spoon heavily. Stir in your cooked meat and fresh cilantro before cooling completely.
Soaking and Preparing Corn Husks
Many home cooks overlook the importance of corn husk preparation, but this step can make or break your entire cooking process. Properly softened corn husks create the perfect wrapper that holds everything together during steaming.
Inadequate preparation leads to cracked, torn husks that make assembly frustrating. Taking the time to do this right ensures smooth, professional results.
Tips for Proper Soaking
Begin by placing dried corn husks in a large pot. Cover them completely with very hot water to start the rehydration process. This transforms brittle husks into flexible wrappers.
Weight the husks down with a heavy plate. This keeps them fully submerged since they naturally float. Any exposed portions won’t soften properly.
Allow the soaking process to continue for at least three hours. You can leave them in water for several hours or up to a full day. Longer soaking ensures every husk becomes completely pliable.
Flip the husks occasionally during this time. This ensures even hydration, especially with large batches. Some husks might not get equal exposure to the hot water.
Once sufficiently softened, drain the husks and pat them dry. Remove excess water that could make your masa too wet. Select the largest, most pliable husks measuring at least 6 inches across.
Tear extra husks into strips for tying. Keep these strips in water until ready to use. This maintains their flexibility for securing your creations.
Mastering the Green Chili Tamales Recipe
Proper folding technique separates amateur attempts from professional-quality results. This stage brings all your prepared components together into the final creation.
Following Expert Techniques
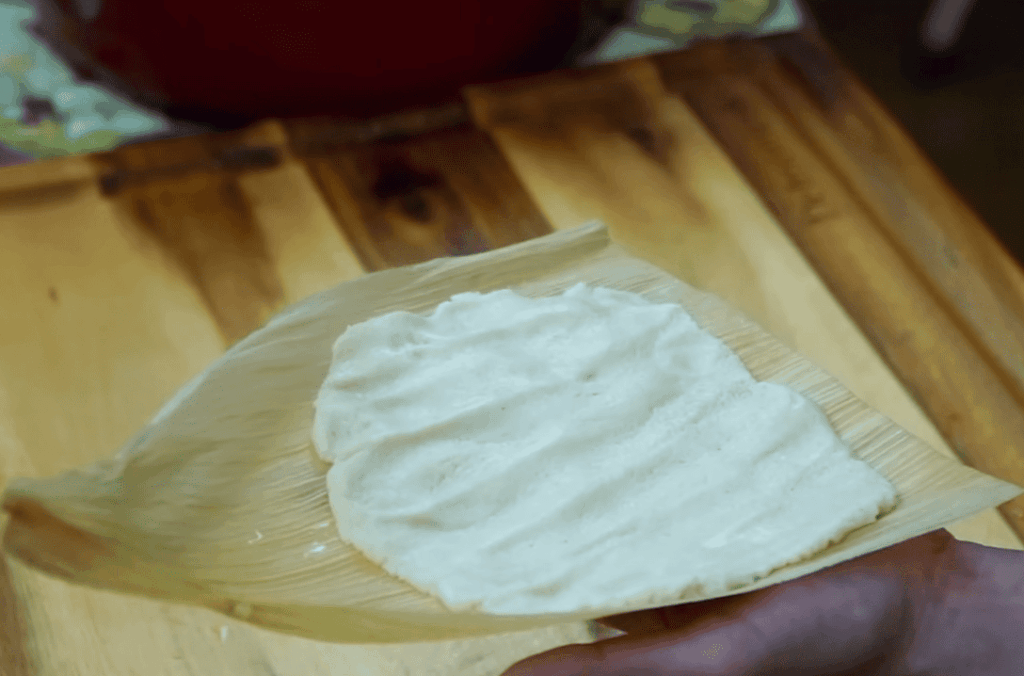
Begin with a large, dry corn husk positioned with the tapered end facing you. Spread about ¼ cup of masa dough into a 4-inch square shape. Leave generous borders for proper folding.
Place only a heaping tablespoon of filling down the center. Resist the temptation to overfill. This prevents bursting during cooking.
Bring the two long sides of the husk together. The masa will naturally wrap around the filling. Fold up the empty bottom section tightly against the filled portion.
Secure your creation with a loose tie using husk strips or kitchen string. The top remains open for steam circulation.
Avoiding Common Pitfalls
Too much filling causes the most common problem: bursting during steaming. Use less than you think you need.
Inadequate borders make folding impossible. Ensure you leave proper margins on all sides. Thin spreading leads to tears in the masa.
Avoid packing your creations too tightly in the steamer. They need space for even cooking and proper expansion. Loose tying allows for the light, fluffy texture everyone loves.
Cooking Techniques and Steaming Tips
Achieving perfect texture and flavor depends heavily on mastering the steaming process. Proper heat and moisture control transform your assembled creations into tender delights.
The right setup prevents common issues like soggy or uneven results. Follow these professional techniques for restaurant-quality outcomes.
Optimal Steaming Process
Begin by lining your steamer basket with extra corn husks. This protects from direct steam contact while adding flavor.
Pour about 2 inches of water into your pot. Ensure it reaches the steamer bottom without touching the food.
Stand your creations upright with open ends facing up. Arrange them snugly but allow steam circulation space.
If your batch doesn’t fill the steamer, use crumpled foil in empty areas. This keeps everything stable during cooking.
Cover with additional husks or a clean towel before placing the lid. Steam over medium heat for 40-75 minutes.
Check water levels every 20 minutes. Add hot water as needed to prevent the pot from running dry.
How to Check Tamale Doneness
Proper cooking time depends on size and filling density. Look for visual and textural clues rather than strict timing.
The masa should deepen in color and pull away cleanly from the husk. If it sticks, continue steaming for another 10-15 minutes.
After turning off the heat, let tamales stand in the covered steamer for 5-10 minutes. This resting period firms the texture for perfect serving consistency.
| Signs of Properly Cooked | Indications of Undercooked |
|---|---|
| Masa pulls away cleanly from husk | Masa sticks to corn wrapping |
| Firm texture that holds shape | Soft, mushy consistency |
| Deepened, uniform color | Pale, uneven appearance |
| Easy unwrapping without tearing | Husk tears during removal |
Variations and Protein Options
While pork remains the classic choice, modern kitchens are embracing a wide range of alternative fillings that bring new dimensions to this beloved dish. The flexibility of these creations allows you to tailor them to specific dietary preferences or use whatever ingredients you have available.
Exploring Alternative Fillings
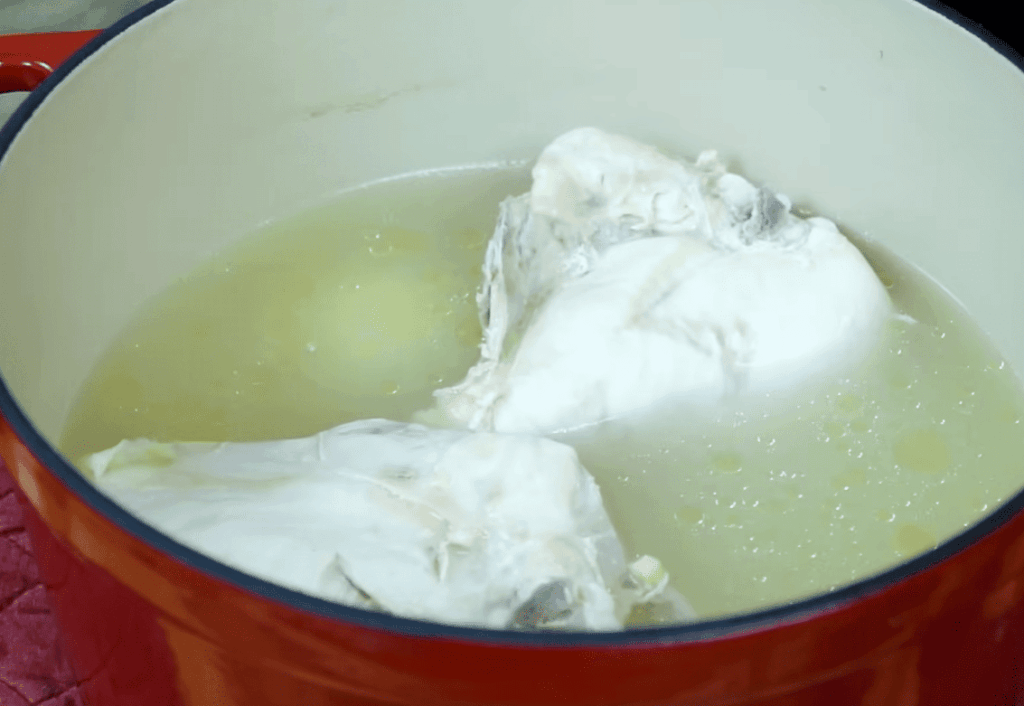
Shredded chicken creates a lighter alternative that pairs beautifully with the tangy sauce. For convenience, use leftover roasted or store-bought rotisserie chicken.
Vegetarian options offer delicious alternatives. Try combinations like cheese with roasted poblano peppers or black beans with corn. Sautéed mushrooms or roasted butternut squash also work wonderfully.
Cheese lovers can create rich versions by mixing shredded Monterey Jack or Oaxaca cheese directly into the masa. This adds extra creaminess to every bite.
“The best part about making these at home is how easily you can adapt them to your family’s tastes.”
If fresh tomatillos are unavailable, substitute with canned green salsa or roasted chile peppers blended with broth. Adjust the heat level by choosing milder Anaheim chile peppers or adding spicier varieties.
| Filling Type | Protein Options | Flavor Profile | Best For |
|---|---|---|---|
| Traditional | Shredded pork, beef | Rich, savory | Classic enthusiasts |
| Poultry | Chicken, turkey | Lighter, versatile | Health-conscious |
| Vegetarian | Cheese, beans, vegetables | Fresh, customizable | Plant-based diets |
| Sweet | Fruit, chocolate | Dessert-like | Special occasions |
For sweet variations, add sugar and cinnamon to the masa. Fill with fruit preserves or chocolate chips for a delightful dessert twist.
Serving Suggestions and Complementary Sides
Complementary dishes elevate your main course from satisfying to spectacular by adding contrasting textures and flavors. The right side selections create a balanced meal that highlights your homemade creations.
Thoughtful accompaniments transform individual servings into a complete dining experience. They provide visual appeal and flavor complexity.
Mexican Rice, Beans, and Fresh Salsas
Traditional Mexican rice makes an excellent side that absorbs sauces beautifully. Its fluffy texture complements the rich masa perfectly.
Refried beans or black beans add creamy contrast to tangy fillings. They provide protein and earthy flavors.
Fresh salsa options bring vibrant acidity to each bite. Pico de gallo offers chunky freshness while roasted salsa adds smoky depth.
| Side Dish | Flavor Profile | Texture | Best Pairing |
|---|---|---|---|
| Mexican Rice | Savory, tomato-infused | Fluffy, separate grains | Absorbs sauces well |
| Refried Beans | Earthy, creamy | Smooth, spreadable | Contrasts bright flavors |
| Corn Salad | Sweet, tangy | Crisp, refreshing | Complements corn masa |
| Fresh Salsas | Bright, acidic | Chunky or smooth | Cuts through richness |
Cooling elements like sour cream balance any heat from peppers. Crumbled cheese adds salty richness to each serving.
For extra corn flavor, try Mexican street corn salad. Topped with cheese and lime, it reinforces the authentic theme.
Storing and Reheating Leftovers
Smart preservation strategies transform your batch cooking into convenient future meals without sacrificing quality. Proper storing ensures you enjoy your efforts for days or even months.
Keep cooked creations in the refrigerator for up to five days. Use airtight containers or individual plastic wrap. Always maintain the corn husk wrapping to preserve moisture.
For longer freezing, wrap each piece individually before placing in freezer bags. Label with the date for easy tracking. They maintain quality for three months this way.
“The ability to enjoy homemade meals weeks later makes the initial preparation time truly worthwhile.”
| Reheating Method | Time Required | Best For | Texture Result |
|---|---|---|---|
| Steaming | 15-20 minutes | Restoring original quality | Soft, tender masa |
| Microwave | 1-2 minutes | Quick single servings | Fast but may dry slightly |
| Oven (350°F) | 20 minutes | Large batches | Even, gentle warming |
| From Frozen | 25-30 minutes steam | Direct freezer to table | Requires longer time |
For frozen items, you can steam directly or thaw overnight first. Allow reheated items to rest a few minutes before serving. This distributes heat evenly for perfect consistency every time.
Conclusion
What begins as a seemingly complex process soon becomes an enjoyable ritual that connects you to generations of Mexican cooks. Your homemade creations will far surpass store-bought versions in both flavor and satisfaction.
This recipe offers incredible versatility. You can adjust the heat level of your green chile filling or explore different proteins. The process becomes intuitive with practice, making each batch more enjoyable than the last.
These tamales represent more than just food—they’re a living tradition. They bring people together around the table, creating cherished memories. The delight on your guests’ faces makes every moment of making them worthwhile.
Don’t feel intimidated by the steps. Start with this guide and soon you’ll confidently produce batches of delicious green chile tamales. You’ll master the perfect masa and flavorful fillings that become requested favorites at every gathering.