
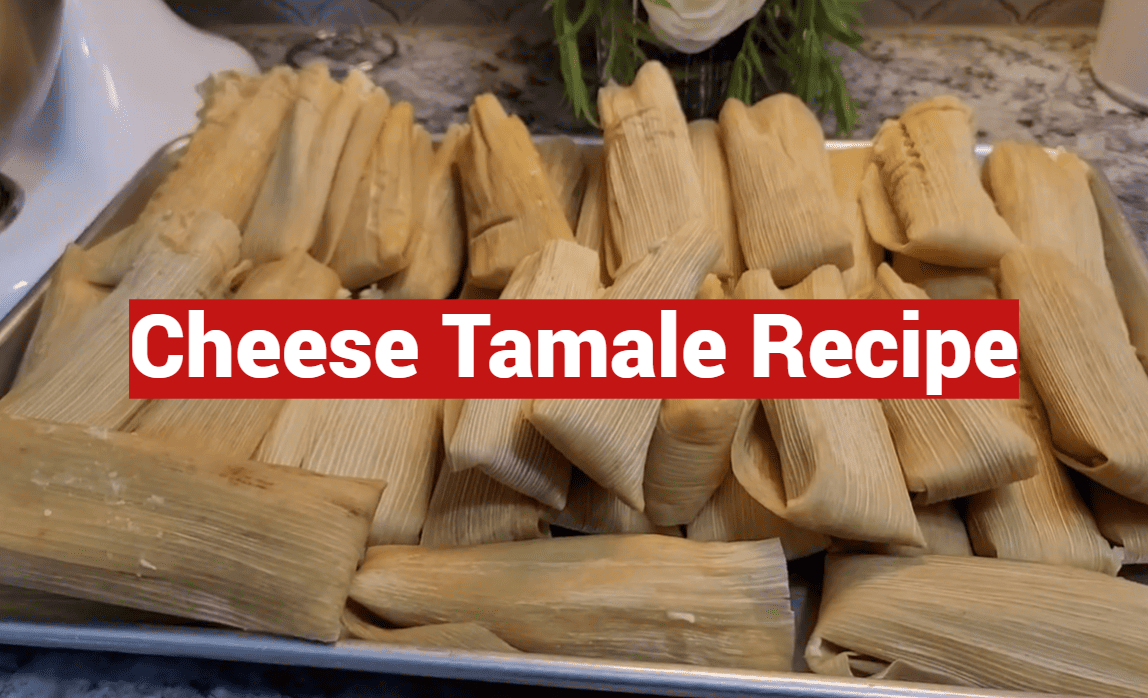
During holiday seasons across the United States, families collectively prepare over one billion of these traditional Mexican delights. That’s enough to wrap around the Earth nearly twice!
This staggering number reveals how deeply cherished these steamed corn dough parcels are in American households. Many people think creating authentic versions requires professional skills or special equipment.
Our guide proves otherwise. You can achieve incredible results right in your own kitchen. We focus on a vegetarian-friendly version featuring melted dairy and spicy peppers.
Whether you’re hosting a gathering or simply craving comfort food, this approach delivers fantastic flavor. The process emphasizes technique and patience rather than difficulty.
You’ll discover how rewarding it is to unwrap a perfectly steamed creation. The fluffy masa exterior gives way to gooey, flavorful fillings that will impress everyone.
Key Takeaways
- Perfect for both beginners and experienced home cooks
- Focuses on technique and patience rather than complexity
- Creates a manageable batch ideal for family meals
- Vegetarian-friendly option that doesn’t sacrifice flavor
- Step-by-step guidance from ingredient selection to steaming
- Ideal for celebrations, parties, or everyday comfort food
- Delivers authentic, restaurant-quality results at home
Overview of This Delicious Cheese Tamale Recipe
Family kitchens come alive with laughter and stories when multiple generations gather to create these beloved Mexican specialties. The process becomes more than just cooking—it’s a cherished ritual that strengthens bonds.
Introduction to the Recipe and Its Tradition
These wrapped delights hold deep cultural significance in Mexican-American households. They often serve as the centerpiece for celebrations throughout the year.
The tradition frequently involves tamalada parties where friends and relatives share the work. This collaborative approach makes the experience enjoyable rather than overwhelming.
What Makes Tamales a Family Favorite
Beyond their delicious taste, these creations carry emotional weight. The memories formed during preparation become as valuable as the final product.
Many families appreciate how this activity bridges generational gaps. Experienced cooks pass down techniques while creating new traditions together.
| Aspect | Traditional Approach | Contemporary Method |
|---|---|---|
| Preparation Style | Large family gatherings | Smaller, more intimate groups |
| Equipment Used | Traditional steamers | Modern kitchen appliances |
| Time Investment | All-day event | Streamlined process |
| Social Component | Community celebration | Family bonding activity |
The beauty of this particular version lies in its simplicity. With just a few key ingredients, you can achieve incredible flavor that honors tradition while fitting modern lifestyles.
Gathering Essential Ingredients and Tools
The foundation of any great culinary creation lies in selecting quality materials and having appropriate equipment. Getting organized before you start will make the entire process smoother and more enjoyable.
Key Ingredients: Masa, Corn Husks, and Cheese Varieties
Quality components make all the difference in your final dish. Start with dried corn husks, which you can find at Latin markets or online. Look for large, intact husks that will wrap easily around your filling.
Masa harina is the specially treated corn flour that forms the dough base. For the dairy component, Monterey Jack melts beautifully, but Oaxaca cheese offers authentic flavor. Choose vegetable shortening or oil to keep your creation vegetarian-friendly.
Recommended Kitchen Tools and Equipment
Having the right equipment streamlines your preparation. A large pot is essential for soaking the corn wrappers. A stand mixer helps achieve fluffy masa dough with minimal effort.
For cooking, you can use a traditional steamer or modern Instant Pot. A small drywall scraper works wonderfully for spreading masa evenly, though a spoon also does the job.
| Tool Type | Traditional Option | Modern Alternative | Key Benefit |
|---|---|---|---|
| Masa Preparation | Hand mixing | Stand mixer | Consistent texture |
| Cooking Equipment | Traditional steamer | Instant Pot | Faster cooking time |
| Spreading Tool | Back of spoon | Drywall scraper | Even distribution |
| Soaking Container | Large bowl | Stock pot | Ample space for husks |
Preparing Authentic Masa and Rehydrating Corn Husks
Proper preparation of both the corn husks and masa mixture sets the stage for successful homemade delights. These foundational steps determine the final texture and ease of assembly.
Taking time with these preparations pays dividends later. The process is straightforward when you understand the key techniques.
Tips for Achieving a Fluffy Masa Dough
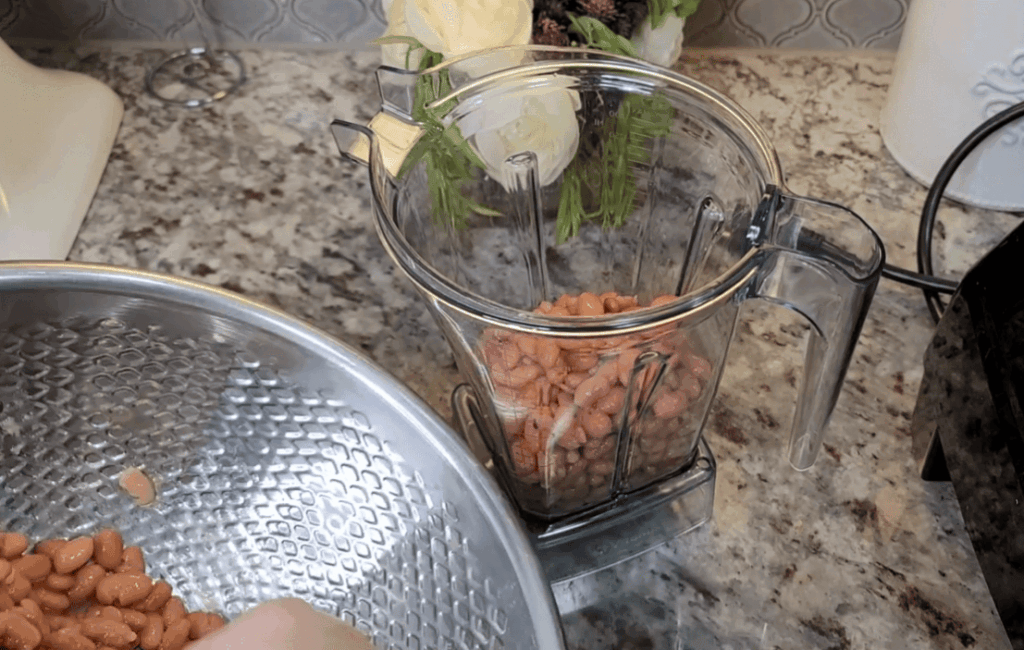
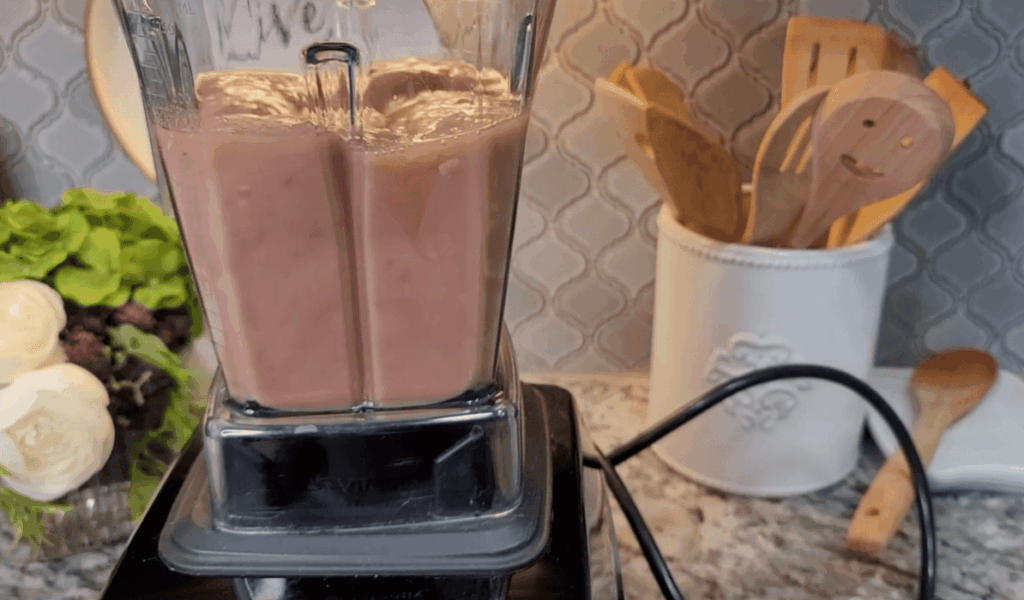
Start by rehydrating your masa harina with hot broth. This ensures the corn flour properly absorbs moisture for optimal texture.
Use an electric mixer to beat your fat until light and airy. Add baking powder and salt before gradually incorporating the rehydrated masa harina.
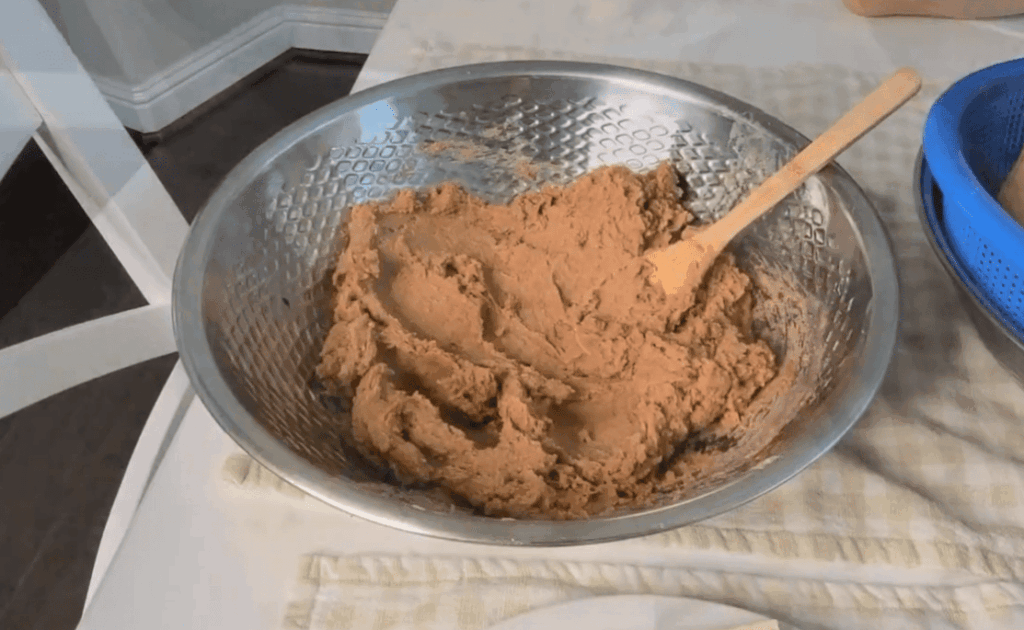
Your finished dough should resemble whipped mashed potatoes. It should be light, fluffy, and easily spreadable.
“The secret to exceptional masa lies in proper aeration during mixing. This creates the light texture that makes each bite memorable.”
If your mixture seems too thick, add more broth gradually. Remember that the dough will firm up during steaming.
For the corn husks, submerge them in a large pot of boiling water. This speeds up rehydration and cleans any debris.
| Preparation Step | Traditional Method | Modern Approach | Key Benefit |
|---|---|---|---|
| Corn Husk Soaking | Overnight in cool water | 30 minutes in boiling water | Faster preparation |
| Masa Mixing | Hand beating with wooden spoon | Electric stand mixer | Consistent aeration |
| Consistency Check | Visual and touch assessment | Hummus-like texture reference | Precise results |
| Hydration Adjustment | Experience-based additions | Measured broth increments | Controlled moisture |
Since corn husks float naturally, use a smaller lid to keep them submerged. This ensures even soaking for pliable wrappers.
Cheese Tamale Recipe: Step-by-Step Assembly
Assembly transforms simple ingredients into beautiful packages ready for steaming. This hands-on process becomes intuitive after your first few attempts. Don’t worry about perfection—even rustic-looking creations taste wonderful.
Soaking Corn Husks Properly
Begin by draining your soaked corn wrappers thoroughly. Gently pat dry each one with paper towels to remove excess moisture. Clean surfaces ensure your masa adheres properly during spreading.
Wipe away any remaining debris from the corn husk. This preparation step creates the ideal canvas for your ingredients.
Spreading and Filling the Masa
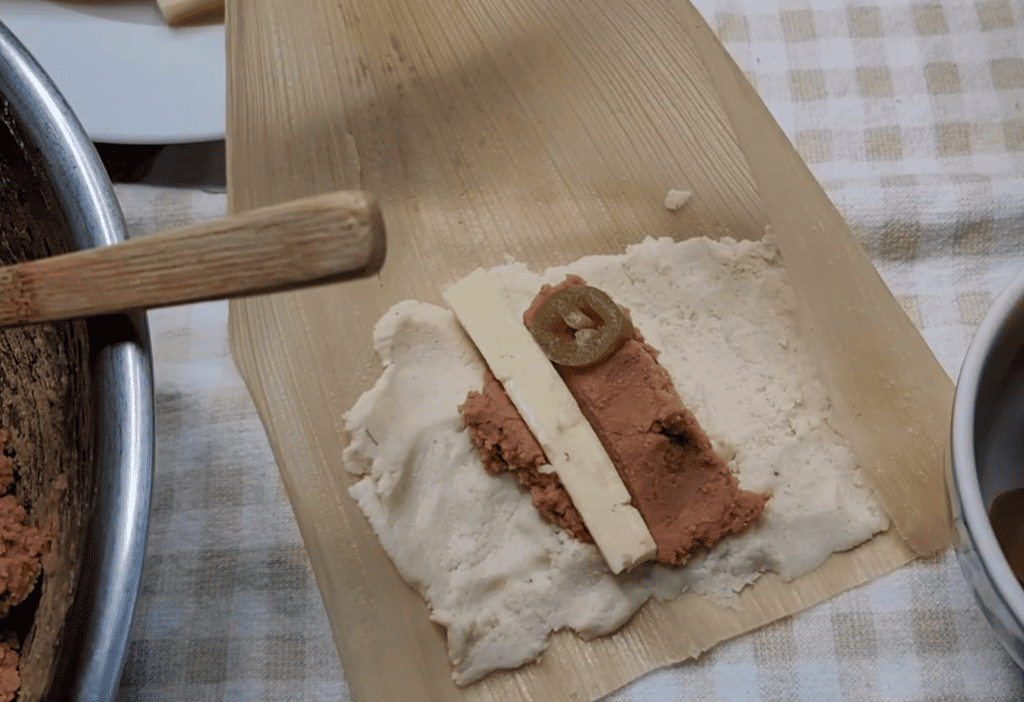
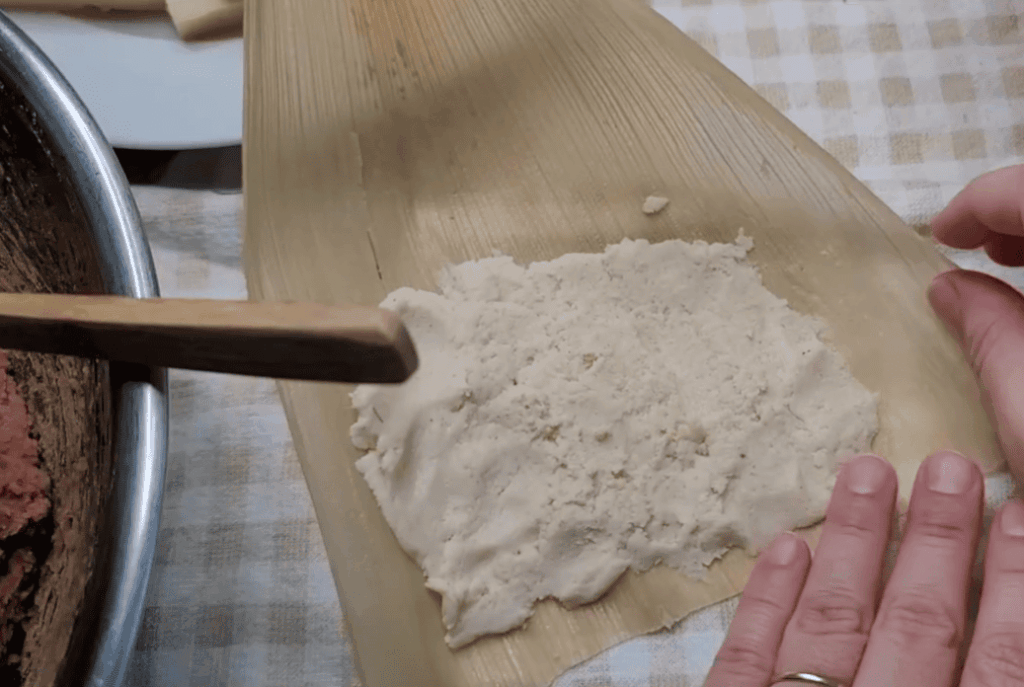
Position each husk with the wide end facing you, smooth side up. Using the back of a spoon, spread masa in a thin, even layer. Create a 3×4 inch oval in the wider portion.
Leave a half-inch border on the sides and bottom. This space prevents the filling from escaping during folding. Place your jalapeño slices and dairy component in the center.
Folding Techniques for Perfect Shape
Bring the two long sides together until the masa edges meet. Gently roll to form a tube that completely encloses the filling. This technique creates a secure package.
Fold the narrow end upward toward the center. Set aside your completed parcels seam-side down. Always keep them standing upright with the open end facing up.
| Assembly Step | Traditional Technique | Modern Shortcut | Result Difference |
|---|---|---|---|
| Corn Husk Preparation | Air drying after pat dry | Quick towel blotting | Similar adherence |
| Masa Spreading | Back of wooden spoon | Small drywall scraper | More even distribution |
| Filling Placement | Centered by eye | Measured tablespoon | Consistent portions |
| Folding Method | Double-fold technique | Single roll and tuck | Equally secure closure |
Place your assembled creations upright in a container. This positioning prevents the filling from falling out before steaming. Your kitchen will soon fill with amazing aromas.
Steaming and Cooking Techniques
Steaming brings everything together, turning your prepared ingredients into the finished dish everyone loves. This cooking method ensures proper texture development while locking in flavors.
Using a traditional steamer versus an Instant Pot
You have two excellent options for cooking your creations. A traditional stovetop steamer offers classic results, while an Instant Pot provides modern convenience.
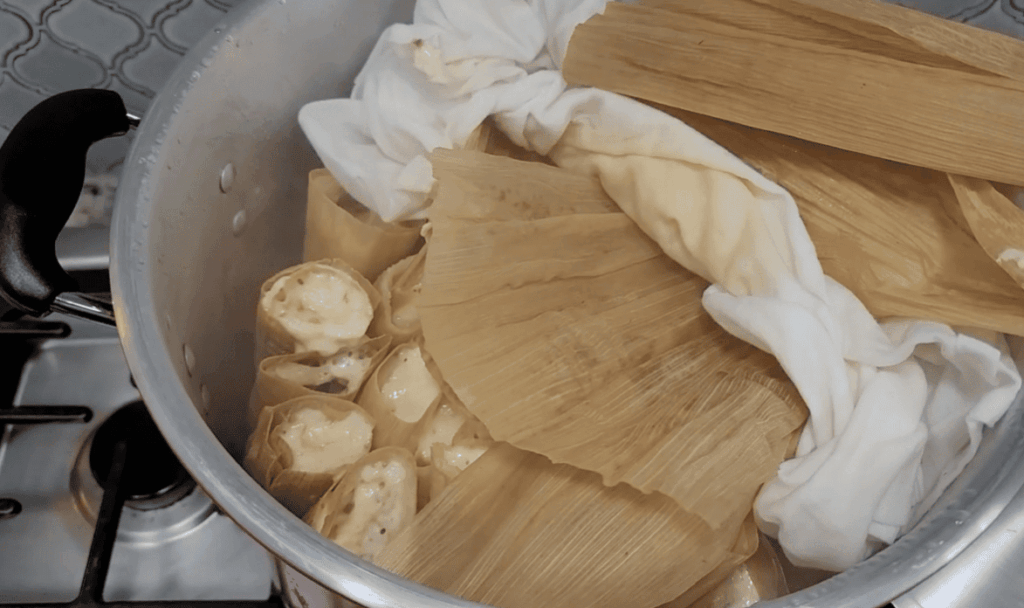
For the traditional method, place your steamer basket in a large pot. Fill with water just up to the bottom of the basket. Line it with extra corn husks to protect your packages.
The Instant Pot approach follows similar setup principles. Add the steamer basket and water to the bottom. Stand your creations upright, ensuring nothing blocks the lid seal.
Timing guidelines and temperature advice
Traditional steaming takes about 60-90 minutes. Bring water to boil over medium-high heat, then reduce to medium. Maintain steady steam throughout the process.
Check water levels every 10-15 minutes. Add hot water if needed to prevent drying out. For Instant Pot cooking, set to Manual/High Pressure for 65 minutes followed by natural release.
Your creations are done when the masa separates cleanly from the husk. Let them rest 10-20 minutes to firm up before serving. This resting period ensures perfect texture.
Creating Variations to Suit Your Taste
Customization transforms standard preparations into unique expressions of personal culinary style. The flexibility of these corn-husk wrapped delights allows for endless creativity in your kitchen.
You can easily adjust heat levels and flavors to match your preferences. This adaptability makes the process enjoyable for both beginners and experienced cooks.
Incorporating Jalapeños, Peppers, and Alternative Cheeses
For convenient preparation, pickled jalapeños offer tangy flavor straight from the jar. If you prefer smoky complexity, char fresh peppers under the broiler until blackened.
Poblano peppers provide a milder, earthy alternative to spicy varieties. Control heat by removing seeds and membranes, or leave them for extra spice.
Traditional Oaxaca cheese delivers authentic melting quality and flavor. Monterey Jack works beautifully and is widely available in most stores.
Mozzarella creates that satisfying stretchy effect when you bite in. Chihuahua cheese offers creaminess, while queso fresco adds flavor without melting.
| Ingredient Type | Mild Option | Spicy Alternative | Flavor Profile |
|---|---|---|---|
| Peppers | Poblano (roasted) | Jalapeño (fresh/pickled) | Earthy to Tangy |
| Cheese Varieties | Monterey Jack | Oaxaca with seeds | Creamy to Authentic |
| Preparation Style | Seedless peppers | Seeds included | Mild to Spicy |
| Texture Results | Queso fresco | Melted mozzarella | Crumbly to Stretchy |
Cut your dairy component into thin strips for fun presentation. You can also use shredded versions for even distribution throughout the filling.
Feel free to mix different types or add complementary ingredients. Roasted corn kernels or black beans create wonderful texture variations.
Tips for Perfecting Your Cheese Tamale Recipe
Every culinary journey begins with a first attempt, and creating these traditional Mexican treats is no exception. Don’t let the process intimidate you—even beginners achieve fantastic results with the right approach.
Advice for First-Time Tamale Makers
If available at your local Latin market, purchase prepared masa to save significant time and ensure consistency. This eliminates an entire preparation step while guaranteeing proper texture.
Consider hosting a tamalada—a traditional gathering where friends help with assembly. This social approach makes the time fly while turning kitchen work into celebration.
When making your masa from scratch, prepare it one or two days ahead. Refrigeration actually improves the dough’s texture and makes assembly day more manageable.
Make sure to use an electric mixer for the fluffiest results. Proper aeration creates that light texture separating good creations from great ones.
| Beginner Consideration | Traditional Approach | Beginner-Friendly Alternative | Key Benefit |
|---|---|---|---|
| Masa Preparation | Hand-mixed same day | Electric mixer, made ahead | Consistent texture, less stress |
| Fat Selection | Traditional lard | Vegetable shortening or oil | Vegetarian option, easier sourcing |
| Assembly Help | Solo preparation | Tamalada party | Faster process, more enjoyable |
| Appearance Expectations | Perfect shapes expected | Embrace rustic look | Reduced pressure, same great taste |
Pay close attention to your fat choice. Traditional lard offers authentic flavor, but vegetable shortening or oil works beautifully for vegetarian versions.
Make sure not to overcook your creations. Remove them when the center feels slightly soft, as they continue cooking after steaming. Practice truly makes perfect with tamales.
Plating, Serving, and Enjoying Your Tamales
The unwrapping ritual is a core part of the experience, building anticipation for the delicious discovery inside. Serve your cheese tamales immediately after their brief rest for the ultimate gooey, melted center.
If timing with other dishes, you can keep them warm for up to an hour. Simply leave them in the covered steamer, with the heat off.
These creations are fantastic alone, but they shine with accompaniments. Offer salsa ranchera for rich flavor or salsa verde for a tangy kick. For a creamy twist, mix crema with salsa verde.
A sprinkle of crumbled cotija cheese adds a salty, rich finish. Consider these perfect side dishes to complete your meal:
- Fresh avocado slices or a crisp tomato salad
- Lime wedges for a bright squeeze of juice
- Spanish rice and refried beans
- A bowl of chips and salsa for everyone to share
This versatile dish is perfect for any occasion, from family dinners to special celebrations. The joy comes from sharing these warm, corn-husk wrapped parcels with loved ones.
Common Troubleshooting and Expert Advice
When working with masa and corn husks, troubleshooting becomes an essential skill that transforms kitchen frustrations into culinary successes. Even experienced cooks encounter challenges, but most problems have simple solutions.
How to Adjust Masa Consistency and Moisture
Getting the perfect masa texture is crucial. If your dough feels too dry and crumbly, gradually add more broth or water. Add about half a cup at a time while mixing.
If the masa seems too wet and runny, mix in additional masa harina slowly. Remember that slightly wet dough is better than too dry. It will firm up during steaming.
Test your masa by spreading a small amount on a corn husk. It should spread easily without tearing. The consistency should resemble whipped mashed potatoes.
| Consistency Issue | Quick Solution | Testing Method |
|---|---|---|
| Too dry and crumbly | Add broth ½ cup at a time | Should spread without tearing |
| Too wet and runny | Mix in more masa harina | Holds shape without running |
| Perfect consistency | Ready for assembly | Like whipped potatoes |
Solutions for Common Assembly Issues
Assembly problems can be frustrating but are easily fixed. If your creations keep unrolling, pack them more tightly in the steamer. They will support each other when standing upright.
When filling falls out during assembly, ensure the open end faces upward. Keep assembled items standing rather than laying them flat.
“The key to perfect assembly is patience and proper positioning. Even imperfect creations taste wonderful when made with care.”
If the masa sticks to the corn husks after cooking, they need more steaming time. Return them for another 15-20 minutes. Keep an eye on water levels during steaming.
Save small or torn husks for lining the steamer bottom. This protects your creations and prevents sticking. Don’t be discouraged by initial challenges—practice makes perfect.
Enhancing Your Experience with a Savory Side
The perfect meal experience extends beyond the main attraction to include thoughtful accompaniments that elevate every bite. Your delicious creations deserve companions that complement their flavors and textures.
Choosing the right side dishes transforms your meal into a complete feast. Each element should enhance rather than overpower your main dish.
Side dishes and salsas that pair well with tamales
Spanish rice makes an ideal side for your tamales. This vibrant red rice gets its flavor from tomatoes and cilantro. The secret is sautéing the rice in oil before adding liquid.
Creamy refried beans provide wonderful texture contrast. They add protein to make your meal more filling. Use vegetable oil to keep them vegetarian-friendly.
Fresh pico de gallo brings bright acidity that cuts through richness. Rinse onions in cold water to remove sharpness. This creates a balanced flavor profile.
Offer multiple salsas for variety. Salsa ranchera provides rich, cooked tomato flavor. Salsa verde offers tangy tomatillo brightness.
Mix Mexican crema with salsa verde for a creamy topping. This adds richness while maintaining spicy flavor. It’s perfect for drizzling over your creations.
Simple additions like avocado slices and lime wedges complete the plate. A crisp tomato salad adds fresh elements. These balance the heartier main dish.
Your vegetarian tamales can anchor a meatless Mexican dinner. Even meat-lovers will enjoy this complete feast. Serve chips and salsa while waiting for the main course.
Conclusion
You have now completed a wonderful culinary journey. This guide has shown you how to create authentic tamales right in your own kitchen. The process is a rewarding tradition that brings people together.
Your homemade delights will stay fresh for up to five days in the fridge. You can also freeze them for several months. Reheating is simple in a steamer, microwave, or Instant Pot.
Remember, the time you invest makes these creations special. The work gets easier with each batch you make. Small batches are perfect for learning and enjoying.
Continue to practice and make this recipe your own. Experiment with different fillings and perfect your masa technique. Share the joy of these delicious corn–husk wrapped parcels with friends and family.