
Imagine saving dozens of hours during the holiday rush. For many families, preparing tamales is a cherished tradition that involves a significant time investment. The process of making the dough, or masa, from scratch is often the most time-consuming step.
This leads to a common question for home cooks looking to streamline their preparation. Preserving the main ingredient in advance could be a game-changer for busy schedules. The good news is that this staple is surprisingly freezer-friendly.
The unique composition of this corn-based dough makes it an excellent candidate for preservation. Unlike other doughs, its structure holds up remarkably well under cold temperatures. Understanding the simple science behind this process ensures perfect results every time.
This guide will walk you through the entire process. You will learn the best preparation techniques and the safest defrosting methods. Our goal is to help you achieve authentic, delicious results while making your cooking process more convenient.
Key Takeaways
- Freezing the dough is an effective way to save time during busy tamale-making seasons.
- The corn-based composition of the dough is particularly well-suited for freezing.
- Proper preparation before storage is crucial for maintaining texture and flavor.
- Understanding the correct defrosting method is key to achieving the best results.
- This technique works well whether you use fresh dough or prepare it from a dry mix.
- Successfully preserving your dough reduces food waste and adds convenience.
Introduction to Freezing Tamale Masa
The age-old practice of making large batches of masa for tamales finds a perfect partner in modern freezing technology. This technique is a game-changer for home cooks. It answers a common question with a resounding yes.
In the United States alone, over 1.5 billion tamales are made annually. Many families prepare these masa tamales in large quantities for celebrations, a tradition centuries old. This need naturally led to effective preservation methods passed down through generations.
Understanding why masa handles the freeze so well starts with its corn-based foundation. This unique structure is key to maintaining the dough’s essential qualities. Proper storage protects both its signature flavor and ideal texture.
This approach allows households to enjoy authentic masa tamales year-round. It eliminates the need to dedicate entire days to preparation for each batch. The process reliably preserves the dough’s spreadable consistency.
Modern appliances provide the ideal environment for long-term storage. This makes the traditional practice more accessible than ever for busy schedules. This introduction lays the groundwork for mastering the entire process.
Understanding Tamale Masa: Ingredients and Texture
Choosing the right base ingredients determines the final quality and texture of your traditional dish. The composition of this corn-based dough varies significantly between preparation methods.
Fresh Masa vs. Masa Harina
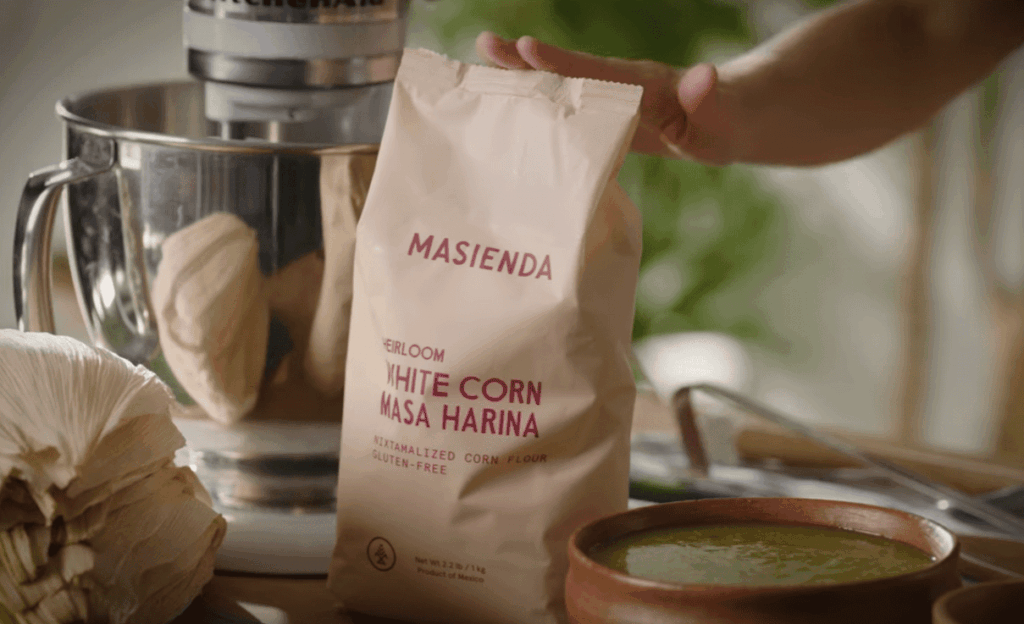
Fresh masa from tortillerias uses nixtamalized corn treated with lime water. This process creates a deeper, more authentic flavor that many purists prefer. The traditional approach delivers superior results for those seeking authentic texture.
Masa harina offers convenience as shelf-stable corn flour. This instant harina simply needs rehydration with water for use. Both coarse-ground versions for tamales and finer flour for tortillas work effectively.
The Role of Fat, Broth, and Seasoning
The choice of fat—whether traditional lard, vegetable shortening, or oil—creates light, airy results. Proper fat content protects against texture changes during storage. Lard remains the classic choice for authentic flavor.
Broth serves as the hydrating liquid that infuses rich flavor into the corn flour. This savory broth complements fillings beautifully. Seasoning balance is crucial since storage can slightly mute flavors.
Preparing Your Tamale Masa for Freezing
The secret to successful frozen masa lies in the initial mixing and consistency techniques. Proper preparation ensures the dough maintains its ideal texture throughout storage. This foundation prevents common issues after thawing.
Proper Mixing and Consistency Techniques
Begin by combining dry ingredients in a large bowl. This includes masa harina, salt, and optional baking powder. Thorough blending creates an even distribution throughout the final mixture.
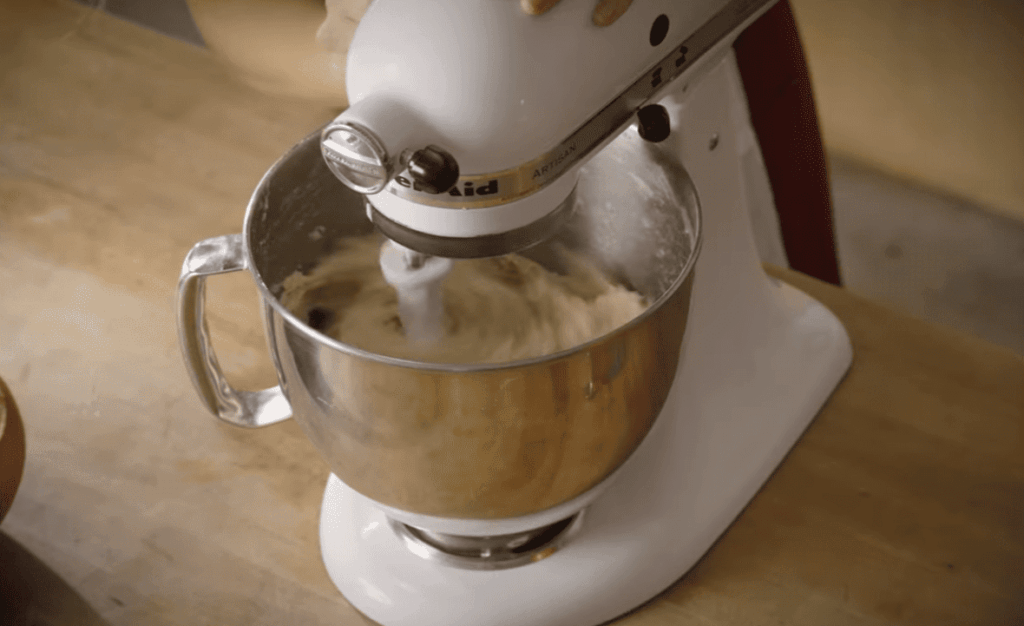
Using a powerful stand mixer simplifies the process significantly. Beat solid fats at medium-high speed for about five minutes. This creates a fluffy base that incorporates air into the dough.
Gradually add the dry mixture while the mixer runs on low speed. Add broth in stages, monitoring the consistency closely. The ideal texture resembles soft peanut butter.
Strategies for Achieving an Airy Dough
The whipping technique matters tremendously for light results. Properly aerated fat creates tiny pockets throughout the masa dough. These air bubbles contribute to the final texture.
Baking powder provides additional leavening support during storage. Season the dough adequately before freezing since adjustments become difficult later. Taste and adjust salt levels at this stage.
Whether using a handheld mixer or standing model, ensure sufficient power for the dense mixture. Achieving the correct consistency in your large bowl before freezing guarantees easier handling after thawing.
Can You Freeze Tamale Masa?
A definitive yes answers the common query about preserving this essential dough. This practice is a true game-changer for efficient kitchen management.
Properly stored, the dough maintains excellent quality for three to six months. This timeframe provides fantastic flexibility for planning festive meals.
Portioning the dough before storage is the secret to effortless future preparation.
Transfer the prepared mixture into freezer-safe bags or containers. Using smaller bags for individual batches prevents waste. Flattening the bags with a rolling pin saves considerable space.
It is crucial to make sure bags are sealed tightly. This step prevents freezer burn, protecting flavor and texture. Always label packages with the date and contents.
While slight texture changes may occur, proper technique minimizes them. The final results will closely mirror those made with fresh dough.
| Storage Method | Duration | Best For |
|---|---|---|
| Refrigerator (Airtight) | Up to 3 days | Immediate use |
| Freezer (Properly sealed) | 3 to 6 months | Long-term planning |
| Freezer (Portioned flat) | 3 to 6 months | Space saving & quick thawing |
Step-by-Step Freezing Process
Taking the final step from prepared dough to frozen convenience requires careful execution. Proper technique preserves texture and flavor for future use.
Choosing the Right Freezer-Safe Containers
Selecting appropriate containers forms the foundation of successful storage. Heavy-duty freezer bags work well for most applications.
Resealable plastic bags offer flexibility for portioning. They allow division into quantities suitable for single cooking sessions.
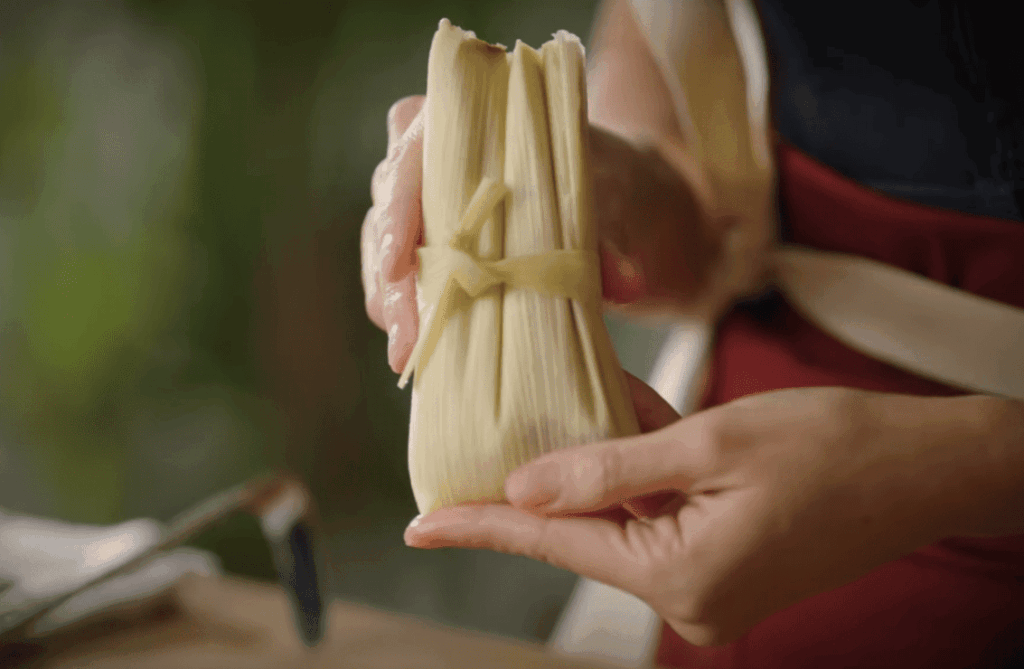
For assembled items, leaving the corn husks on provides natural protection. These natural wrappers create a barrier against freezer burn.
Labeling and Portioning Your Masa
Portioning into meal-sized amounts makes defrosting more convenient. Consider packages for 12-24 items to reduce waste.
The flat-packing method using a rolling pin maximizes space efficiency. This technique creates uniform thickness for even freezing.
Clear, detailed labeling should include the date and mixture type. This prevents confusion when multiple batches are stored together.
| Container Type | Best Use | Key Feature |
|---|---|---|
| Heavy-Duty Freezer Bags | Dough Storage | Space-Efficient Flat Packing |
| Rigid Plastic Containers | Assembled Items | Stackable Protection |
| Plastic Wrap + Foil | Individual Portions | Double-Layer Security |
| Baking Sheet Method | Initial Freezing | Prevents Husk Sticking |
Wrapping individual portions in plastic wrap before container placement adds extra protection. This is especially important for storage beyond three months.
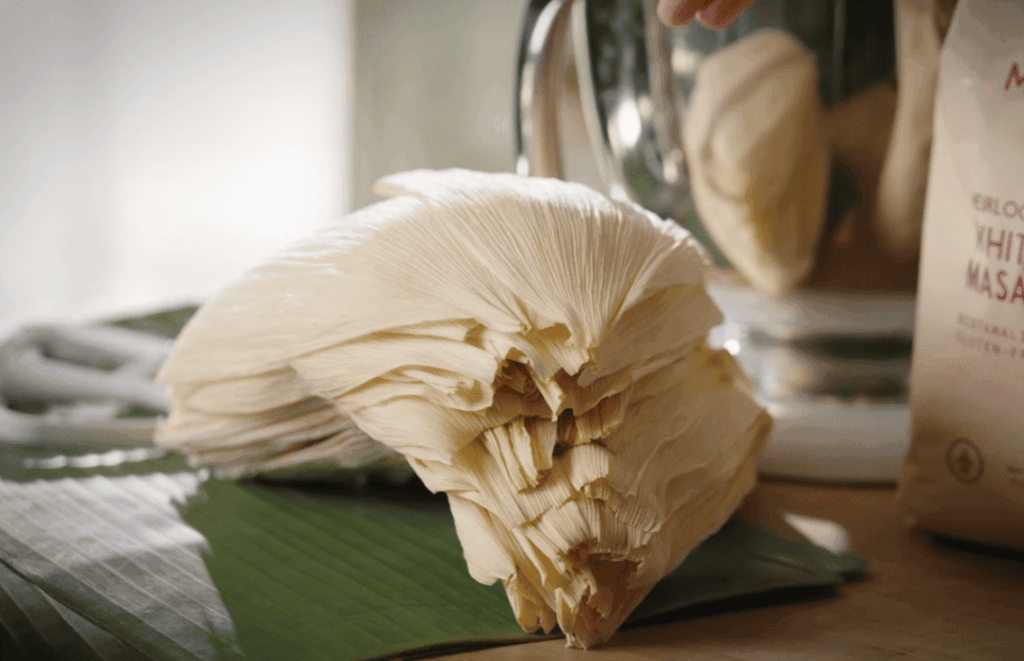
For uncooked items, the initial tray-freezing method prevents delicate corn husks from sticking together. This makes removal easier when ready to use.
Freezing Tips: Preventing Freezer Burn and Flavor Loss
The battle against freezer burn begins with proper packaging techniques. Air exposure is the primary enemy of frozen dough quality. Creating multiple barriers protects against moisture loss and oxidation.
Strategic wrapping methods make all the difference in preservation success. Each layer serves as defense against the dry freezer environment. Proper technique ensures your ingredients maintain their original quality.
Effective Wrapping Techniques
Double-wrapping provides superior protection for long-term storage. Start with plastic wrap directly against the dough surface. This creates an initial seal that locks in moisture effectively.
Add a second layer of aluminum foil for extra security. The combination blocks air penetration completely. This method works well for both individual portions and larger batches.
Natural corn husks offer excellent built-in protection. Their fibrous structure acts as a natural barrier. Leaving them intact provides the first line of defense.
Maintaining Flavors and Texture
Air removal is crucial for preserving the delicate flavor profile. Squeeze all excess air from storage bags before sealing. This simple step prevents oxidation that causes off-flavors.
The right way to package ensures ideal texture upon thawing. Flat packing eliminates air pockets more effectively than rounded shapes. This approach maintains the dough’s original consistency.
| Wrapping Method | Protection Level | Best Use Case | Key Advantage |
|---|---|---|---|
| Plastic Wrap Only | Basic | Short-term (under 1 month) | Quick and convenient |
| Double Wrap (Plastic + Foil) | Maximum | Long-term (3-6 months) | Complete air barrier |
| Natural Corn Husks | Good | Assembled items | Moisture retention |
| Freezer Bags (air removed) | Excellent | Loose dough storage | Space efficient |
Proper wrapping acts as armor against quality deterioration. The extra few seconds spent on thorough packaging yield significant benefits. Your frozen dough will thank you with perfect results.
Storage Duration and Temperature Guidelines
The clock starts ticking once masa enters cold storage, making timing guidelines crucial. Proper management of these factors ensures the dough maintains its quality from preparation to final use.
Strategic planning around storage parameters prevents disappointment. Understanding the relationship between time and environmental conditions is key to success.
Recommended Freezing Time Frames
Frozen dough performs best when used within three to six months of preparation. This window maintains optimal texture and flavor characteristics.
Beyond six months, even properly wrapped dough may develop freezer burn. While still safe, quality degradation becomes more noticeable over time.
Refrigeration offers a short-term solution for immediate needs. Fresh dough remains usable for up to three days before texture changes occur.
Ideal Freezing Temperatures
Standard home freezer settings of 0°F (-18°C) provide the stable environment needed. Consistent temperature control prevents ice crystal formation.
Fluctuations from frequent door opening can impact quality over time. Storing items toward the back maintains more stable conditions.
For thawing, gradual transition to room temperature works best. Avoid rapid temperature changes that can affect the dough’s structure.
| Storage Method | Optimal Duration | Ideal Temperature | Quality Notes |
|---|---|---|---|
| Refrigerator | Up to 3 days | 35-40°F (2-4°C) | Best for immediate use |
| Freezer (Standard) | 3-6 months | 0°F (-18°C) | Maintains texture well |
| Freezer (Long-term) | 6+ months | 0°F (-18°C) | Some quality loss possible |
Defrosting and Reusing Frozen Tamale Masa
Reviving frozen masa successfully depends on understanding the science behind ice crystal formation and moisture redistribution. Proper techniques ensure the dough returns to its original workable state.
Safe Thawing Methods
Planning ahead is essential for optimal results. Transfer the frozen dough to the refrigerator at least 24 hours before use. This gradual approach preserves texture perfectly.
For those who forget to plan, room temperature thawing offers an alternative. Place the frozen masa on the counter early in the morning. Allow several hours for complete defrosting, especially in cooler climates.
Restoring the Dough’s Consistency
Initially, thawed masa appears crumbly and wet, resembling queso fresco. Don’t worry—this is completely normal. Leave it covered at room temperature for 30-60 minutes.
Place the defrosted mixture in a large bowl. Use a spatula to create an even layer. The dough may feel drier due to ice crystals.
Gradually pour vegetable broth while mixing with a handheld electric mixer. Add some masa harina to absorb excess moisture. Continue beating for several minutes until the consistency becomes light and airy.
Patience during this restoration process yields superior results. Properly reconstituted masa performs nearly identically to fresh dough.
Alternative Freezing Techniques
Beyond basic storage methods, advanced techniques offer greater flexibility for preserving your favorite dishes. These approaches cater to different preferences and schedules.
Freezing Uncooked vs. Cooked Tamale Options
Choosing between raw or prepared tamales depends on your cooking habits. Uncooked versions provide that fresh-steamed taste when ready to eat.
The preparation happens after thawing rather than before freezing. This method works beautifully for corn husk-wrapped items.
Pre-cooked tamales deliver ultimate convenience. They only need reheating instead of full cooking. This saves considerable time for busy families.
Both approaches preserve delicious fillings effectively. Traditional pork, chicken, or vegetable options maintain their quality.
Using Flash Freezing Methods
The flash-freezing technique involves spreading assembled items on a baking sheet. Freeze for several hours before transferring to containers.
This prevents individual pieces from sticking together. The method preserves shape and makes removal easier.
Consider your typical usage patterns when selecting a preservation strategy. Batch preparation suits families wanting grab-and-go meals.
Those who enjoy the ritual of steaming appreciate uncooked options. The aromatic experience of fresh preparation adds to the enjoyment.
Troubleshooting Common Freezing Issues
Even with perfect preparation, frozen masa sometimes presents challenges after thawing. Understanding these common issues helps achieve consistent results. Simple solutions restore the dough’s ideal qualities.
Addressing Texture Changes After Thawing
Thawed masa often appears crumbly and wet, resembling queso fresco cheese. This is normal and easily corrected. Allow it to reach room temperature covered away from direct sunlight.
The restored consistency depends on personal preference. Some prefer firmer dough for hand-spreading, while others like looser texture for spoon application. Gradually add broth to adjust the mixture’s feel.
Dryness typically stems from improper wrapping techniques. Use a double layer of plastic wrap and foil for maximum protection. A light oil brush before freezing creates an extra moisture barrier.
The traditional floating test provides one way to check readiness. Drop a small ball into cold water—if it floats, the consistency is good. Remember that results vary, and delicious tamales can still result either way.
Tips for Avoiding Off-Flavors
Unpleasant tastes usually indicate freezer burn or odor absorption. Proper airtight sealing prevents both problems. Double-wrapping creates essential protection against flavor degradation.
A sour smell suggests spoilage occurred before freezing or storage duration was exceeded. Fresh masa should maintain its corn-like aroma. Adding a pinch of salt during reconstitution can revive muted flavors.
Dough made with lard typically maintains better structure than oil-based versions. The solid fat handles temperature changes more effectively. Minor texture variations are normal and don’t affect final quality.
Conclusion
With the knowledge of proper freezing techniques, homemade tamales become an accessible delight rather than a time-consuming chore. This approach honors culinary traditions while adapting to modern schedules, allowing families to enjoy authentic flavors whenever the mood strikes.
This guide has explored everything from selecting quality ingredients to mastering storage methods. Whether working with fresh masa or masa harina, proper preparation ensures excellent results. The step-by-step process makes traditional cooking more manageable.
Remember that slight texture adjustments after thawing are easily corrected. The three-to-six-month storage window provides fantastic flexibility for meal planning. Embrace these techniques to transform your recipe preparation into a regular, enjoyable activity.
With practice, preserving dough will feel natural. You’ll appreciate having homemade masa tamales ready for any occasion. This method truly brings convenience to tradition.