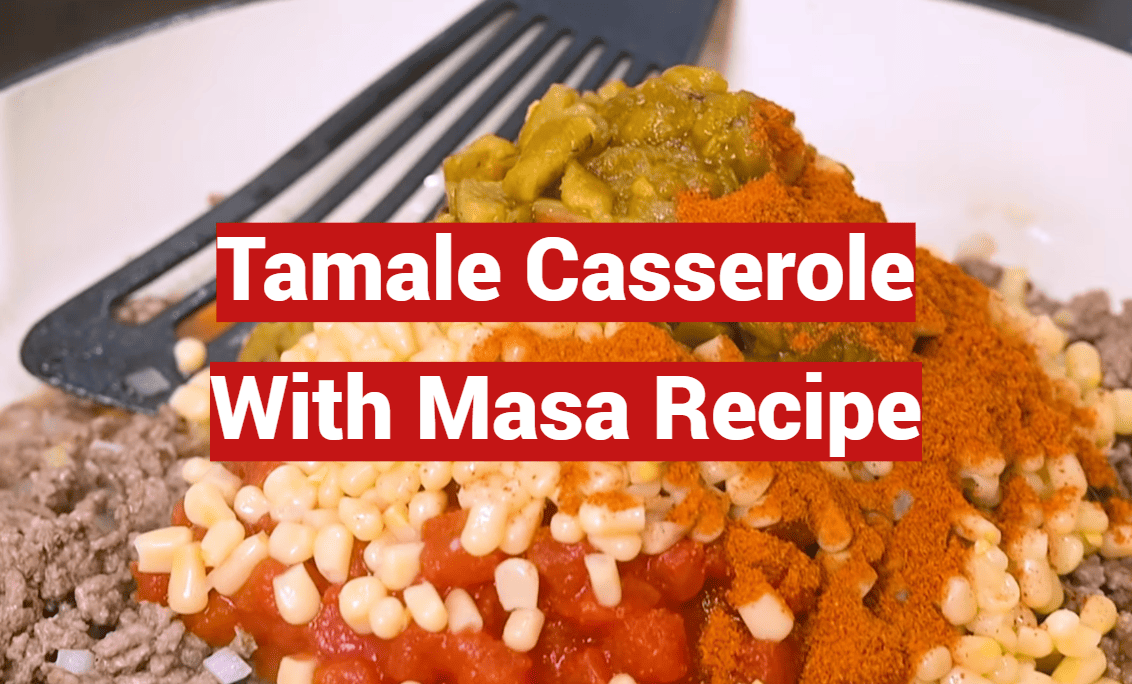
Did you know that over 75% of home cooks avoid making traditional tamales because they believe the process is too complex? This single statistic reveals a huge missed opportunity for enjoying authentic flavors.
Our guide changes everything. We bring the heartwarming taste of a classic Mexican dish directly to your kitchen in a much simpler form. This approach eliminates the fuss of individual wrapping and steaming.
This method is a true game-changer for any family seeking a comforting, savory meal. It delivers all the rich, satisfying taste you love without the hours of labor. You get tender masa and delicious fillings combined beautifully in one dish.
Whether you are an experienced chef or just starting out, this preparation is wonderfully approachable. It’s designed to be straightforward and rewarding. You will create a meal that feels both special and completely effortless.
Get ready to experience how this incredible dish can become a new favorite in your home. It’s the perfect solution for a busy weeknight or a relaxed weekend gathering.
Key Takeaways
- This method simplifies a traditional dish, saving significant time and effort.
- Enjoy authentic Mexican flavors without complex preparation techniques.
- The recipe is designed to be family-friendly and perfect for any skill level.
- All components come together in a single baking dish for easy assembly and cleanup.
- It delivers the same comforting taste and texture as the original version.
- This is an ideal meal for busy schedules or casual entertaining.
Introduction to a Delicious Mexican Casserole
Every morning in Queens, a woman sells corn-husk-wrapped bundles from her cart, sharing a taste of heritage with the neighborhood. This scene captures the heart of Mexican culinary tradition—food that connects people through generations.
Making traditional dishes is truly a labor of love. During holidays, big pots filled with bundles gently steam until the masa turns soft and fragrant. These moments create lasting memories around the dinner table.
The Allure of Authentic Mexican Flavors
The authentic Mexican flavor profile brings warmth and richness directly to your kitchen. It captures that unmistakable taste that makes traditional cooking so beloved.
This approach maintains the soul of the original while adapting for modern life. You experience the same comforting essence without complex preparation methods.
Why This Recipe is Perfect for Family Meals
This recipe serves multiple people from one dish, making it ideal for gatherings. It’s perfect for busy weeknights when everyone needs a satisfying meal.
You save precious time while delivering food that tastes authentic. The beauty lies in enjoying the experience without needing an assembly line.
This dish adapts tradition for today’s busy family life. It brings people together around delicious, heartwarming food that feels both special and effortless.
The Heritage and Evolution of Tamales and Casseroles
For centuries, the meticulous art of crafting tamales by hand has represented more than just cooking—it’s a celebration of community and heritage. This traditional approach connects generations through shared kitchen experiences.
Traditional Tamale Techniques vs. Modern Approaches
Traditional tamales have stood as pillars of Mexican cuisine for generations. Each one involves carefully spreading masa made from ground corn around savory fillings. They’re then individually wrapped in corn husks before steaming.
This process naturally becomes a group activity. Family members gather to share the workload, creating bonds while preparing food. The method demands considerable time and coordinated effort.
The modern approach honors this rich heritage while adapting to contemporary needs. Known as tamal de cazuela, it creates one large baked dish instead of individual portions. This maintains authentic flavors while simplifying preparation.
This evolution respects tradition while acknowledging modern time constraints. It allows anyone to enjoy genuine Mexican flavors without the intensive labor. The result captures the essence of the original in a more accessible format.
Essential Ingredients and Tools for a Flavorful Dish
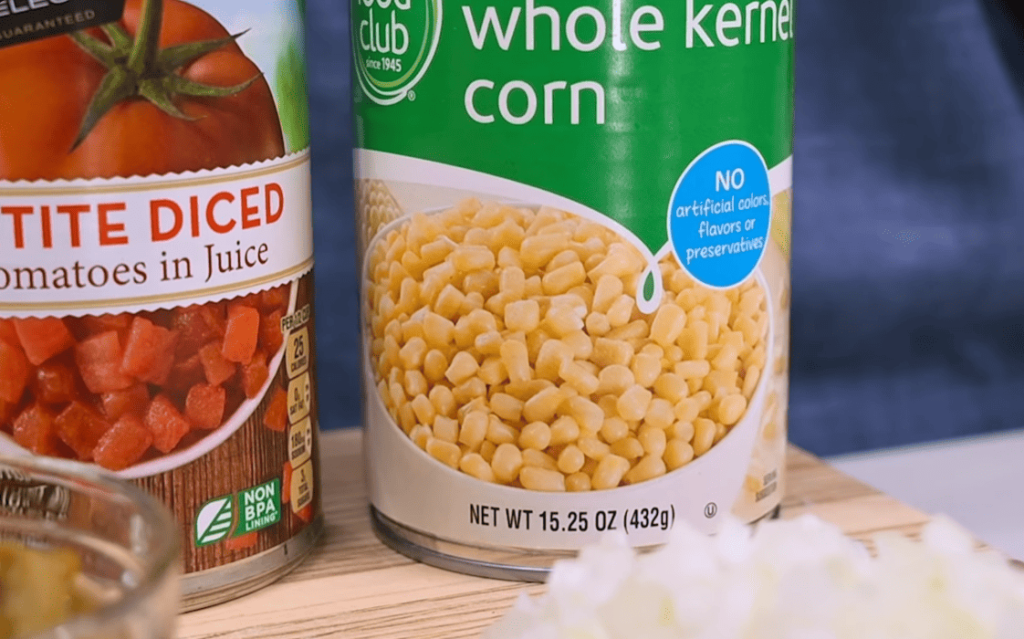
Great recipes start with great ingredients, and this dish is no exception. Gathering the right components before you begin is the first step to success. Having your tools ready makes the process smooth and enjoyable.
The foundation of this recipe lies in a few key items. Quality matters here more than quantity. Let’s break down what you’ll need to create an authentic and delicious meal.
The Role of Masa Harina and Lard
Masa harina is the star of the show. This special corn flour is made from hominy treated with lime water. It’s essential for achieving the right flavor and texture.
For the best results, choose a high-quality brand like Masienda. Maseca is a good alternative if it’s more convenient. Every cup of this flour counts towards the final taste.
Lard is the traditional fat used to create a tender, fluffy texture. Avoid hydrogenated versions. Pasture-raised lard from brands like FatWorks adds incredible richness. For a different twist, beef tallow works well.
If you prefer, you can substitute butter or oil. However, traditional lard provides the most authentic result. Chilled, solid lard whips up best for a light consistency.
Must-Have Equipment and Kitchen Tips
You don’t need fancy gadgets. A stand mixer or hand mixer is perfect for whipping the masa. A large mixing bowl is a must.
Use a 9×13-inch baking dish or a 3-quart cast iron skillet. Basic measuring cups and spoons are all you need for the dry and wet ingredients. Pre-measure your salt and baking powder for ease.
Baking powder is a key ingredient that lightens the masa. Chicken broth adds necessary moisture. Don’t forget cheese for richness and your choice of beans or meat for the filling.
| Ingredient | Purpose | Recommended Brand/Type | Substitution |
|---|---|---|---|
| Masa Harina | Base for authentic flavor and texture | Masienda White Corn | Maseca |
| Fat | Creates tender, fluffy masa | Pasture-raised Lard (FatWorks) | Beef Tallow, Butter, or Oil |
| Baking Powder | Leavening agent for lightness | Any standard brand | N/A |
| Broth | Adds moisture and flavor | Chicken broth or stock | Vegetable broth |
Mastering the tamale casserole with masa Technique
The secret to an exceptional Mexican-inspired bake lies in mastering two crucial elements: the masa foundation and the savory filling. Proper technique transforms simple ingredients into something truly special.
Understanding these methods ensures your creation turns out light, tender, and full of authentic flavor every time.
Achieving the Perfect Masa Texture
Start with the right ratio for lightness. Use two teaspoons of baking powder per pound of masa harina. This creates airy results without any unpleasant aftertaste.
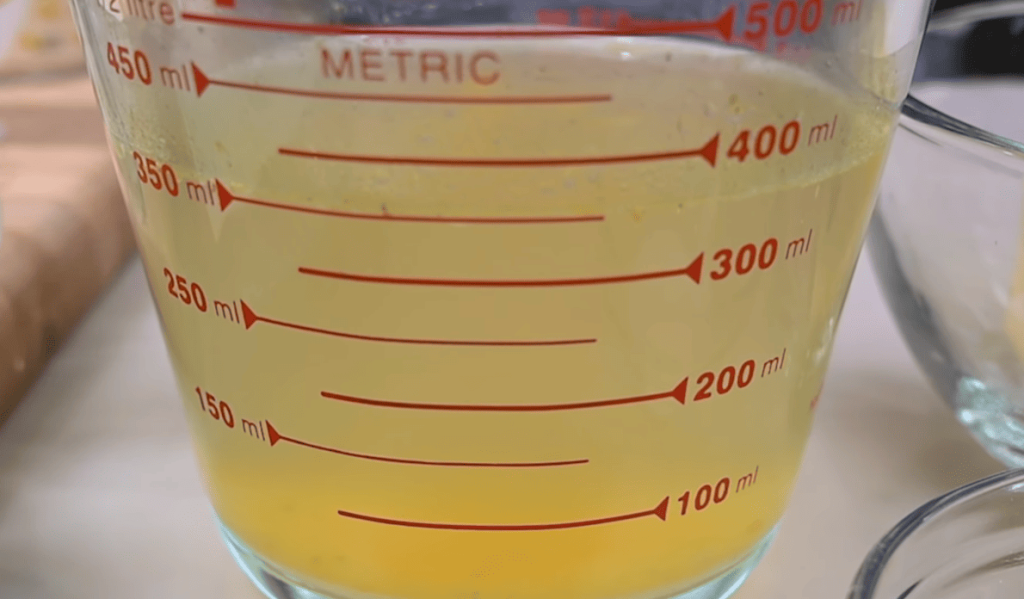
Mix your dry masa harina with an equal volume of chicken broth in a large bowl. Water works, but broth adds richer flavor. The mixture should become smooth and spreadable.
Let the masa rest for one hour. This hydration period eliminates white spots of dry flour. It creates a more tender final product.
After resting, re-whip the masa with your mixer. Add more broth if needed to maintain that perfect hummus-like texture.
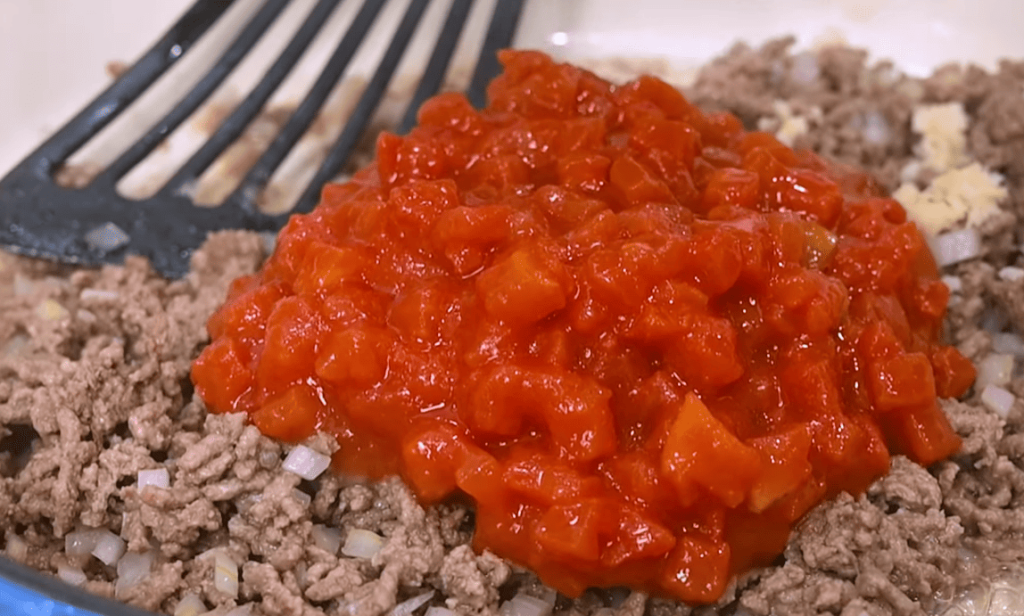
Balancing Flavors in the Savory Filling
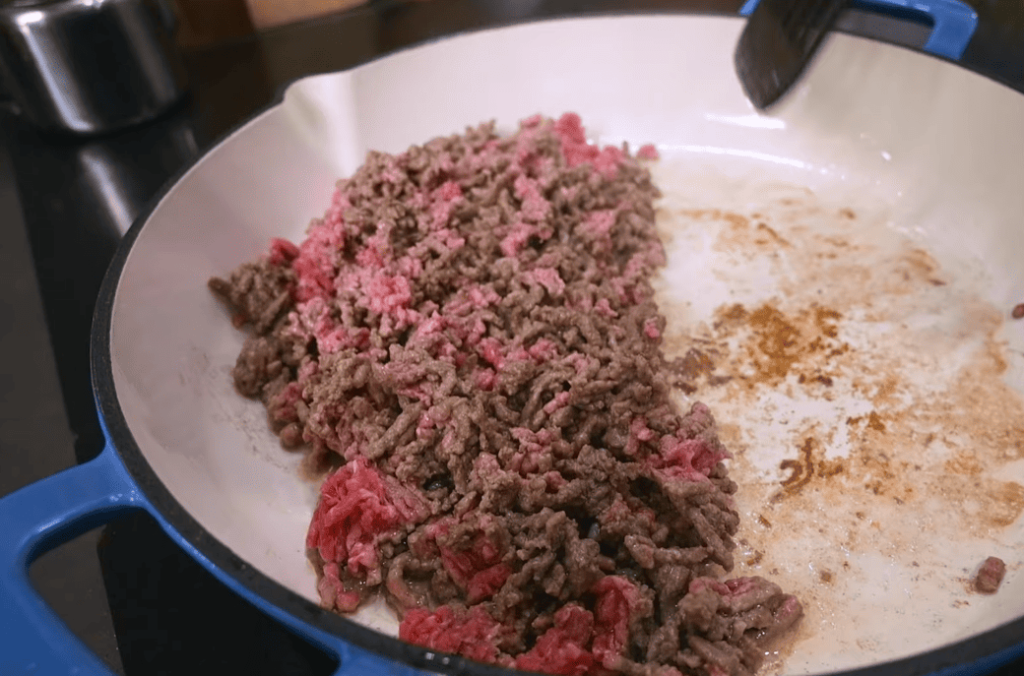
While the masa rests, prepare your filling. Combine your chosen protein with aromatic ingredients and spices. Let these flavors meld together beautifully.
The filling should have enough moisture to stay cohesive. However, avoid making it too wet. Aim for a thick, scoopable consistency that spreads evenly.
Set aside the prepared filling until assembly time. This resting period allows the flavors to develop fully. Your patience will be rewarded with deeper, more complex taste.
Customizing Your Recipe for Personal Taste
Customization is where this recipe truly shines, allowing you to create a meal that perfectly matches your family’s preferences. The basic framework welcomes creative adjustments while maintaining authentic character.
Meat, Poultry, or Vegetarian Options
Your protein choice offers the first customization opportunity. Use ground beef, turkey, or pork for traditional options. Shredded chicken or leftover roast work beautifully too.
For vegetarian versions, swap meat with cooked beans. Black beans or pinto beans create a satisfying filling. Add vegetables like squash or mushrooms for extra texture.
Remember to keep meat either ground or shredded. This ensures even layering throughout the dish.
Adjusting Seasoning and Spices for Extra Kick
Control the heat level to suit your taste buds. Chipotle powder adds smoky spice, while regular chili pepper offers moderate heat. Paprika provides mild, sweet flavor.
Experiment with different cheese varieties for richness. Traditional Mexican cheeses work well, but any melting cheese will do.
The sauce component also adapts easily. Red enchilada sauce delivers classic flavor. Green sauce offers tangy alternative. Homemade pepper sauces add personal touch.
These simple adjustments let you make this recipe uniquely yours without compromising on delicious results.
Step-by-Step Cooking Process Explained
Following these clear steps will guide you from preparation to a golden-brown masterpiece ready for the table. The method is straightforward but requires attention to timing and technique.
Preparing and Resting the Masa
Begin by mixing your dry ingredients with chicken broth. Use about one cup of liquid per cup of flour. Add a teaspoon of salt for flavor.
Cover the mixture with plastic wrap. Refrigerate for one hour. This resting period is crucial for proper hydration.
After resting, re-whip the masa. Add a tablespoon or two of broth if needed. The texture should be smooth and spreadable.
Assembly, Baking, and Final Touches
Preheat oven to 375°F. Lightly grease your baking dish or iron skillet. Spread two-thirds of the masa across the bottom.
Push the mixture up the sides to form walls. Add your prepared filling in an even layer. Use about two cups total.
Create the top crust with the remaining masa. Flatten small portions with your hands. Press them together to seal the edges.
Place the dish in the oven. Baking takes 40-45 minutes. The top should be lightly golden when done.
| Baking Temperature | Time Required | Doneness Indicator |
|---|---|---|
| 375°F | 45 minutes | Light golden crust |
| 400°F | 40 minutes | Toothpick comes out clean |
| 350°F | 50 minutes | Firm to touch |
Serving Suggestions and Meal Prep Ideas
Serving your baked masterpiece with thoughtful accompaniments elevates every bite and creates a complete meal. The right finishing touches transform this hearty creation from simple to spectacular.
Pairing Sides and Toppings for an Enhanced Experience
Let your creation rest for about 10 minutes after baking. This allows the texture to set properly. Then slice and serve with confidence.
Add traditional garnishes to each portion. Fresh cilantro, Mexican crema, or your favorite hot sauce provide bright contrast. Consider extra cheese melted on top during the final baking minutes.
Balance the rich filling with fresh, crunchy side dishes. A simple green salad or pickled vegetables work beautifully. Traditional Mexican beverages complete the experience perfectly.
This dish excels for meal prep. Portion into containers and refrigerate for up to 5 days. The flavors actually improve with time as they meld together.
- Freeze portions for up to 2 months after cooling for 30 minutes
- Reheat with a splash of chicken broth to restore moisture
- The vitamin content remains stable when stored properly
- Serve family-style for interactive dining experiences
Conclusion
The journey from pantry to plate has never been more rewarding than with this method. You’ve discovered how to create authentic Mexican flavors using simple kitchen tools and smart techniques.
This approach transforms what once felt complex into an accessible family favorite. The right balance of masa harina, baking powder, and chilled fat creates that perfect light texture. Your choice of ground meat, chicken, or beans makes each version unique.
Remember the importance of resting time and proper layering in your baking dish or iron skillet. The golden crust that forms after 45 minutes in a preheated oven signals perfection.
Now you have everything needed to make this dish your own. Gather your bowl, measure your ingredients, and enjoy creating meals that bring people together around delicious, comforting food.