
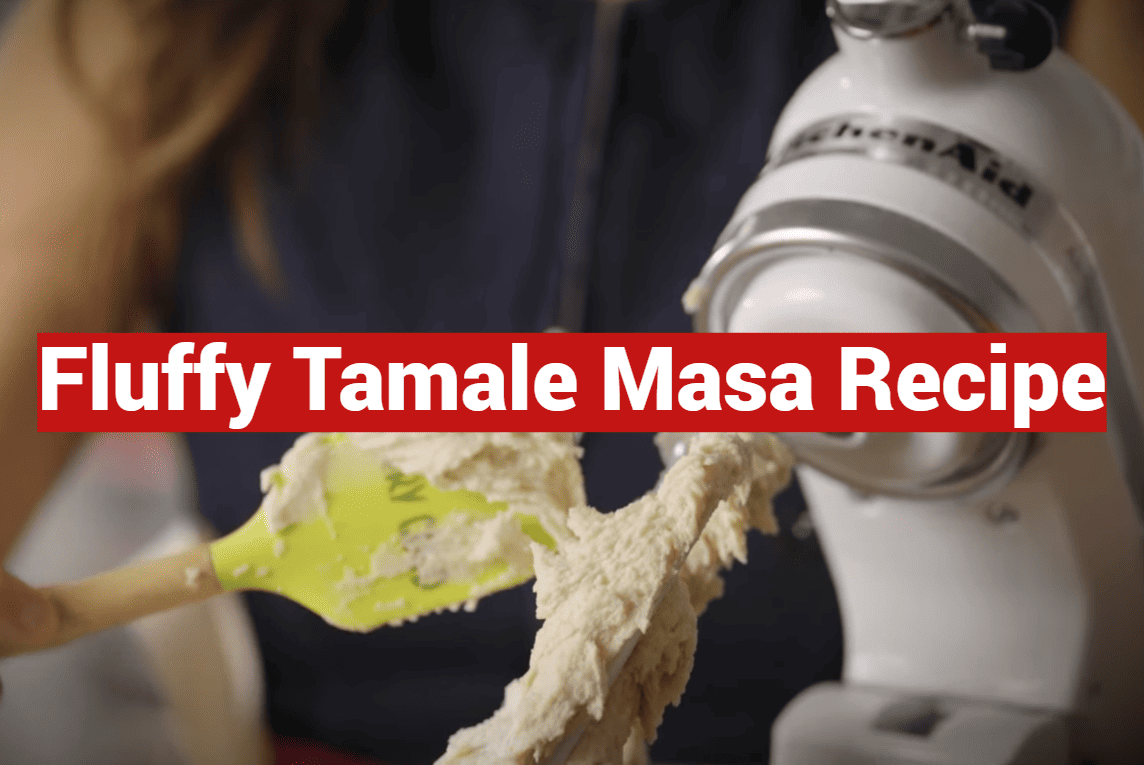
Did you know that during the holiday season, families across the United States prepare over 10 million homemade tamales? This cherished tradition brings people together, but the secret to exceptional results lies in one crucial element.
Welcome to your complete guide for creating the perfect foundation for incredible homemade tamales. The dough mixture is truly the heart of this beloved dish, determining whether your final creation will be tender and light or dense and disappointing.
Whether you’re new to this culinary adventure or looking to refine your skills, this friendly walkthrough covers everything. We’ll explore traditional techniques alongside modern approaches that fit various lifestyles and dietary needs.
You’ll discover why proper preparation of this essential component transforms the entire experience. Mastering this skill turns what might feel intimidating into an enjoyable, rewarding process.
This comprehensive resource provides detailed instructions, practical tips, and answers to common questions. You’ll gain the confidence to produce authentic, restaurant-quality results right in your own kitchen.
Get ready to impress your loved ones with moist, tender creations that feature that signature airy texture and rich flavor everyone craves.
Key Takeaways
- The dough mixture is the most important factor for successful homemade tamales
- Proper technique transforms intimidating processes into enjoyable experiences
- This guide works for both beginners and experienced cooks looking to improve
- You’ll learn traditional methods alongside modern variations and shortcuts
- Detailed instructions and troubleshooting tips ensure confident preparation
- Mastering this foundation leads to authentic, restaurant-quality results
- The right approach creates tender, light textures that impress family and friends
Introduction to Homemade Tamales
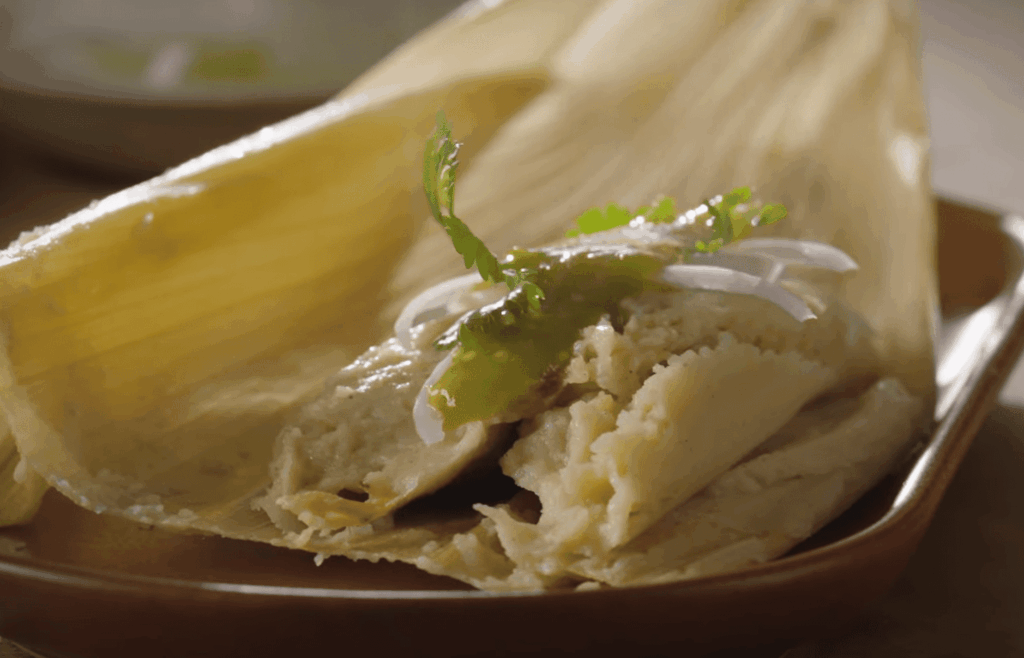
In Mexican households, preparing tamales transforms ordinary gatherings into cherished celebrations steeped in heritage. This culinary tradition connects generations through shared kitchen experiences.
Overview of Tamale Culture and Tradition
These special foods hold deep cultural significance. Families often come together for tamaladas, where multiple generations work side by side.
The process becomes a social event filled with storytelling and technique sharing. People prepare dozens or even hundreds of tamales during these gatherings.
While the Spanish singular is “tamal,” American English commonly uses “tamale” for both forms. The true importance lies in the delicious results.
What Makes Tamale Dough Special?
The corn-based mixture serves as both protective vessel and flavorful component. It complements fillings rather than acting as a bland wrapper.
Properly seasoned dough creates a tender, light texture. This unique quality comes from nixtamalized corn combined with fat and broth.
Homemade versions allow complete control over texture and moisture levels. This results in tamales far superior to store-bought alternatives.
The beauty lies in customization options for both the masa and fillings. You can adapt recipes to suit taste preferences and dietary needs.
Key Ingredients for a Perfect Tamale Dough
Creating that perfect tamale foundation requires careful selection of just a few essential components. Each element plays a specific role in achieving the desired texture and flavor profile.
The right combination transforms simple ingredients into something truly special. Understanding how they work together makes all the difference.
Masa Harina, Broth, and Fat Explained
Masa harina forms the base of your mixture. This specially treated corn flour provides the authentic taste and texture that defines traditional preparations.
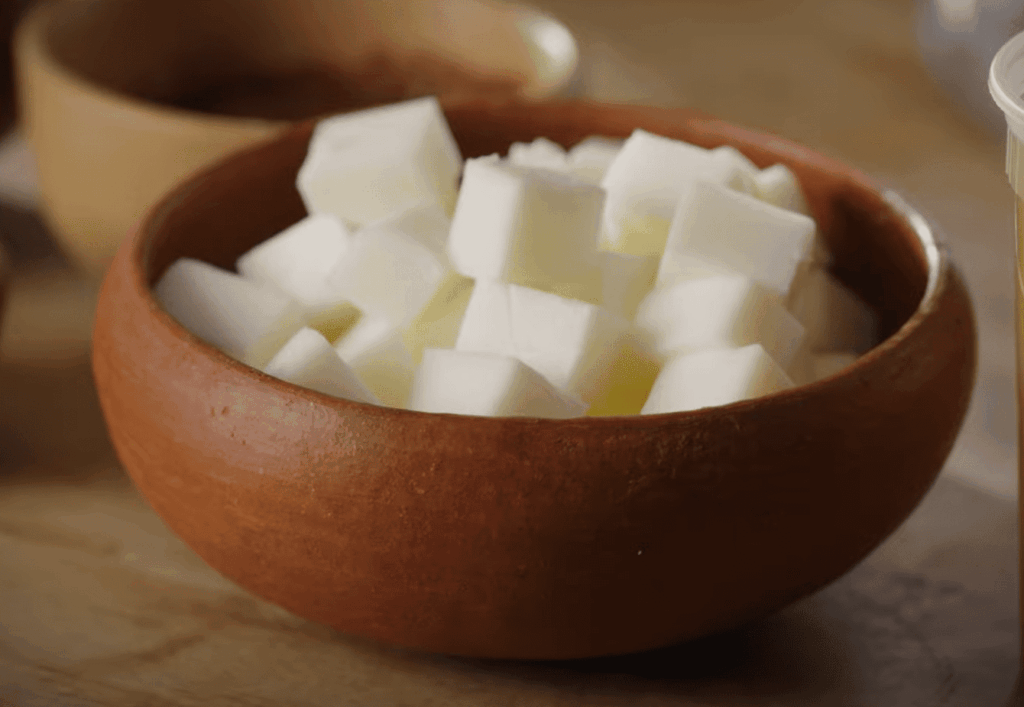
The fat component, often lard in classic versions, creates tenderness. Alternatives like vegetable shortening work beautifully for different dietary needs.
Broth brings life to the mixture. Choose chicken, beef, or vegetable stock that complements your planned filling. Using cooking liquid from your meat preparation adds incredible depth.
The Role of Seasonings in Flavored Dough
Seasonings elevate your creation from basic to extraordinary. Salt balances all flavors while spices like cumin add complexity.
Some cooks include baking powder for extra lift. Others prefer simpler approaches. Experiment to find what works best for your taste.
Incorporating sauce from your filling creates wonderful harmony. Every bite then features coordinated flavors that delight the palate.
Understanding Masa Harina Versus Cornmeal
The foundation of exceptional tamales begins with understanding the unique properties of masa harina and how it differs from other corn products. Choosing the right flour ensures authentic texture and flavor that honors traditional preparation methods.
What is Masa Harina?
Masa harina is a special corn flour made from hominy. Hominy consists of corn kernels treated through nixtamalization, a process that uses an alkaline solution.
This treatment fundamentally changes the corn’s properties. The resulting dough is dried and ground into a fine, gluten-free flour perfect for traditional dishes.
Maseca remains the most widely available brand found in grocery stores. Both their regular and “tamal” versions work well for creating authentic results.
How It Differs from Other Corn Flours
Cornmeal and masa harina are not interchangeable despite both coming from corn. Cornmeal is simply ground raw corn used for cornbread and polenta.
The nixtamalization process gives masa harina its distinctive qualities. This makes it ideal for tortillas, tamales, and other traditional Latin American foods.
Avoid using corn starch or Harina Pan for tamales. These serve different culinary purposes and won’t deliver authentic texture.
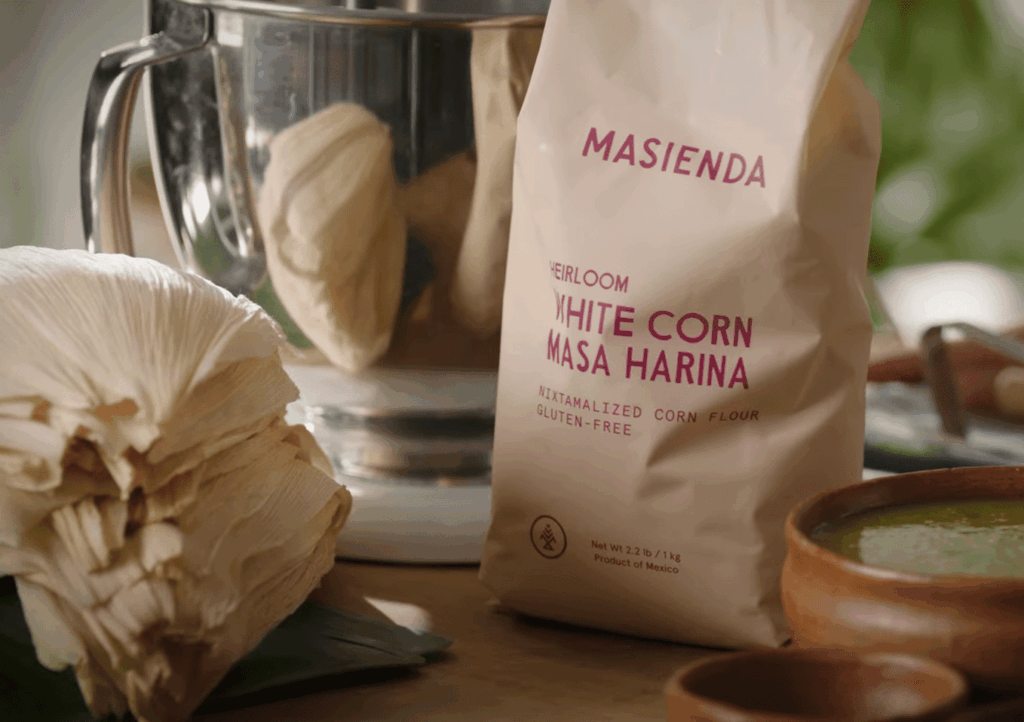
For superior results, consider premium brands like Masienda or Bob’s Red Mill. Their high-quality corn flour elevates your final creation.
Step-by-Step Guide to Making Tamale Masa
The magic of perfect tamale dough comes alive when you follow a precise mixing sequence that builds texture gradually. These clear instructions ensure you achieve the ideal consistency every time.
Proper technique transforms simple ingredients into something extraordinary. Let’s walk through the essential steps.
Mixing Dry Ingredients and Seasonings
Begin by whisking your masa harina with baking powder and seasonings in a large bowl. This crucial first step prevents concentrated pockets of any single ingredient.
Even distribution creates balanced flavor throughout your final creation. The dry ingredients form the foundation for everything that follows.
Incorporating Fat and Broth for the Right Consistency
Next, beat your chosen fat in a separate large bowl for about five minutes. This incorporates air that contributes to tender results.
Add half the dry mixture and blend until it resembles wet sand. Then add one cup of warm broth and continue mixing.
Incorporate the remaining dry ingredients with another cup of liquid. Gradually add more broth until the dough reaches a spreadable consistency.
The entire process takes approximately twenty to thirty minutes. Room temperature ingredients work best for smooth incorporation.
Tips for Achieving Fluffy and Moist Dough
Many home cooks wonder about the secret to that perfect, airy texture in their homemade creations. Getting your mixture to the right consistency makes all the difference between good results and great ones.
Traditional methods help ensure your dough has the ideal lightness. These simple tests and adjustments give you confidence during preparation.
Testing Masa Fluffiness with the Float Test
The famous “float test” checks if your mixture has enough incorporated air. Drop a small piece of dough into a cup of cold water.
If it floats, your masa is ready. If it sinks, mix a little more. Don’t worry if it doesn’t float perfectly—many experienced cooks create delicious tamales regardless.
“The float test is a guideline, not a strict rule. Proper beating and fat content matter more than whether your masa floats.”
Adjusting Liquid Amounts for Texture
Your personal preference determines the ideal consistency. Some people like firmer dough while others prefer looser texture.
Consider these factors when adjusting your mixture:
- Spreading method: Use firmer dough for hand spreading, looser for spoon application
- Final texture: More liquid creates cake-like results, less liquid makes denser tamales
- Easy fixes: Add broth 1/4 cup at a time if your masa seems too thick
The ideal consistency resembles soft peanut butter or thick hummus. It should spread easily without dripping off the husks.
Remember that fat content directly impacts moisture. If your final product tends to be dry, try increasing the fat rather than just adding more liquid.
Using Kitchen Tools and Techniques
Modern kitchen tools offer convenient alternatives to traditional mixing methods. Your equipment choice affects both preparation ease and final texture.
Each approach has distinct advantages depending on your needs. Consider batch size, available time, and personal preference.
Stand Mixer vs. Hand Mixing Methods
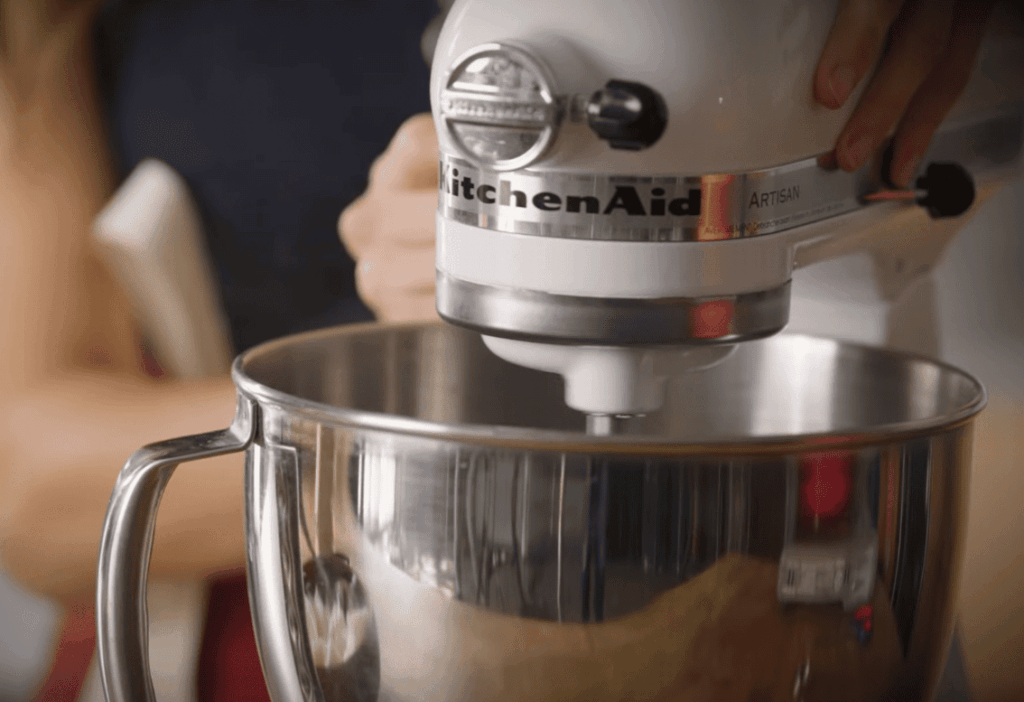
A stand electric mixer like KitchenAid simplifies the mixing process significantly. The paddle attachment handles thick dough effortlessly.
This method saves considerable time and physical effort. It’s ideal for larger batches or when using solid fats like lard.
Traditional hand mixing connects you to generations of cooks. It requires about 15-20 minutes of vigorous work but offers complete control.
| Method | Time Required | Effort Level | Best For |
|---|---|---|---|
| Stand Mixer | 5-10 minutes | Low | Large batches, solid fats |
| Hand Mixing | 15-20 minutes | High | Small batches, traditional approach |
Regardless of your chosen method, scrape the bowl sides periodically. This ensures even ingredient incorporation throughout your masa.
Both approaches can produce excellent tamales when executed properly. The key lies in thorough air incorporation during the mixing process.
How to Make Tamale Dough with Lard and Other Fats
Fat selection plays a pivotal role in achieving the perfect balance between authenticity and personal dietary preferences. The right choice creates that signature tender texture while allowing for creative customization.
Substituting with Vegetable Shortening or Butter
Traditional preparations typically use about 1 1/4 cup of pork lard, which delivers incredible flavor and texture. Seek out fresh rendered lard from Latin markets rather than shelf-stable versions filled with preservatives.
Vegetable shortening works beautifully as a substitute, using the same 1 1/4 cup quantity. This option maintains excellent texture while accommodating vegetarian or kosher needs.
When using liquid oil instead of solid fat, reduce the amount to about 1 cup. Neutral vegetable oil or avocado oil won’t overpower your filling flavors.
Butter adds rich flavor but works best in sweet variations or combined with other fats. Refined coconut oil provides another neutral option for your dough preparation.
Remember that liquid fats may require less broth during mixing. Your final masa consistency should remain spreadable regardless of which fat you choose.
Fluffy Tamale Masa Recipe: Authentic and Easy Steps
The process of making the perfect corn-based mixture is simpler than you might imagine, requiring only about 30 minutes from start to finish. This authentic approach yields approximately 30-45 small creations depending on how thickly you spread the dough.
Begin with 4-6 cups of masa harina (about 500 grams). This serves as your base flour and can be adjusted for quantity needs. Combine your dry ingredients first by whisking together the masa harina with seasonings.
Use 1-2 tablespoons of baking powder, 1 tablespoon salt, and flavor enhancers like garlic powder and cumin. Melt your chosen fat (1 pound or 1¼ cups) and add it to the dry mixture.
If using a sauce, incorporate ¾ cup at this stage for flavor continuity. Gradually add 3-4 cups broth one cup at a time, mixing thoroughly after each addition.
Let the mixture rest for 20 minutes so the harina can fully hydrate. After resting, continue adding liquid in quarter-cup increments until you achieve a spreadable consistency resembling thick hummus.
The entire preparation takes about 30 minutes. Remember to taste your mixture before using it and adjust seasoning as needed since some flavor dissipates during cooking.
Storing and Freezing Your Tamale Dough
Smart preparation often involves making your dough ahead of schedule to streamline your cooking day. Your freshly prepared masa doesn’t need to be used immediately thanks to effective storage methods.
Many families prepare both fillings and dough in advance. This smart approach saves valuable time when making large batches for celebrations.
Best Practices for Refrigeration and Freezing
For short-term storage, place your masa in an airtight container or silicone bag. It will keep well in the refrigerator for up to three days.
When ready to assemble your tamales, remove the dough about thirty minutes beforehand. This allows it to reach room temperature and regain a soft, spreadable consistency.
If your refrigerated mixture seems dry or firm, simply stir in a few tablespoons of broth. This quick fix restores the perfect texture for spreading.
| Storage Method | Duration | Preparation Before Use | Texture Notes |
|---|---|---|---|
| Refrigeration | Up to 3 days | 30 minutes at room temperature | May need broth adjustment |
| Freezing | 3-6 months | 24 hours in fridge + room temp | Initially crumbly, kneads smooth |
For longer storage, freezing works exceptionally well. Package your masa in airtight containers, covering the surface with plastic wrap before sealing.
Defrost frozen dough by transferring it to the refrigerator the day before use. The texture will be wet and crumbly at first—this is completely normal.
After thawing, let it sit covered at room temperature until workable. Gentle kneading restores a spreadable consistency very close to fresh masa.
This post-preparation flexibility means you can enjoy homemade tamales with better time management. Your future self will thank you for the planning!
Creative Variations and Delicious Tamale Fillings
The real joy of making these traditional dishes comes from experimenting with endless filling combinations. You can create signature versions that reflect your personal taste and family traditions.
Experimenting with Different Broths and Sauces
Get creative with your liquid ingredients. Using different stocks—chicken, pork, beef, or vegetable—creates distinct flavor profiles.
Incorporating various chile sauces directly into the mixture complements your fillings perfectly. This approach ensures every bite features coordinated flavors.
Popular savory options include slow-cooked pork in red chile sauce and shredded chicken with green salsa. Vegetarian choices like cheese and poblano peppers work beautifully too.
Incorporating Leftover Masa into Unique Recipes
Don’t let extra mixture go to waste. If it’s not heavily seasoned, you can transform it into sweet treats.
Simply mix in milk, sugar, cinnamon, and fresh or dried fruit for dessert versions. This creative approach gives you two different dishes from one preparation session.
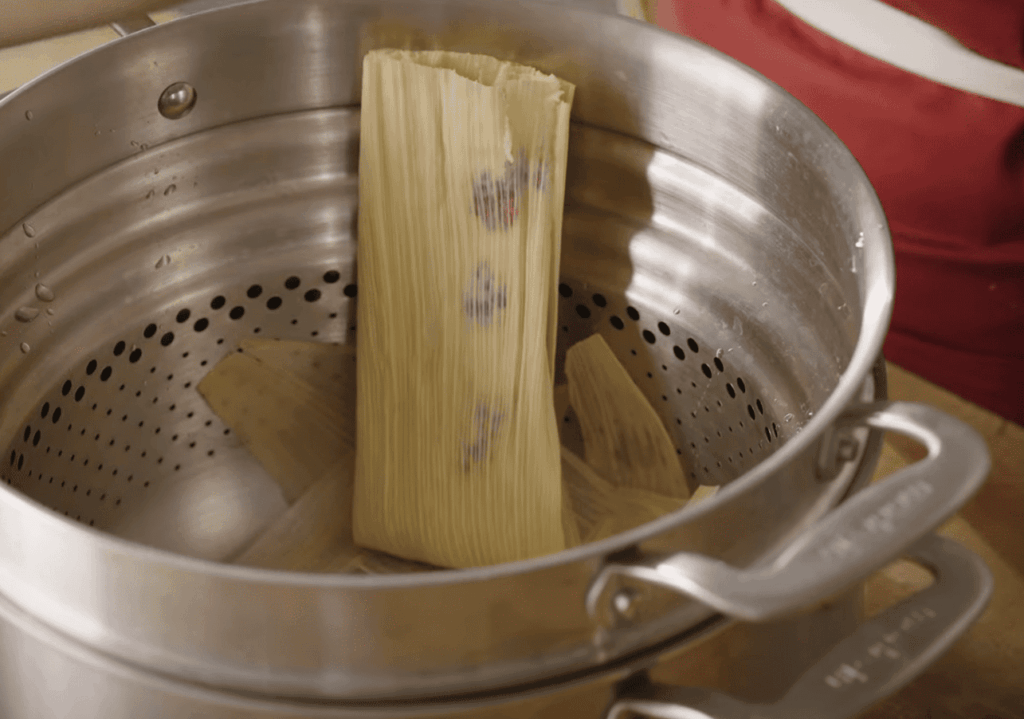
For wrapping, traditional dried corn husks need soaking before use. Banana leaves offer a different presentation popular in southern Mexico.
Your cooking time typically runs 60-90 minutes. They’re done when the mixture pulls away cleanly from the wrapper.
Conclusion
With this comprehensive guide, you’re equipped to produce restaurant-quality results in your own kitchen. You now possess the knowledge and confidence to create authentic homemade tamales that will impress everyone who tries them.
Remember that perfecting your tamale dough is a skill that improves with practice. Don’t worry if your first attempt isn’t flawless—even slightly imperfect creations made with care taste far superior to store-bought versions.
The techniques you’ve learned for making tamales will serve you well for years to come. Feel free to experiment with different corn varieties, fats, and seasonings to develop your own signature recipes.
Now it’s time to gather your ingredients and start creating delicious memories in the kitchen. Your family and friends will be amazed by your new culinary skills!