Did you know that Americans consume over 100 million tamales during the holiday season alone? This traditional dish has become a beloved staple in households across the country, bringing families together around the table.
Welcome to your complete guide for creating authentic fillings that will transform your kitchen. Whether you’re new to this culinary adventure or looking to refine your skills, we’ll walk you through every step.
Creating delicious homemade versions might seem ambitious at first. However, breaking the process into manageable steps makes it an enjoyable experience. You’ll soon discover the joy of preparing batches that steam to perfection.
The beauty of mastering this technique lies in its incredible versatility. Once you understand the basics, you can customize with everything from classic meats to creative vegetarian options. This approach ensures perfect results that suit your personal taste preferences.
Get ready to create tender, flavorful delights wrapped in corn husks. They deliver that authentic texture and taste that makes this traditional dish so irresistible. Perfect for festive gatherings or satisfying make-ahead meals.
Key Takeaways
- Transform your kitchen with authentic Latin American cuisine techniques
- Learn step-by-step methods suitable for both beginners and experienced cooks
- Discover how to select the right ingredients for optimal flavor
- Master assembly techniques that ensure perfect results every time
- Create versatile fillings that can be customized to personal preferences
- Enjoy restaurant-quality homemade results with proper guidance
- Build confidence in preparing traditional dishes for special occasions
Introduction to Homemade Tamales
The art of creating these corn-husk wrapped delicacies connects modern kitchens to culinary practices dating back thousands of years. Evidence shows people enjoyed versions of these bundles as early as 8000 BC. They remain significant in cultural celebrations today.
Homemade tamales represent one of the most rewarding cooking projects you can undertake. You combine tender masa dough with savory ingredients inside softened corn husks. This process allows you to control every aspect of your creation.
While making a batch might seem time-consuming initially, the process becomes enjoyable with practice. The ability to prepare many portions means you’ll have authentic meals ready for months. They freeze beautifully for up to three months.
Once you experience unwrapping a perfectly steamed homemade tamale, you’ll understand their enduring appeal. The corn husks contribute an earthy flavor that enhances the entire experience. This traditional dish offers both practicality and deep culinary satisfaction.
History and Cultural Significance of Tamales
Archaeological discoveries reveal that people enjoyed these masa-based creations thousands of years before the pyramids were built. The journey of tamales spans over ten millennia, connecting modern tables to ancient Mesoamerican traditions.
Ancient Origins and Mesoamerican Roots
Evidence shows civilizations prepared tamales as early as 8000 BC. For Aztec and Mayan cultures, these bundles held sacred importance beyond mere food.
They served as ritual offerings and warrior provisions. The ingenious corn husk wrapper created portable, self-contained meals ideal for travel.
Modern Traditions in the United States
Today, tamales maintain cultural significance while evolving with modern tastes. They often become the centerpiece of holiday gatherings across America.
Many families host tamaladas—special parties where generations work together. The considerable time investment transforms preparation into cherished social events.
| Aspect | Ancient Traditions | Modern Practices |
|---|---|---|
| Purpose | Ritual ceremonies & warrior provisions | Family gatherings & holiday celebrations |
| Preparation | Individual or small group efforts | Community tamalada parties |
| Cultural Role | Sacred offerings to gods | Labor of love connecting generations |
| Wrapper Material | Corn husks or banana leaves | Primarily corn husks |
While English speakers say “tamale” for singular, the correct Spanish term is tamal. This linguistic detail highlights the rich cultural journey of these beloved corn-wrapped treasures.
Essential Ingredients for a Flavorful Experience
Quality ingredients transform simple preparations into extraordinary culinary creations. The right components work together to create that authentic texture and taste everyone loves.
Understanding each element’s role helps you make informed choices at the market. This knowledge ensures consistent results batch after batch.
Key Components: Masa Harina, Corn Husks, and Broth
Start with masa harina specifically labeled “For Tamales.” This special harina has a coarser grind than tortilla varieties. It creates the light, fluffy texture that defines perfect results.
Brands like Maseca Tamal or Gold Mine provide ideal consistency. You’ll typically need several cups of this corn flour for a standard batch.
Dried corn husks serve as natural wrappers and flavor enhancers. They infuse the dough with subtle corn essence during steaming. Find these husks in the international aisle of most grocery stores.
Low-sodium chicken or vegetable broth hydrates the masa while adding umami depth. The reduced salt content gives you better control over seasoning.
The Role of Lard or Shortening in Your Dough
Traditional lard provides authentic savory notes that complement the corn perfectly. For vegetarian options, vegetable shortening works equally well.
Whipping the fat incorporates air into your mixture. This aeration creates the desired fluffy texture in the final product.
Don’t overlook kosher salt for balanced seasoning. Its larger crystals dissolve evenly throughout the dough.
Baking powder acts as a essential leavening agent. Just a few teaspoons prevent dense results and ensure proper consistency.
When measuring ingredients, maintain proper ratios between dry and wet components. The right balance of water and broth creates spreadable dough that holds its shape.
Tools and Preparation Basics
Having the right tools ready makes the preparation process smooth and efficient. Proper setup is the foundation for a successful cooking project.
Before you start, gather your essential equipment on the counter. You will need a large pot with a tight-fitting lid. A steamer basket that fits inside this pot is crucial.
Also have mixing bowls, a mixer for the dough, and measuring cups handy. Having everything within reach creates an enjoyable assembly-line experience.
Gathering Your Equipment and Ingredients
The most important first step involves the corn husks. You must soak corn husks in cold water for at least two hours.
This process makes the husks soft and pliable. There is no shortcut for this step. Plan ahead to ensure they are ready when you are.
When you soak corn husks, ensure they are fully submerged. You can place a plate on top to weight them down. Fully hydrated husks fold easily without cracking.
After draining, keep the softened corn husks under a damp towel. This prevents them from drying out and becoming brittle while you work.
You don’t need special equipment for the steamer. A standard basket inside a large pot works perfectly. It allows steam to circulate evenly for consistent cooking.
| Soaking Method | Time Required | Key Benefit |
|---|---|---|
| Cold Water Soak | 2+ Hours | Best for flexibility and preventing tears |
| Warm Water Soak | 1 Hour (Approx.) | Faster, but higher risk of husks tearing |
| With a Weight | 2+ Hours | Guarantees full submersion for even softening |
Organizing your ingredients and workspace in advance is a game-changer. It transforms a potentially chaotic process into a fun, streamlined activity. This is especially helpful when preparing a large batch.
Perfecting Your Masa Dough
Proper masa preparation separates amateur attempts from professional-quality results. The texture of your final creation depends entirely on how you handle this crucial component.
Start by dissolving salt in hot water before adding it to masa harina. Mix thoroughly until no dry pockets remain in the mixture. This initial step ensures even hydration throughout your dough.
Mixing Techniques for a Fluffy Texture
Use a standing mixer with a paddle attachment for optimal results. Whip your shortening with baking powder for three full minutes. This creates essential aeration that makes the final product light.
Add the hydrated masa to the whipped fat one scoop at a time. Gradually stream in broth until the mixture reaches the perfect consistency. The dough should be thick but spreadable, not pourable.
Hydration and Resting Time Explained
After combining water and masa harina, let the mixture rest for 20-30 minutes. This hydration time allows the corn flour to fully absorb liquid. The result is smoother, more cohesive dough that spreads easily.
Refrigerate your masa mixture for 1-3 hours covered with plastic wrap. This resting period allows flavors to meld and the dough to set properly. Return it to the mixer for two final minutes of beating before use.
| Hydration Method | Recommended Time | Key Benefit |
|---|---|---|
| Initial Rest after mixing | 20-30 minutes | Complete corn flour hydration |
| Cold Rest in refrigerator | 1-3 hours | Flavor development and texture setting |
| Final Mixing before assembly | 2 minutes | Restores fluffy texture |
Test your dough readiness with the float test. Drop a small amount into cold water—if it floats, your masa has perfect aeration. This simple check ensures light, tender results every time.
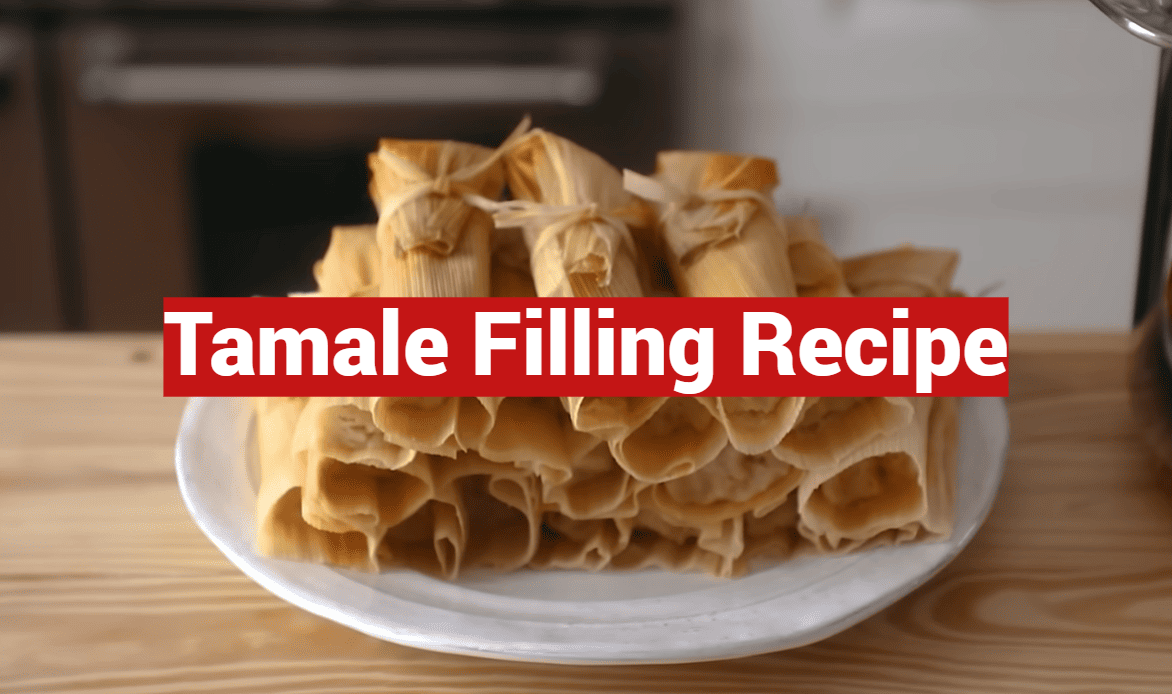
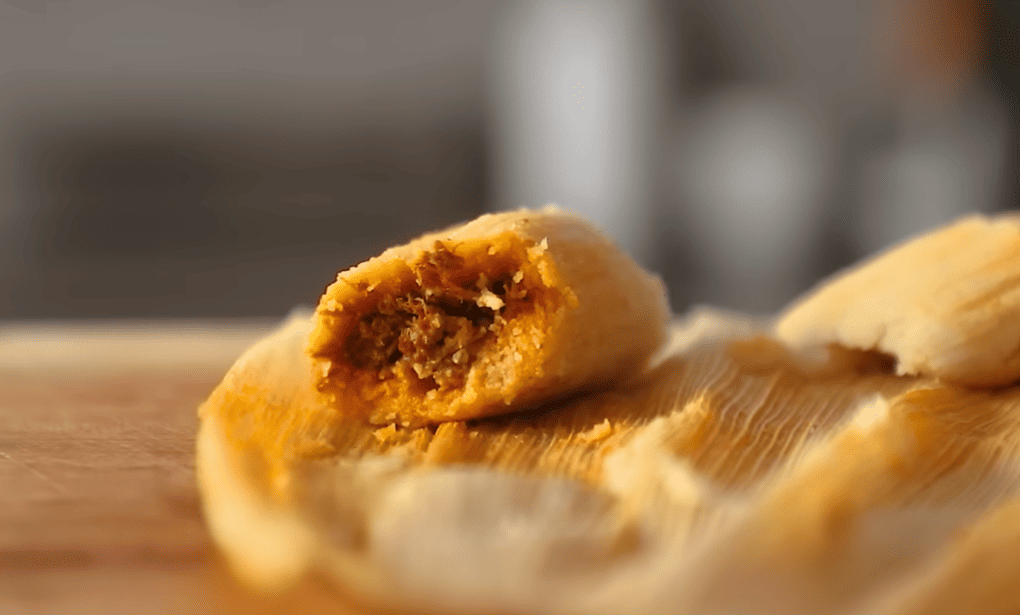
Step-by-Step Tamale Filling Recipe
This section guides you through creating mouthwatering centers that will make your tamales unforgettable. You’ll discover how to build incredible flavor combinations using traditional and creative ingredients.
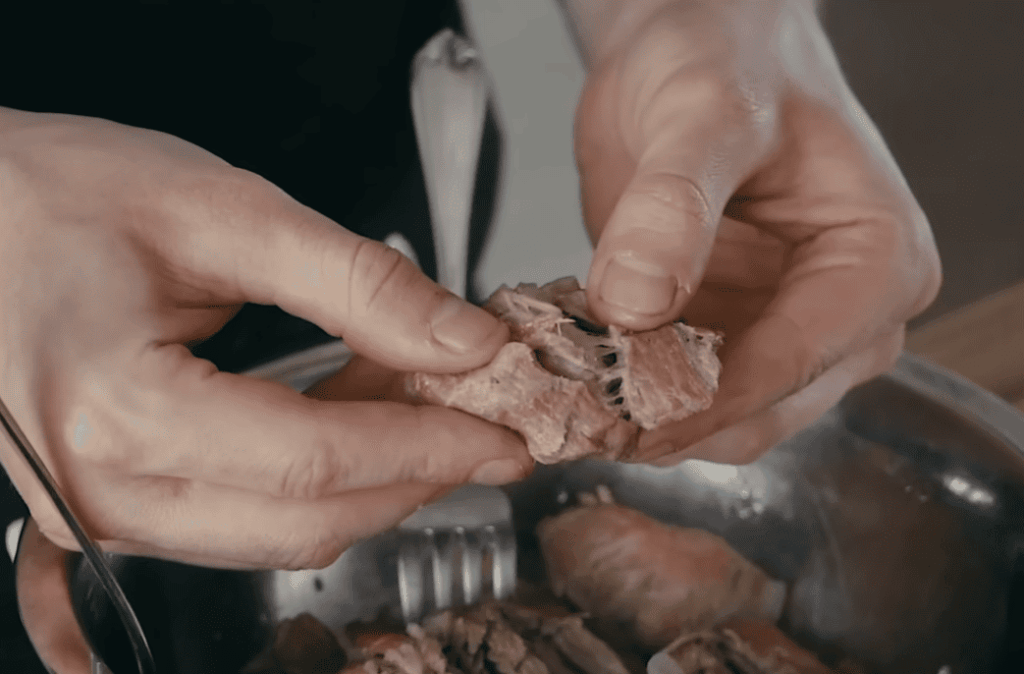
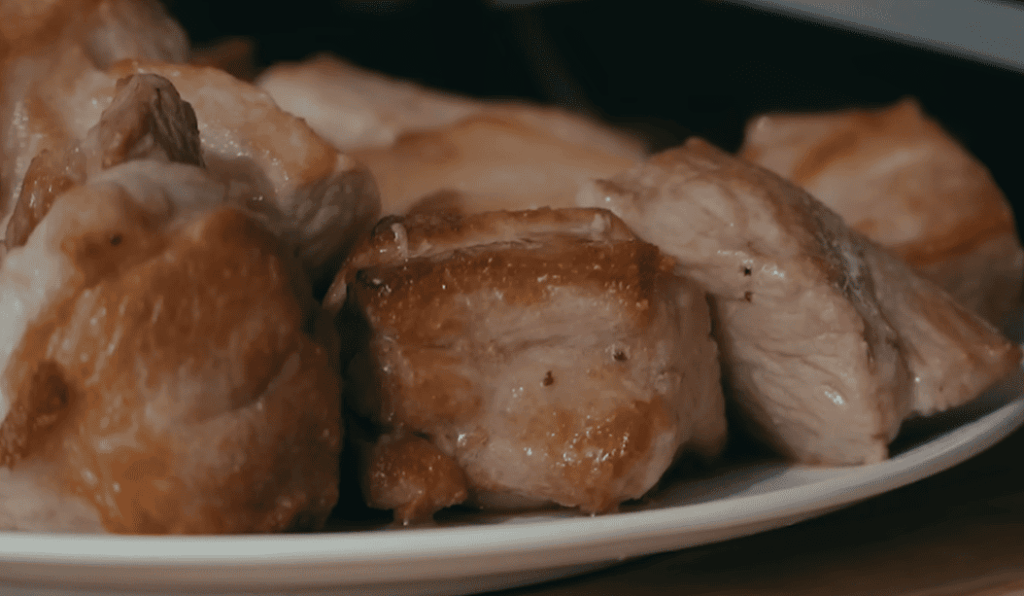
Selecting the Right Filling: Pork, Chicken, or Vegetarian Options
For a classic beef version, combine 3 cups shredded meat with roasted green chiles and potatoes. The cooking process takes about 7 hours in a crockpot for tender results.
Chicken variations offer quick preparation options. A traditional version with corn and tomatoes takes only 20 minutes if you poach the poultry. For something zesty, try citrus-marinated chicken with Cotija cheese.
Vegetarian choices prove equally delicious. The green chile and cheese option features Oaxaca cheese with roasted peppers. Black bean and cheese provides a protein-rich alternative that cooks in about 2 hours.
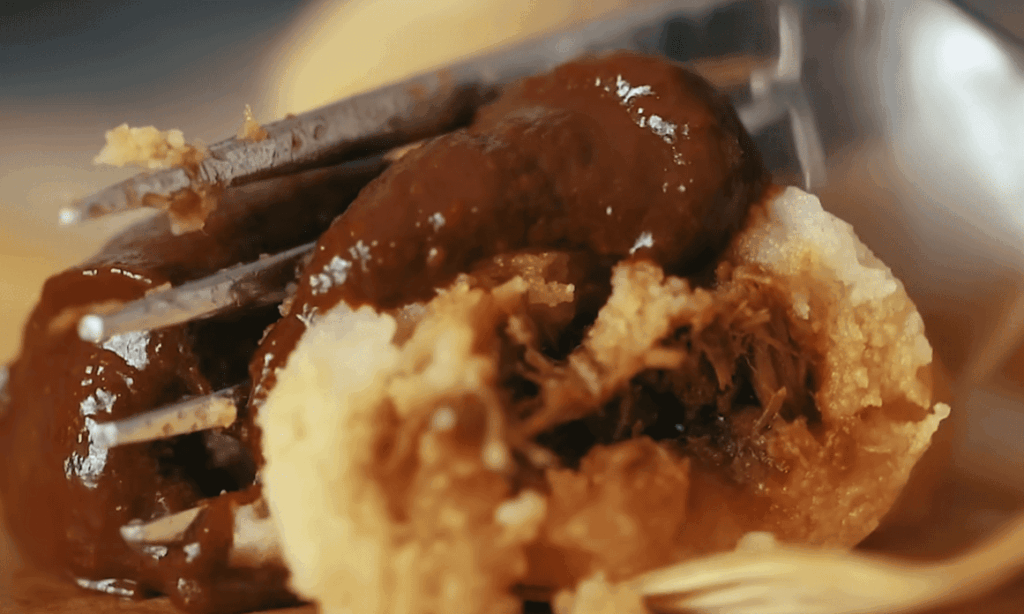
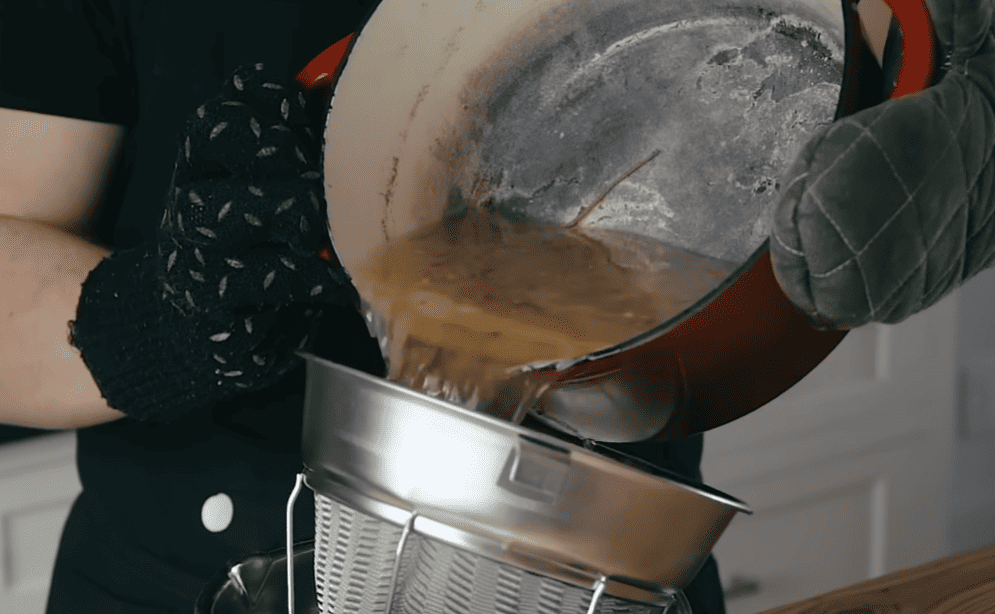
Balancing Flavors with Spices and Broth
Each combination benefits from proper seasoning. Use the cooking liquid from beans as a flavor-enhancing broth. Fresh ingredients like cilantro and serrano chiles add brightness.
When assembling, place approximately 2 tablespoons in the center of your masa-spread husk. This positioning ensures even distribution and proper folding. The right balance of spices creates memorable results.
You can prepare these components a day ahead. Refrigeration allows flavors to develop further. This step saves time on assembly day while improving taste.
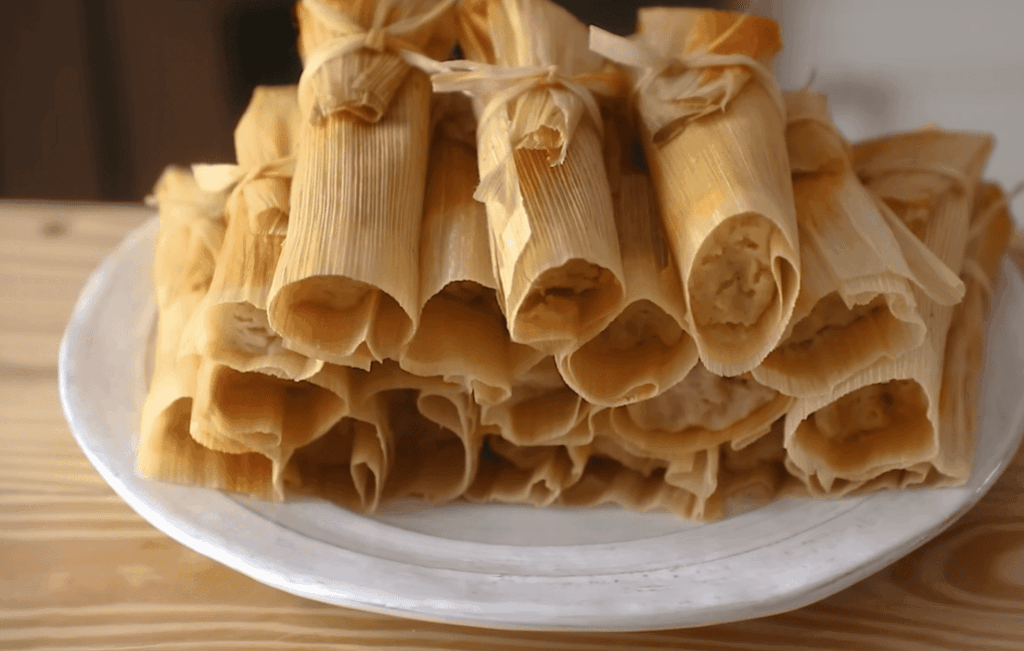
Assembling Your Tamales: Techniques and Tips
Mastering the assembly process transforms individual ingredients into perfectly wrapped packages ready for steaming. This step brings everything together with careful attention to detail.
Begin with your prepared corn husks laid flat on the workspace. The wide end should face you for easy handling.
Folding and Rolling: Keeping the Filling Secure
Spread about 3 tablespoons of masa dough across the center of each husk. Leave 2 inches clear at the bottom and half an inch at the top.
Place your prepared mixture along the middle of the dough. Bring both long side edges together gently. The masa should wrap around completely.
Roll the husk around the bundle and fold the bottom end upward. Pinch firmly to secure this crucial closure.
Corn Husks vs. Parchment Squares: Which to Use?
Traditional corn husks provide authentic flavor and appearance. They infuse subtle corn essence during cooking.
Parchment paper offers convenience and works effectively. Both options create properly steamed results.
For tying, tear several husks into thin strip pieces. Wrap these around each bundle if desired.
Remember that practice improves technique. Even imperfect-looking bundles steam beautifully when assembled correctly.
Cooking Methods: Steaming and Beyond
Steaming transforms your carefully assembled bundles into tender, ready-to-eat delights. This traditional approach ensures even heat distribution and perfect texture development.
The gentle cooking process allows the masa to set properly while keeping everything moist. You’ll achieve that authentic consistency that makes these treats so special.
Steaming Tips for Even Cooking
Start by filling your pot with about two inches of water. Bring it to a gentle simmer before placing your steamer basket inside.
When you place tamales in the steamer, arrange them upright with open ends facing up. This positioning prevents masa from escaping during the initial cooking time.
If your steamer has extra space, fill gaps with crumpled foil. This keeps bundles standing straight for consistent steam circulation.
Adjusting Time and Temperature for Perfect Results
Most batches require 60-75 minutes of steaming. The exact time depends on size and how tightly packed your pot is.
Monitor water levels closely throughout cooking. Add hot water as needed to maintain that two-inch depth. Never let your pot boil dry.
Bring water to a full boil initially, then reduce to a steady simmer. This creates consistent steam without violent bubbling.
For faster preparation, try an Instant Pot. Place bundles upright with one cup of water and pressure cook for 20-25 minutes.
You’ll know your creation is done when the dough peels cleanly from the husk. If it still sticks, continue steaming for 10-15 more minutes.
The Instant Pot method significantly reduces cooking time while delivering excellent results. Traditional steaming remains ideal for large batches.
Make-Ahead, Storage, and Reheating Tips
Learning to store and reheat tamales correctly transforms a single cooking session into multiple delicious meals. This practical approach makes your efforts pay off for weeks to come.
Refrigeration and Freezing Best Practices
Cooked tamales stay fresh in the refrigerator for up to four days. Keep them in their husks inside an airtight container to maintain moisture.
For long-term storage, freeze your batch for up to three months. Use freezer-safe bags and arrange them carefully without packing too tightly.
You can freeze tamales either before or after cooking. Both methods work well for preserving quality over several months.
Consider splitting the process over two days. Assemble on day one, refrigerate overnight, then steam the next day when you have more time.
How to Reheat Tamales for the Best Texture
Steaming refrigerated tamales for 15-20 minutes restores their perfect texture. This method ensures even warming throughout.
For frozen tamales, thaw in the refrigerator overnight first. Then steam cooked ones for 15-20 minutes or cook uncooked ones for 60-75 minutes.
Your Instant Pot offers a convenient reheating option. Place tamales on the trivet with 1 cup water and pressure cook for 8-10 minutes.
When short on time, microwave cooked frozen tamales for 60-90 seconds. Always store in husks regardless of your storage method.
Creative Variations and Customized Filling Ideas
Personalizing your creations allows you to put a unique stamp on this time-honored tradition while exploring global flavor profiles. The possibilities are truly endless when you move beyond basic preparations.
As one experienced cook shared, “The best part about making these at home is watching people’s faces light up when they taste your unique combinations.”
Meat-Based Innovations
For pork enthusiasts, consider carnitas-style preparations with crispy edges. Or try Asian-inspired versions using hoisin sauce and five-spice powder.
Chicken variations shine with mole sauce or Thai-inspired peanut combinations. Beef brisket creates hearty options when slow-cooked with roasted chiles.
Fresh Vegetarian Twists
Vegetarian options prove equally satisfying. Roasted corn and poblano peppers create sweet-spicy balances. Mushroom and epazote offer earthy complexity.
Modern twists include Mediterranean-inspired combinations. Think sun-dried tomatoes, olives, and feta cheese mixed into the traditional corn base.
| Protein Type | Flavor Profile | Preparation Time |
|---|---|---|
| Pork Carnitas | Crispy, savory, citrus-infused | 3-4 hours slow cooking |
| Chicken Mole | Rich, complex, slightly sweet | 2 hours including sauce prep |
| Vegetarian Corn & Poblano | Sweet, smoky, fresh | 45 minutes roasting |
| Mushroom Epazote | Earthy, herbal, robust | 30 minutes sautéing |
Don’t hesitate to mix cultural influences. The masa foundation welcomes creative experimentation from around the world.
Conclusion
The satisfaction of unwrapping your first perfectly steamed creation is just the beginning. You’ve mastered techniques that connect you to generations of cooks while making this tradition your own. Each batch you prepare builds confidence and creates lasting memories.
Remember that the process of learning to make tamales brings people together as much as the delicious results. The social aspect transforms kitchen time into cherished moments with loved ones. Your homemade tamales now carry both authentic flavor and personal meaning.
Don’t hesitate to experiment once you’re comfortable with the basic recipe. Every new combination reflects your unique culinary perspective. The flexibility of this approach ensures your tamales will always surprise and delight.
You now have everything needed to create exceptional tamale experiences. Share your skills, enjoy the journey, and treasure the connections this timeless recipe fosters. Your kitchen is ready for the next delicious adventure!