Did you know that during holiday seasons, some families in the Southwest make hundreds of tamales at once? This tradition turns cooking into a festive, multi-generational event. The kitchen becomes the heart of the home, filled with laughter and the rich scent of spices.
This guide will walk you through creating authentic tamales from your own kitchen. You’ll learn each step of the process, from preparing a flavorful red chile sauce to crafting the perfect masa dough. While the process requires some time, we break it into simple, manageable stages.
You’ll discover techniques passed down through generations. We include helpful tips to ensure your first experience is successful and enjoyable. Whether continuing a family tradition or starting your own, this guide helps you create delicious results.
Get ready to fill your home with the warm aromas of corn, chile, and spices that define this beloved cuisine. The effort yields dozens of hearty tamales to enjoy immediately or save for later.
Key Takeaways
- Making tamales is a cherished tradition that often brings families together for large batches.
- The process is broken down into simple, easy-to-follow steps for all skill levels.
- You will learn how to prepare the essential components: masa dough, filling, and sauce.
- Helpful tips are included to ensure your first attempt is a success.
- The final product yields a large quantity, perfect for sharing or freezing for future meals.
- The experience creates wonderful aromas and lasting memories in your kitchen.
Introduction to New Mexico Tamales
Ancient warriors carried these savory parcels as portable sustenance, a tradition that continues in holiday celebrations today. The journey from sacred offering to family feast spans thousands of years.
Historical Background and Traditions
Mesoamerican civilizations like the Aztec and Maya considered corn sacred. They viewed these steamed bundles as food worthy of the gods. Women prepared them in large quantities before military campaigns.
The practice spread throughout Latin America over centuries. Each region developed its own variations while maintaining core techniques. This culinary heritage remains vibrant today.
Celebratory and Holiday Significance
During Christmas, generations gather to continue this beloved tradition. The kitchen becomes a hub of activity and storytelling. Everyone works together to create dozens of delicious parcels.
The process strengthens bonds between relatives. It ensures cultural knowledge passes to younger members. This dedicated time together creates lasting memories beyond the meal itself.
| Aspect | Ancient Tradition | Modern Celebration |
|---|---|---|
| Primary Purpose | Portable sustenance for warriors | Holiday feasts and family gatherings |
| Preparation Scale | Large batches for military campaigns | Dozens for Christmas celebrations |
| Social Context | Community survival necessity | Intergenerational bonding activity |
“The making of tamales transforms cooking into a cultural ceremony, connecting us to ancestors through shared hands and stories.”
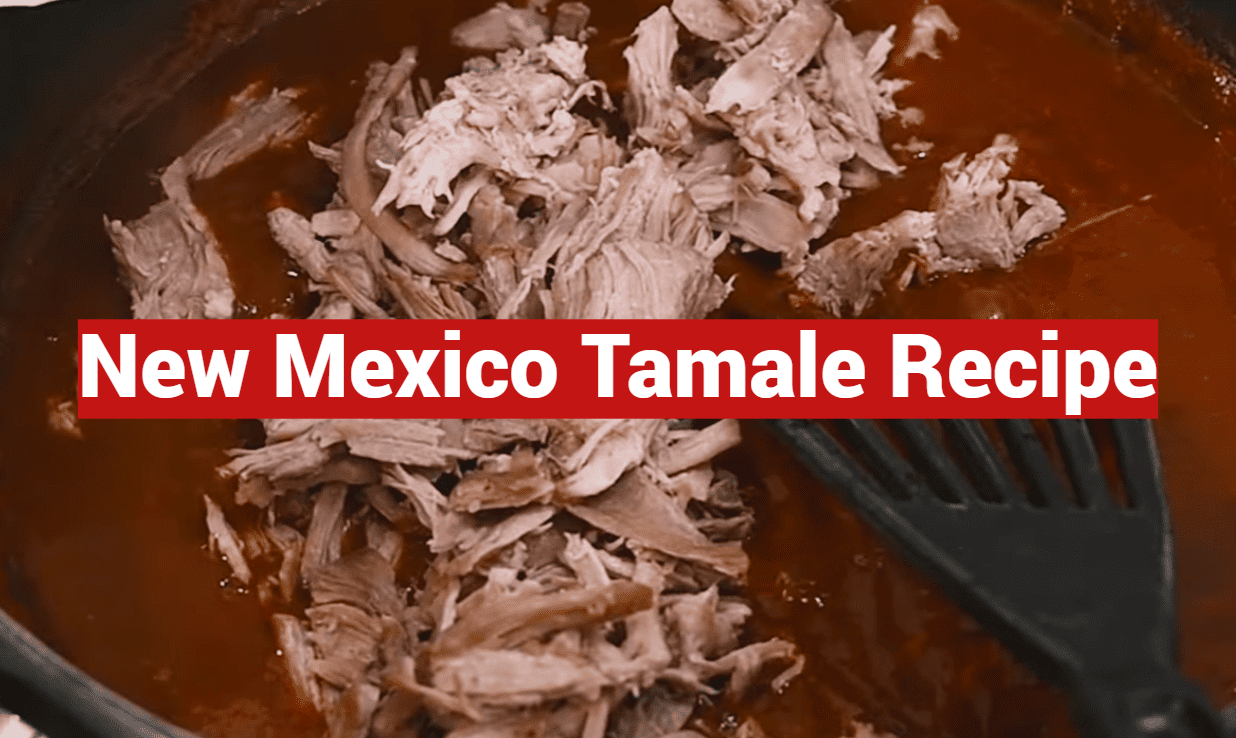
Traditional fillings often feature tender pork with red chile sauce. However, creative variations allow for personal expression. The essential ingredients create a harmonious blend of flavors and textures.
Traditional Ingredients for a New Mexico Tamale Recipe
Before the assembly process begins, gathering quality components ensures each steamed parcel captures the essence of regional cuisine. The right selection creates harmony between wrapper, dough, and filling.
Essential Ingredients: Corn Husks, Masa Harina, and Pork
Dried corn husks form the natural wrapper for these savory bundles. They typically come in 12-ounce packages and require soaking to become pliable. This prevents tearing during the wrapping process.
Masa harina differs from regular cornmeal through nixtamalization. This traditional treatment with lime gives the distinctive flavor and texture. The special corn flour creates authentic dough consistency.
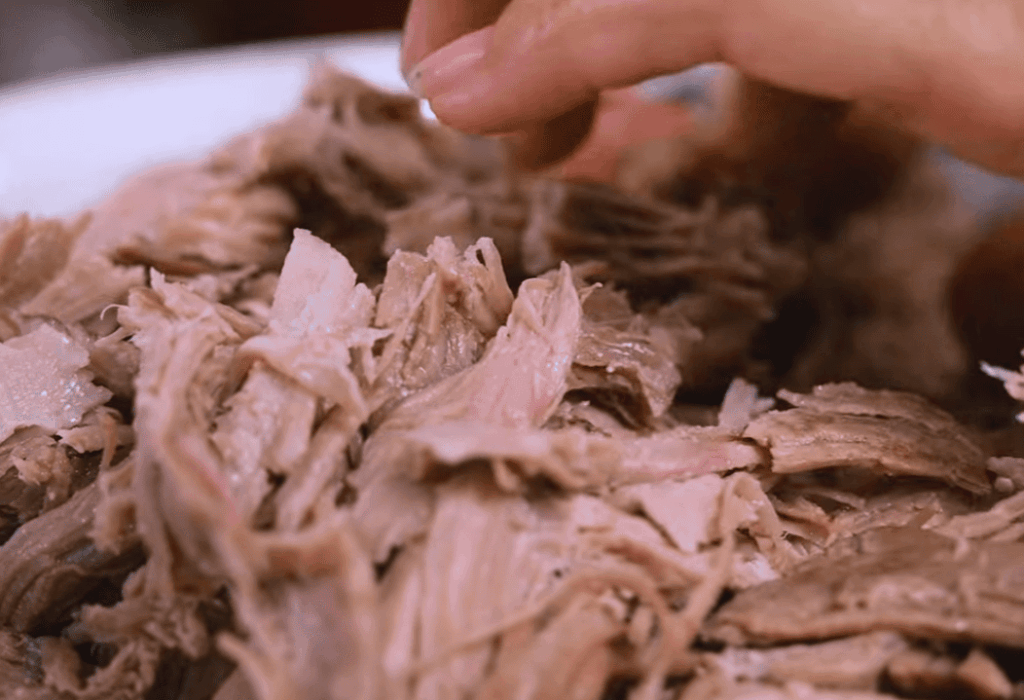
Quality pork shoulder remains the traditional protein choice. It becomes incredibly tender when slow-cooked. The meat absorbs red chile sauce flavors beautifully.
Role of Broth, Lard, and Spices
Broth adds essential moisture and flavor to the masa dough. Choose chicken, beef, or vegetable broth to complement your filling. This liquid creates the perfect dough consistency.
Lard plays a crucial role in creating light, fluffy texture. Whipping the fat until fluffy before combining with masa harina and salt yields optimal results. Vegetable shortening works as an alternative.
Spices build the complex, savory flavors that define this cuisine. Garlic powder, cumin, oregano, and salt work together harmoniously. These seasonings create the distinctive taste profile.
| Ingredient Category | Traditional Choice | Modern Alternatives |
|---|---|---|
| Wrapper | Dried corn husks | Banana leaves or parchment |
| Fat Source | Lard | Vegetable shortening or oil |
| Broth Base | Homemade meat broth | Store-bought or vegetable broth |
Gathering Your Essential Tools & Equipment
Setting up your workspace with the correct tools ensures efficiency and success when creating these traditional dishes. Having everything within reach streamlines the multi-step preparation process.
Steamer Pot and Cooking Implements
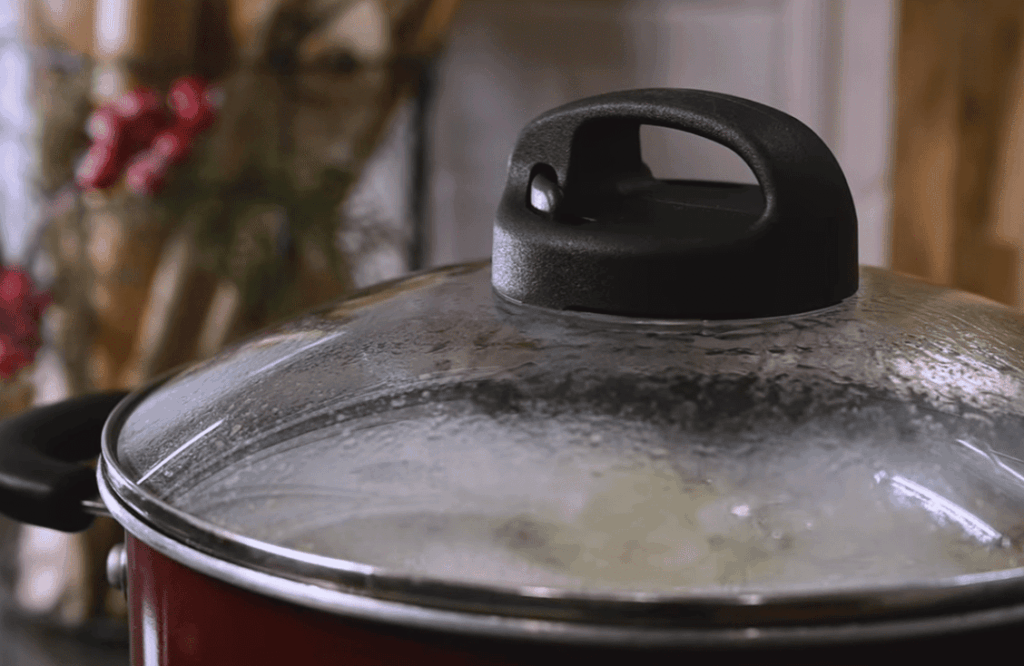
A large steamer pot is essential for proper cooking. Choose a deep pot that can hold your tamales upright during steaming. The steamer insert should keep them above the water level.
If you lack a dedicated steamer pot, improvise with a heat-safe rack in any large pot. A tight-fitting lid traps steam for even cooking. This setup works perfectly for the steaming process.
Mixing Bowls and Measuring Cups
Multiple mixing bowls in various sizes handle different tasks. You’ll need them for soaking husks, mixing dough, and holding fillings. Having several bowls ready keeps your workflow organized.
Accurate measuring cups and spoons ensure consistent results. Precise measurements create the perfect dough texture. These cups are crucial for balancing ingredients properly.
Additional helpful tools include a stand mixer for whipping lard and a blender for smooth sauces. A Dutch oven works well for cooking meat fillings. Having these implements ready makes the entire process enjoyable.
Preparing the Red Chile Sauce
Mastering the art of red chile sauce preparation transforms simple ingredients into a vibrant, aromatic foundation for your culinary creation. This essential component brings rich flavor and beautiful color to your finished dish. While the process requires some time, the results far surpass any store-bought alternative.
Selecting and Soaking Dried Red Chile Pods
Begin with about 12 ounces of high-quality dried red chile pods. Choose ones that feel pliable rather than brittle. Rinse them thoroughly several times in a bowl of water to remove any dust.
Remove the stems and most seeds, though leaving some won’t make the sauce overly spicy. Soak the cleaned pods in fresh water for about 5 hours. This rehydration process is crucial for achieving the right texture.
Blending Techniques for a Smooth Sauce
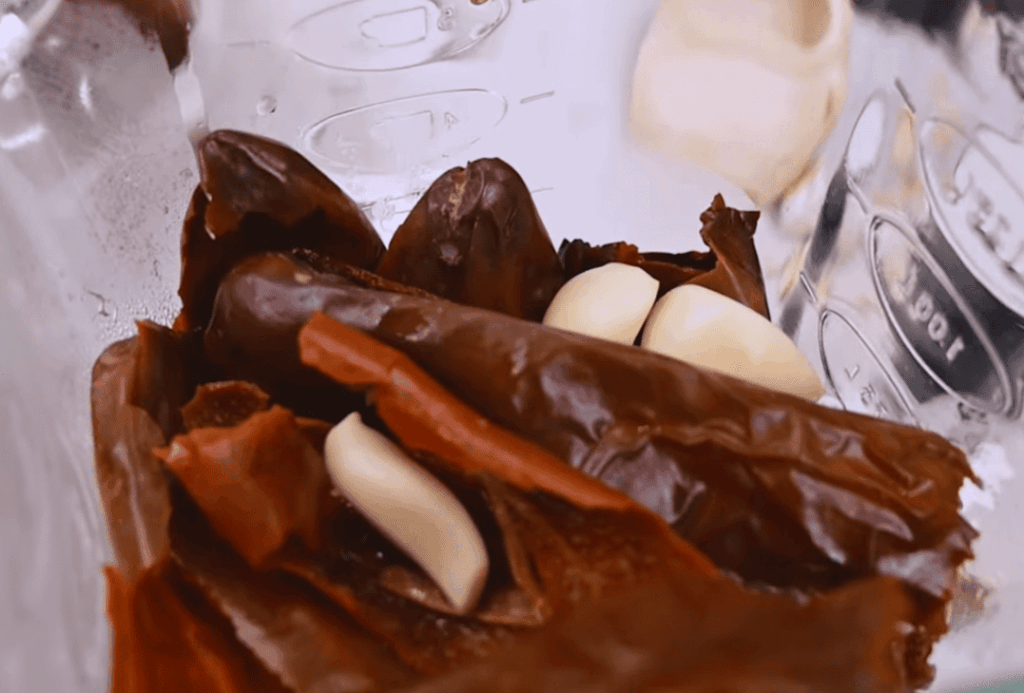
After soaking, drain the chiles and blend them with fresh water until smooth. Add water gradually to create a gravy-like consistency. Work in batches if your blender is small.
Create a roux by heating 1/4 cup of oil and whisking in 1/4 cup of flour. Cook for 5-7 minutes until light blond. Add your blended chile mixture along with seasonings.
Include 1-2 tablespoons of garlic powder and 1 tablespoon of salt. Simmer gently for about 20 minutes, stirring consistently. The finished sauce should have a velvety texture.
This versatile sauce enhances not only your tamales but also many other dishes. Store extra portions in the freezer for future use.
Creating the Perfect Masa Dough
Properly prepared masa dough separates mediocre results from truly outstanding ones through its delicate texture. Getting this foundation right ensures your final product has the light, fluffy quality that defines authentic preparation.
Mixing Lard, Salt, and Masa Harina
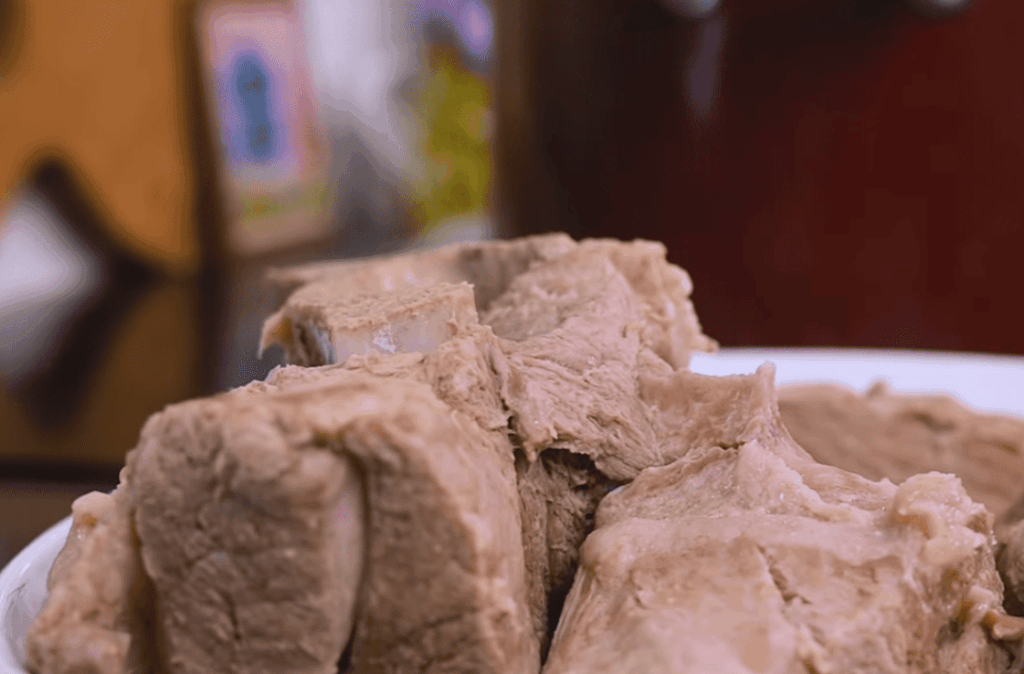
Begin by whipping room-temperature lard with salt until light and fluffy. This incorporates air that creates tender results rather than dense ones.
Gradually add masa harina to the whipped mixture, beating until well combined. The dough will appear stiff like thick cookie dough at this stage.
Slowly pour in broth while continuing to mix. Aim for a consistency similar to thick frosting that spreads easily. Use approximately 1½ cups of liquid, adjusting as needed.
Performing the Water Test for Dough Consistency
The traditional water test confirms perfect masa dough texture. Drop a small ball into cold water – if it floats, your consistency is correct.
If the ball sinks, add more broth or whip in additional air. Keep testing until it floats reliably. This ensures proper fat and air incorporation.
Cover the bowl with plastic wrap and refrigerate for several hours or overnight. Before using, stir briefly and retest.
| Ingredient Ratio | Standard Batch | Large Batch (5 lbs masa) |
|---|---|---|
| Lard | 2 cups | 1.5 pounds |
| Salt | 1½ tablespoons | 2 tablespoons |
| Broth | ~1½ cups | 2 cups |
Assembling Your New Mexico Tamale Recipe
The assembly stage transforms separate ingredients into the iconic parcels everyone anticipates. This is when your kitchen becomes a production line of delicious possibilities.
Gather friends or family to make this process social and efficient. Working together turns preparation into a memorable experience.
Spreading Masa on Soaked Corn Husks
Begin by soaking your corn husks in warm water for 30 minutes to 2 hours. This makes them flexible enough to fold without tearing.
Drain and pat dry each husk before spreading your masa. Lay them flat with the wide end at the top.
Spread about 2-3 tablespoons of masa in a rectangle on the upper portion. Leave the bottom third bare for folding later.
Aim for a layer about 1/8 inch thick. This creates the perfect balance between dough and filling.
Filling and Rolling the Tamales
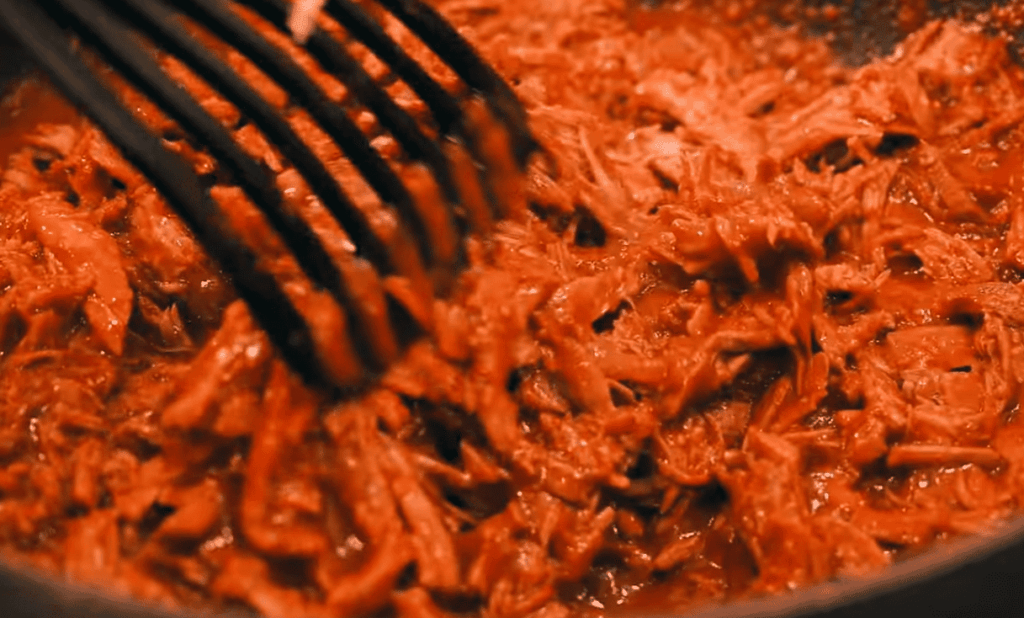
Place approximately 1 tablespoon of pork filling in the center of the masa. Add a teaspoon of red chile sauce if desired.
Fold one long edge toward the center, then the other edge over the top. Finally, fold up the narrow bottom to create a secure packet.
You can tie them with kitchen twine or simply rely on tight packing in the steamer. Either method works well for these savory bundles.
As you complete each one, place it upright in your steamer with the folded bottom down. They should stand firmly during cooking.
Cooking and Steaming Your Tamales
The moment of truth arrives when your carefully assembled parcels are ready for their final transformation through gentle steaming. This cooking method ensures even heat distribution and perfect texture development.
Steaming Techniques for Even Cooking
Arrange your bundles upright in the steamer with open ends facing upward. Use a deep pot that accommodates them comfortably. If spaces remain, fill with crumpled foil to keep everything standing straight.
Add about an inch of simmering water to the bottom of your pot. Ensure the liquid stays below the steamer insert level. You want vapor cooking, not direct boiling.
Cover with a tight-fitting lid to trap the steam effectively. Maintain a gentle simmer throughout the cooking time. This typically takes 45 minutes to 2 hours depending on size.
Check for doneness after 45 minutes by testing one parcel. The masa should pull away cleanly from the husk when properly cooked. If needed, continue steaming for another 10-15 minutes.
Once perfectly cooked, serve immediately or freeze for later use. Reheating takes just 15-20 minutes in the steamer. This preserves the wonderful texture and flavors.
Tips and Tricks for Tamale Perfection
A little planning can turn this rewarding culinary project into a smooth, enjoyable experience. These smart strategies help you manage the time investment effectively.
You can prepare key components days or even weeks in advance. This breaks the work into smaller, more manageable tasks.
Time-Saving Hacks and Batch Cooking Advice
Prepare your red chile sauce ahead and freeze it in 2-cups portions. It will keep its flavor for up to six months. Cook and shred your meat filling the day before assembly.
When you decide to make tamales, consider preparing a large batch. The effort for four dozen is similar to the work for two dozen. They freeze beautifully for future meals.
Completed parcels can be frozen for several months. Steam them directly from frozen for a quick dinner.
Family Assembly Line and Presentation Tips
Turn preparation into a fun social event by creating an assembly line. Invite family or friends to help. One person spreads the masa, another adds the filling, and a third folds.
This makes the cooking process faster and more enjoyable. It’s a wonderful way to share traditions.
For serving, present them in their husks for an authentic look. Unwrap them and plate with extra sauce. Serve with a simple side like rice or beans.
| Make-Ahead Strategy | Storage Time | Benefit |
|---|---|---|
| Red Chile Sauce | 6 months (freezer) | Ready for instant use |
| Cooked Meat Filling | 3 months (freezer) | Speeds up assembly day |
| Completed Tamales | 4 months (freezer) | Quick, ready-to-steam meals |
New Mexico Tamale Recipe: Variations & Customizations
The beauty of tamale making lies in its incredible adaptability to personal tastes and ingredients. While traditional versions are wonderful, you can easily create variations that suit your family’s preferences.
Alternative Fillings and Protein Options
Chicken makes an excellent alternative to pork. It creates lighter, more delicate parcels. Slow-cook chicken until tender, then shred it for your filling.
Beef brisket works wonderfully too. Cook it low and slow until fall-apart tender. Mix it with red chile sauce for a rich, hearty option.
Vegetarian versions are increasingly popular. Try cheese, roasted peppers, or black beans. Sweet potato creates a satisfying meatless alternative.
Adapting the Recipe for Unique Tastes
When changing your protein, remember to match the broth. Use chicken broth for chicken filling. Use beef broth for beef versions.
You can even experiment with different wrappers. While corn husks are traditional, banana leaves offer a different flavor. They create larger, flatter parcels.
Sweet versions make delightful desserts. Fill them with cinnamon-sugar or fruit. Chocolate creates an indulgent treat.
| Filling Type | Best Broth Pairing | Special Considerations |
|---|---|---|
| Chicken | Chicken broth | Lighter texture, shorter cooking time |
| Beef | Beef broth | Rich flavor, longer cooking needed |
| Vegetarian | Vegetable broth | Watch moisture content carefully |
| Sweet | Water or milk | Reduce salt in masa dough |
The fundamental technique remains the same regardless of filling. Once you master the basics, the possibilities are truly endless for your tamales.
Conclusion
Completing your first batch of homemade savory bundles marks a culinary milestone worth celebrating. You now possess all the techniques needed to create these cherished tamales that bring family together around rich traditions.
While the process requires time, breaking it into steps makes it manageable. Remember you can prepare components in advance. Your red chile sauce freezes well for several months. The pork filling can be refrigerated for days.
Master key techniques like slow-cooking pork shoulder until tender. Use about 1-2 tablespoons of masa per husk. Add 1 tablespoon of filling and 1 teaspoon of sauce in the center.
The beauty of this recipe lies in its flexibility. Substitute chicken for pork if preferred. These tamales freeze beautifully for future meals. This labor of love becomes easier with practice and creates lasting memories.