Did you know that over six million tamales are consumed daily across the United States? This beloved dish connects families through generations of culinary tradition.
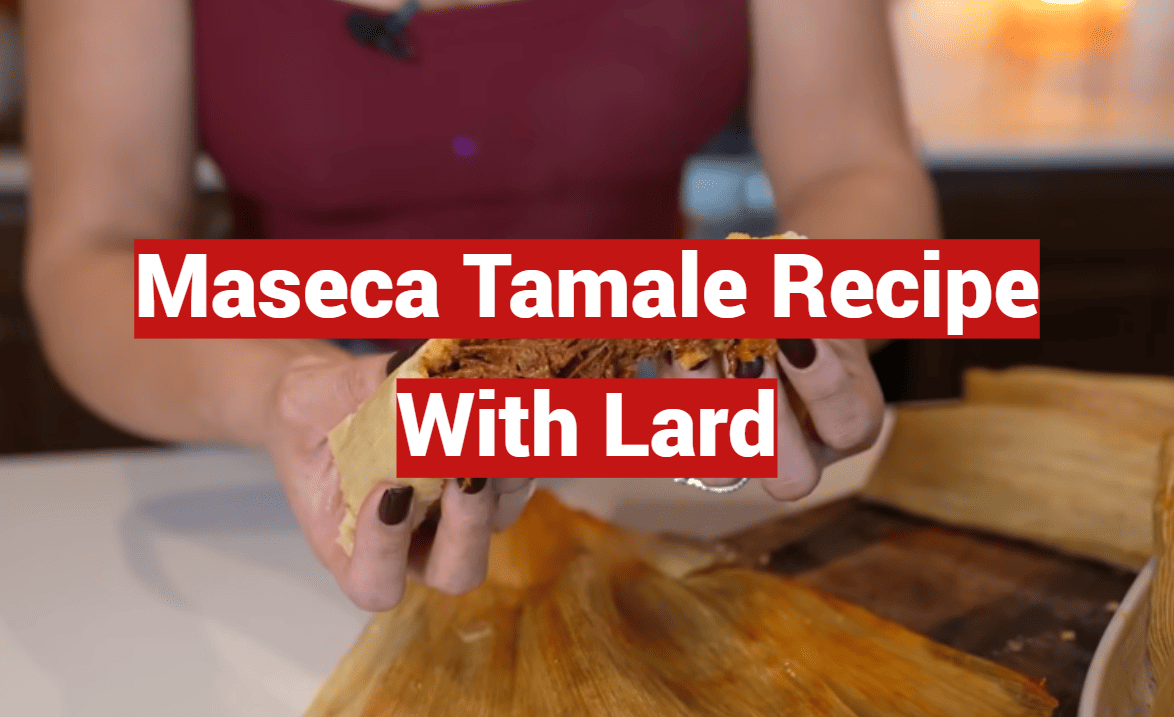
Welcome to your ultimate guide for creating authentic, homemade tamales. We’ll show you how to achieve that perfect, soft texture using traditional methods passed down through Mexican families.
This comprehensive approach works for both beginners and experienced cooks. You’ll learn to create restaurant-quality results right in your own kitchen.
Making these delicious treats from scratch brings people together. It’s a rewarding experience that turns cooking into a celebration.
Our friendly guide covers everything from selecting ingredients to mastering dough consistency. We’ll help you avoid common mistakes that can ruin your batch.
Follow our step-by-step instructions with confidence. You’ll create light, fluffy creations that pull away easily from their corn husks—the true sign of perfection.
Key Takeaways
- Authentic tamales connect generations through shared culinary traditions
- Traditional methods create superior texture and flavor in homemade versions
- This approach works for cooks at all skill levels
- Proper ingredient selection is crucial for authentic results
- Step-by-step guidance ensures success even for beginners
- Perfect dough consistency is key to light, fluffy results
- The final product should easily separate from the corn husk
Introduction to Authentic Tamales
Ancient Mesoamerican civilizations first developed the technique of wrapping corn dough in husks for steaming. This method created one of Mexico’s most cherished culinary treasures. Authentic tamales feature masa enveloping savory or sweet fillings. They steam gently until achieving a tender, fluffy texture.
The correct Spanish term for a single item is “tamal,” while “tamales” refers to multiple. American English commonly uses “tamale” for both singular and plural. These creations hold center stage at celebrations throughout Mexico and Latin America. Family gatherings often become tamaladas, where everyone helps prepare them.
The foundation of every great tamal is properly prepared masa. This corn dough requires careful seasoning and thorough whipping. It needs the perfect balance of fat and liquid. Even the most flavorful filling cannot save a bland or dense dough.
Making these traditional treats is not difficult—just time-consuming. Gathering friends or family transforms the process into a joyful social event. The shared experience becomes as rewarding as the delicious results.
Essential Ingredients & Their Roles
Two primary components work in harmony to create the perfect masa texture and authentic flavor profile. Understanding their individual contributions ensures your final product achieves the desired lightness and richness.
Masa Harina and Its Importance
This special corn flour forms the foundation of authentic masa. The process begins with nixtamalization, where dried corn undergoes treatment in an alkaline solution.
This traditional method enhances nutritional value and creates the distinctive flavor. The resulting hominy gets ground and dehydrated into fine masa harina.
Maseca stands as the most accessible brand in American grocery stores. You’ll typically find it in the international foods aisle. Several other quality options exist for different preferences.
Bob’s Red Mill, King Arthur, and Masabrosa offer excellent alternatives. Premium heirloom varieties like Masienda provide specialty corn flavors.
An important distinction exists between masa harina labeled for tortillas versus tamales. The tortilla version creates smoother, fluffier dough consistency.
The Role of Lard in Flavor and Texture
Traditional Mexican cuisine relies on this specific fat for achieving ideal results. Lard contributes both rich flavor and essential structural properties.
When properly whipped, it incorporates air into the masa mixture. This aeration creates the light, tender texture that defines quality preparation.
The standard ratio uses approximately one pound of lard for every six cups of masa harina. This balance ensures proper moisture and richness throughout the cooking process.
Modern culinary appreciation has restored lard’s reputation among home cooks. Many now recognize its unique ability to create results other fats cannot match.
Mastering maseca tamale recipe with lard
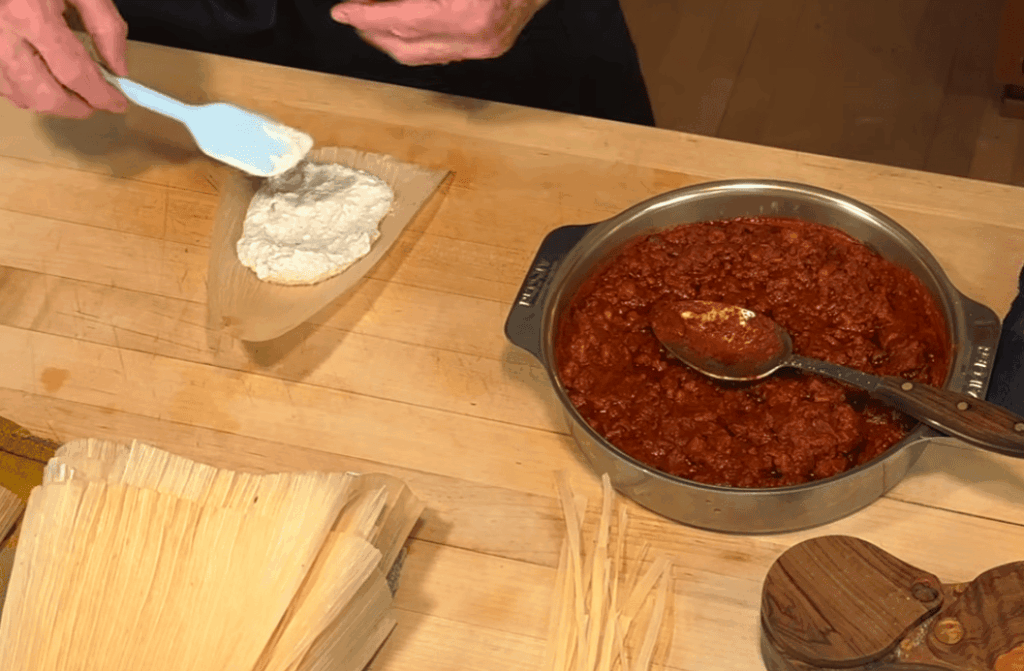
The art of traditional masa preparation relies on carefully balanced proportions that create light, flavorful dough. For approximately 45 servings, combine 6 cups of masa harina with 1 pound of fat, 2 tablespoons of baking powder, and 1 tablespoon of salt. Add 6 cups of warm chicken stock or broth to bring everything together.
Elevate your masa with recommended seasonings like 1 tablespoon each of garlic powder, onion powder, and ground cumin. Include ¾ cup of tamale sauce for added depth. Remember that well-seasoned dough is essential since you enjoy the entire creation, not just the filling.
These proportions scale easily for different batch sizes. First-time makers might try smaller quantities like 2 cups of masa harina with ⅔ cup of fat. Always use room-temperature ingredients since cold fat won’t whip properly and cold liquid incorporates poorly.
Baking powder is optional but recommended for lighter, fluffier results. The exact amount of broth may vary slightly depending on brand and humidity. Aim for a spreadable consistency that holds its shape when tested.
Essential Techniques for Perfect Tamale Dough
Proper dough preparation techniques separate amateur attempts from professional-quality results in masa making. The right approach ensures your final product has the ideal texture and flavor.
Mixing and Whisking Dry Ingredients
Begin by thoroughly whisking your masa harina with baking powder, salt, and seasonings. This critical step prevents clumps and ensures even distribution throughout your mixture.
Next, whip your fat separately for 2-5 minutes until light and fluffy. This process incorporates air that creates the foundation for tender results. The creamy texture is essential for proper dough development.
Combine ingredients in small batches, alternating between dry and liquid components. This method prevents lumps and gives you better control over the final consistency.
Achieving the Ideal Dough Consistency
Your initial mixture should resemble wet sand suitable for building sandcastles. This stage indicates proper moisture balance before adding all liquid ingredients.
The final dough consistency should be similar to thick hummus or cake batter. It needs to spread easily without excessive sticking. Let the mixture rest for about 20 minutes to allow full hydration.
If your dough seems too thick, add broth gradually. For overly thin mixture, incorporate more masa harina in small amounts. Achieving perfect texture takes practice, so don’t worry if adjustments are needed.
Traditional Versus Modern Preparation Methods
Modern kitchen technology offers new approaches to traditional masa preparation. While generations of Mexican cooks have mixed dough by hand, today’s options include powerful electric tools.
This evolution gives home chefs flexibility in their kitchen workflow. The choice between methods often depends on batch size and personal preference.
Hand-Mixing Versus Stand Mixer Techniques
Hand-mixing connects you directly to the cooking process. Many experienced cooks prefer this tactile method for better consistency control.
However, this traditional approach requires significant time and physical effort. Large batches can be particularly challenging without mechanical assistance.
Stand mixers like KitchenAid provide modern convenience. These powerful machines reduce preparation time dramatically.
Always start on low speed to prevent ingredient spray. Gradually increase to medium as the dough comes together. The paddle attachment works best for thorough blending.
Hand mixers can be effective for smaller batches. Ensure your model has adequate power to handle thick dough without straining the motor.
When using oil instead of solid fats, mixing becomes much easier. Both methods produce excellent results when executed properly.
Tips for Adjusting Flavor & Texture
The secret to exceptional masa lies in thoughtful seasoning that complements every component. Since the dough makes up most of each bite, bland masa can ruin even the most delicious filling.
Well-seasoned dough is essential for authentic results. Your seasonings should be generous but balanced, avoiding any single flavor overpowering the others.
Incorporating Spices and Seasonings
A standard baseline creates a flavorful foundation. Use one tablespoon each of garlic powder, onion powder, and ground cumin for savory creations.
Additional spices offer exciting variations. Consider oregano for earthiness or different chile powders for heat levels.
“Seasoning is not just about taste—it’s about creating harmony between all components.”
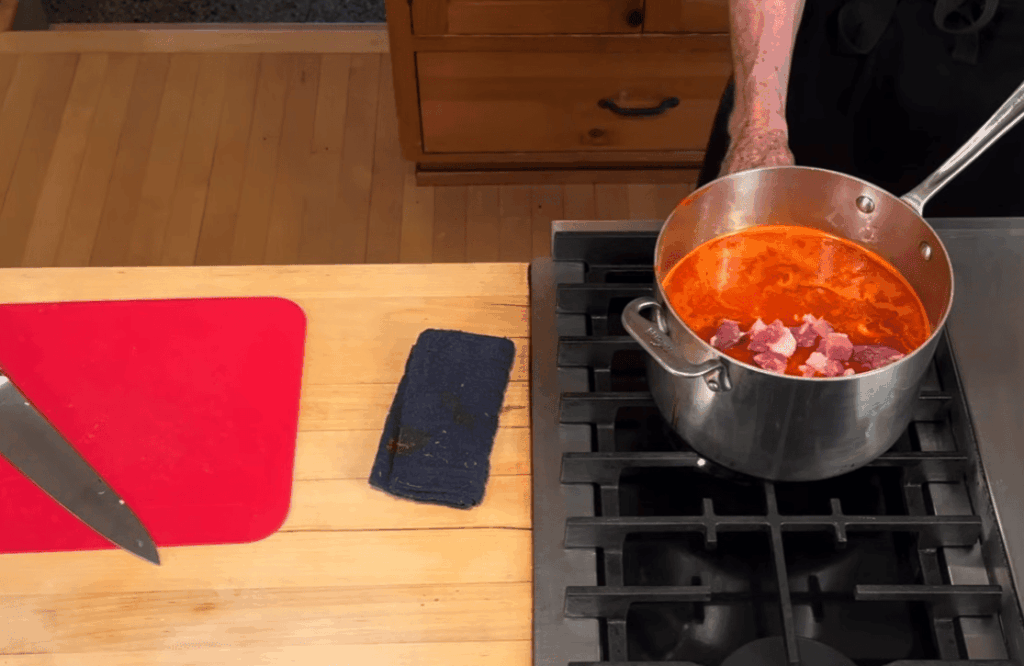
Match your broth to the filling type for cohesive flavors. Chicken broth works with poultry, while pork or beef broth complements corresponding meats.
Adding ¾ cup of the same sauce used in your filling creates beautiful color continuity. This technique ensures every element works together seamlessly.
| Flavor Profile | Base Spices | Heat Options | Broth Type |
|---|---|---|---|
| Classic Savory | Garlic, onion, cumin | Ancho powder (mild) | Chicken |
| Smoky & Spicy | Garlic, cumin, oregano | Chipotle powder (medium) | Beef |
| Extra Hot | Onion, cumin, garlic | Habanero powder (hot) | Pork |
Always taste your masa before assembly. Different broths contain varying salt levels, so adjust seasoning accordingly.
Some cooks use cooking liquid from meat fillings for concentrated, authentic flavor. This simple trick adds depth to your final product.
Common Pitfalls in Tamale Making
Even experienced cooks encounter challenges when working with masa dough for the first time. Recognizing common problems early helps prevent frustration and wasted ingredients.
Grainy texture indicates insufficient liquid or fat in your mixture. The solution involves gradually adding more broth and additional shortening until particles bind smoothly.
Avoiding a Grainy Dough
Using the wrong corn flour creates fundamental texture issues. Avoid cornmeal, corn starch, or precooked corn flour labeled for other purposes.
Stiff, difficult-to-spread masa needs more liquid added slowly. Aim for a hummus-like consistency that spreads easily without sticking excessively.
When you run short on ingredients, simple substitutions work well. Water can replace broth if you adjust salt levels. Neutral oils substitute for traditional fats when necessary.
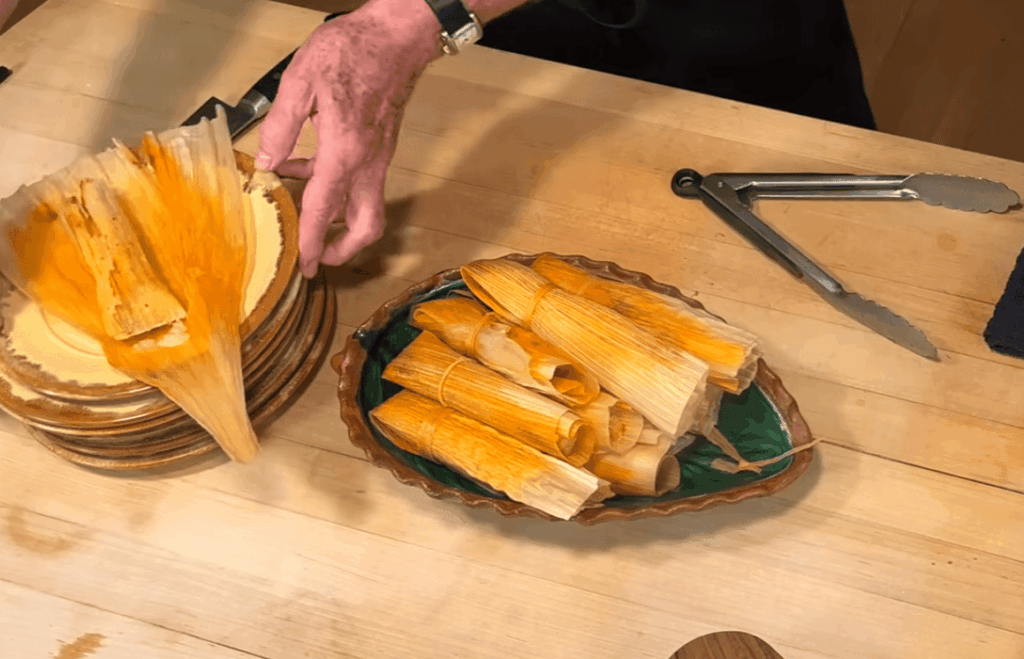
If your final product sticks to corn husks, this usually signals undercooking rather than dough problems. Properly steamed creations release cleanly from their wrappers.
The simple test involves unwrapping one item after the recommended cooking time. If it pulls away easily, your batch is ready. If sticking occurs, continue steaming.
Remember that troubleshooting is part of the learning process. Each adjustment brings you closer to mastering perfect masa consistency.
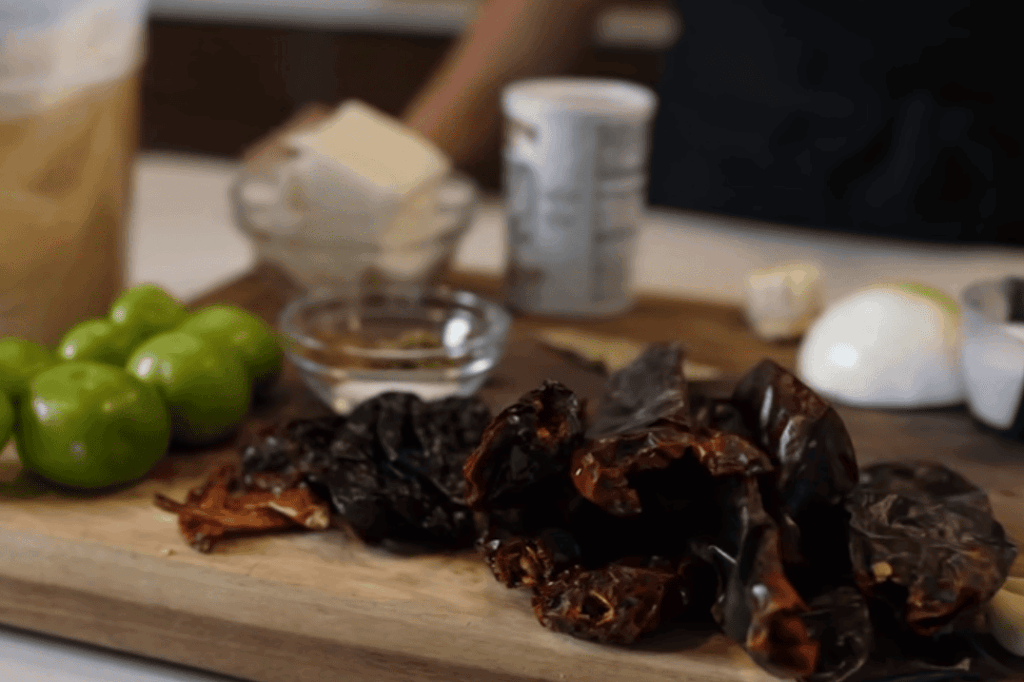
Pairing Fillings for Flavorful Tamales
The filling transforms each creation from simple dough into a memorable meal. While the masa is crucial, the interior is what makes every bite special. Your choice should be flavorful, moist, and generously seasoned.
Classic options provide a wonderful starting point. Consider shredded chicken in salsa verde or pork simmered in a rich red chile sauce. Beef with guajillo sauce and spicy chorizo mixtures are also beloved favorites.
Don’t overlook the convenience of leftovers. Cooked meats like pot roast or rotisserie chicken make excellent, quick fillings. This is a fantastic way to reduce food waste while creating something delicious.
For cohesive flavor, match your filling sauce to the masa seasoning. If you add salsa verde to the dough, use chicken with salsa verde inside. This harmony makes the entire experience more satisfying.
| Filling Type | Recommended Sauce | Flavor Profile |
|---|---|---|
| Shredded Chicken | Salsa Verde | Bright & Tangy |
| Pork | Red Chile Sauce | Rich & Smoky |
| Beef | Guajillo Sauce | Earthy & Mild |
| Chorizo | None (Spicy on its own) | Bold & Savory |
Elevate your game with creative options like chicken tinga or chicken mole. These bring complex, smoky flavors that impress any guest. Feel free to experiment with cheese, beans, or vegetables for vegetarian versions.
Remember, fillings must be moist but not watery. Excess liquid leads to soggy results that are hard to handle. Always prepare your filling ahead of time and let it cool completely before assembly.
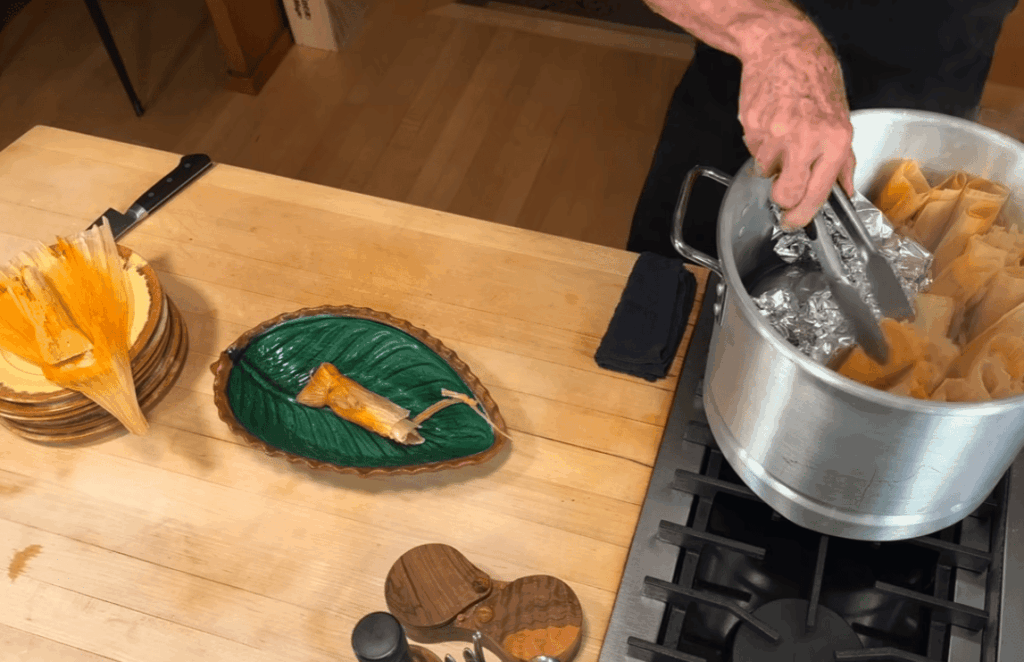
Cooking & Steaming for Soft Tamales
The gentle hiss of steam signals the final transformation of your carefully prepared masa into tender, finished creations. This traditional cooking method produces results that baking or boiling cannot match.
Steaming creates exceptionally moist texture while gently cooking the corn dough. The process ensures even heat distribution throughout your batch.
Determining the Right Steaming Time
Standard-sized creations typically need 60-90 minutes of steaming time. Begin checking at the 60-minute mark for doneness.
Add 15-30 minute increments if needed. Thinner masa spreads cook faster than thick applications.
Always maintain adequate water levels in your steamer. Check periodically and add hot water to prevent burning.
Monitoring Doneness Through Texture
The definitive test involves unwrapping one creation after cooking. Properly steamed results release cleanly from the corn husks.
Undercooked versions stick and appear wet. Continue steaming if they don’t pull away easily.
“The perfect tamal separates from its wrapper like a butterfly from its cocoon.”
| Steaming Factor | Ideal Condition | Result if Incorrect |
|---|---|---|
| Arrangement | Standing upright, open end up | Uneven cooking |
| Packing Density | Snug but not tight | Poor steam circulation |
| Water Level | Consistently maintained | Burnt bottom layer |
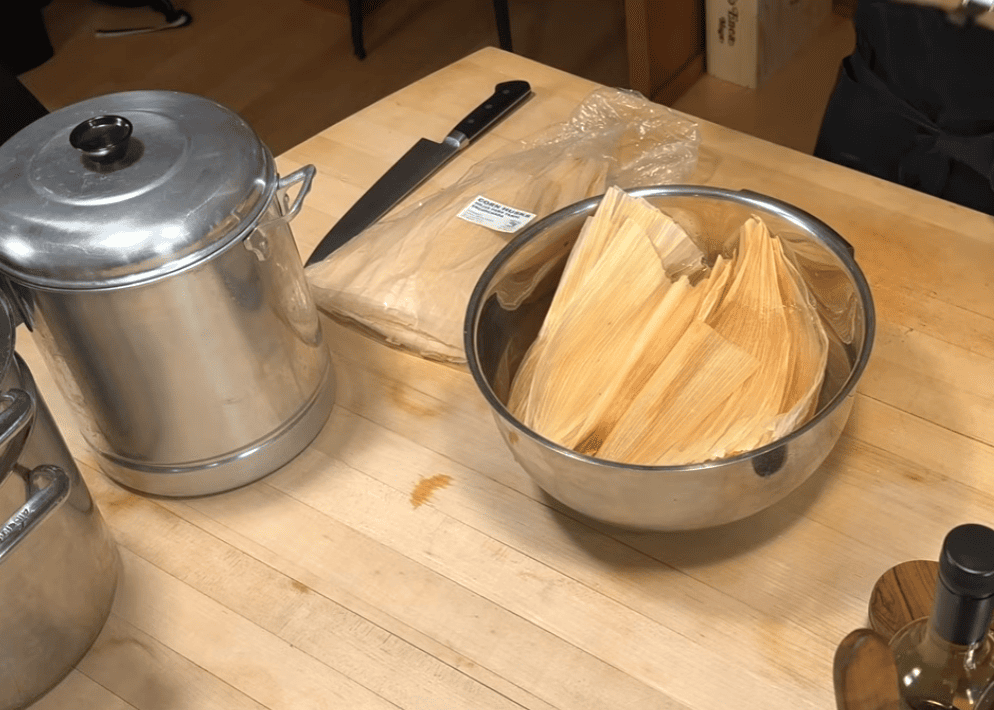
Invest in a quality 32-quart stainless steel steamer for large batches. Unlike aluminum, it won’t stain or corrode over time.
Let your finished creations rest 5-10 minutes before serving. This allows the masa to firm up slightly for easier handling.
Storage and Reheating Best Practices
Smart storage solutions let you enjoy your homemade creations for weeks or even months after your cooking session. Proper techniques ensure your efforts yield delicious results whenever you want them.
This guide covers the best ways to preserve both your prepared dough and finished items. You can confidently make large batches for future enjoyment.
Freezing and Refrigerating Leftover Masa
Your uncooked dough keeps well with careful storage. In the refrigerator, place it in an airtight container or a silicone bag. It will stay fresh for up to three days.
For longer-term storage, freezing is your best friend. Pack the dough tightly in a freezer bag or vacuum-seal it. It can be frozen for up to six months without significant quality loss.
When ready to use, thaw frozen dough in the refrigerator overnight. It may seem crumbly at first. Let it sit at room temperature for about 30 minutes to become spreadable again.
Cooked items have different storage needs. They remain fresh in the refrigerator for about five days when wrapped tightly. For the freezer, they maintain excellent quality for up to six months.
Steaming is the champion of reheating methods. It perfectly restores moisture and texture. Thawed items need about 20 minutes, while frozen ones need 25-30 minutes.
Other good options include the oven and microwave. Wrap items in foil and bake at 325°F for 20 minutes (thawed) or 25-30 minutes (frozen). The microwave works for thawed items in just 2½-3 minutes.
With these simple steps, your leftover masa and finished dishes will taste nearly as good as the day you made them.
Creative Variations and Dietary Adaptations
Good news for plant-based eaters: traditional masa preparation adapts beautifully to modern dietary needs. Simple substitutions create delicious versions that everyone can enjoy.
Vegan and Vegetarian Options
Replace traditional animal fats with equal amounts of vegetable shortening for similar texture. One pound works perfectly with six cups of masa harina.
For completely plant-based versions, use one cup of neutral oil instead. Vegetable and avocado oils work best for their mild flavors.
Always use vegetable broth instead of meat-based stocks. This keeps your entire creation vegetarian or vegan from start to finish.
| Fat Alternative | Flavor Impact | Best Use |
|---|---|---|
| Vegetable Shortening | Neutral | Traditional texture replication |
| Avocado Oil | Mild | Health-conscious versions |
| Refined Coconut Oil | Neutral | All-purpose plant-based |
| Olive Oil | Distinct | Mediterranean-inspired creations |
Oil-based mixtures need slightly less liquid than those made with solid shortening. Add broth gradually to avoid overly wet dough.
These plant-based alternatives mix more easily by hand. You don’t need to cream solid fats like traditional shortening requires.
Experiment with meatless fillings like beans, roasted vegetables, or mushrooms. These vegetarian options create satisfying meals for all diets.
Conclusion
Making tamales is more than cooking—it’s preserving cultural heritage. You’ve learned a complete process that connects you to generations of tradition.
This rewarding journey requires patience but delivers incredible results. Your homemade creations will far surpass store-bought versions.
Start with a small batch to build confidence. Then scale up for family gatherings and celebrations. The key to success lies in well-seasoned masa and proper steaming.
Consider organizing a tamalada party with loved ones. This makes the process faster and creates lasting memories. Don’t worry about imperfections—each batch improves your technique.
Once you master the basic recipe, experiment with different fillings. Your homemade tamales will become a beloved family tradition for years to come.