Did you know that traditional tamales can contain up to a pound of lard? This classic ingredient contributes significantly to the saturated fat content in this beloved Mexican dish.
Modern cooking approaches have revolutionized how we make these delicious treats. By swapping out lard for alternatives like safflower oil, olive oil, or coconut oil, you can dramatically reduce saturated fat while preserving authentic flavor.
This guide shows you how to create moist, flavorful tamales that maintain the traditional texture you love. The adaptation uses just one gram of saturated fat per tablespoon of oil instead of the heavy lard content found in conventional versions.
Whether you follow a vegan, vegetarian, or simply more health-conscious lifestyle, this approach makes tamales accessible to everyone. The method eliminates the all-day commitment typically associated with making these dishes from scratch.
You’ll discover that with the right techniques and ingredient substitutions, you can enjoy authentic Mexican cuisine while making nutritious choices. The result proves that delicious food and wellness can go hand in hand.
Key Takeaways
- Traditional tamales often use lard, which is high in saturated fat
- Modern versions use oils like safflower, olive, or coconut as healthier alternatives
- These adaptations maintain authentic texture and flavor while reducing fat content
- The method is suitable for vegan, vegetarian, and health-conscious diets
- This approach simplifies the process, eliminating all-day cooking commitments
- You can enjoy authentic Mexican flavors while making nutritious choices
Introduction to the Healthy Tamale Recipe
What if you could enjoy authentic tamales without the all-day commitment? Many home cooks feel intimidated by traditional methods that yield 45-50 pieces. This approach transforms the experience into something manageable and enjoyable.
Discovering a Nutritious Take on Tradition
Our streamlined version creates just 15-16 tamales instead of the typical massive batch. The total preparation time drops to about 2 hours and 35 minutes. This makes the process fit comfortably into your schedule.
We’ve simplified key steps to reduce kitchen time significantly. Using leftover chicken eliminates hours of slow-cooking meat. Pre-made salsa verde cuts down on sauce preparation while maintaining fantastic flavor.
This method addresses concerns about fat content while preserving authentic textures. You’ll discover that making tamales can be rewarding rather than overwhelming. The small batch approach lets you focus on technique without pressure.
Whether you’re new to Mexican cuisine or seeking a lighter alternative, this recipe opens doors. It proves that delicious, traditional food can align with modern lifestyles and nutritional goals.
Traditional Roots and Modern Adaptations
The story of tamales stretches back thousands of years across Latin American cultures. These wrapped delights have evolved while maintaining their cultural significance. Today’s cooks balance tradition with contemporary wellness needs.
A Brief History of Tamales
Tamales have deep roots in Mexican culinary heritage. They served as essential festival foods for generations. Families gathered to prepare large batches for special occasions.
Traditional methods relied heavily on lard for authentic texture. This ingredient created the rich flavor profiles people cherished. The process became a cherished family tradition across communities.
Adapting Recipes for Healthier Lifestyles
Modern awareness of dietary needs has inspired creative adaptations. Cooks now substitute lard with lighter alternatives like olive oil. These changes address concerns about saturated fat content.
Markets like Gonzalez Northgate Market in San Diego offer premade masa options. This convenience helps maintain tradition while supporting wellness goals. The evolution honors heritage while embracing current nutritional understanding.
| Aspect | Traditional Approach | Modern Adaptation |
|---|---|---|
| Primary Fat Source | Lard for authentic texture | Healthier oils like olive or safflower |
| Preparation Time | All-day family gatherings | Streamlined 2-3 hour process |
| Batch Size | 40-50 pieces for celebrations | Smaller 15-16 portion batches |
| Health Considerations | Focus on traditional flavor | Balance of flavor and wellness |
Understanding both approaches helps you choose what works for your kitchen. The beauty lies in having options that respect tradition while supporting modern lifestyles.
Essential Ingredients for a Healthy Tamale Recipe
The secret to light, flavorful tamales begins with selecting quality ingredients that work together harmoniously. Each component plays a specific role in creating the perfect texture and taste.
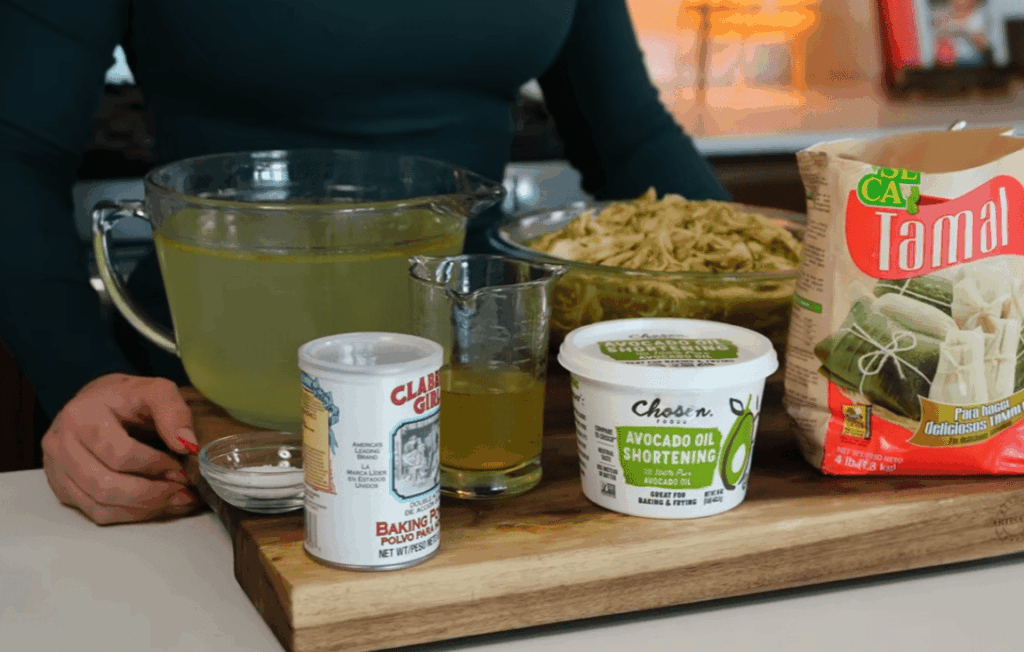
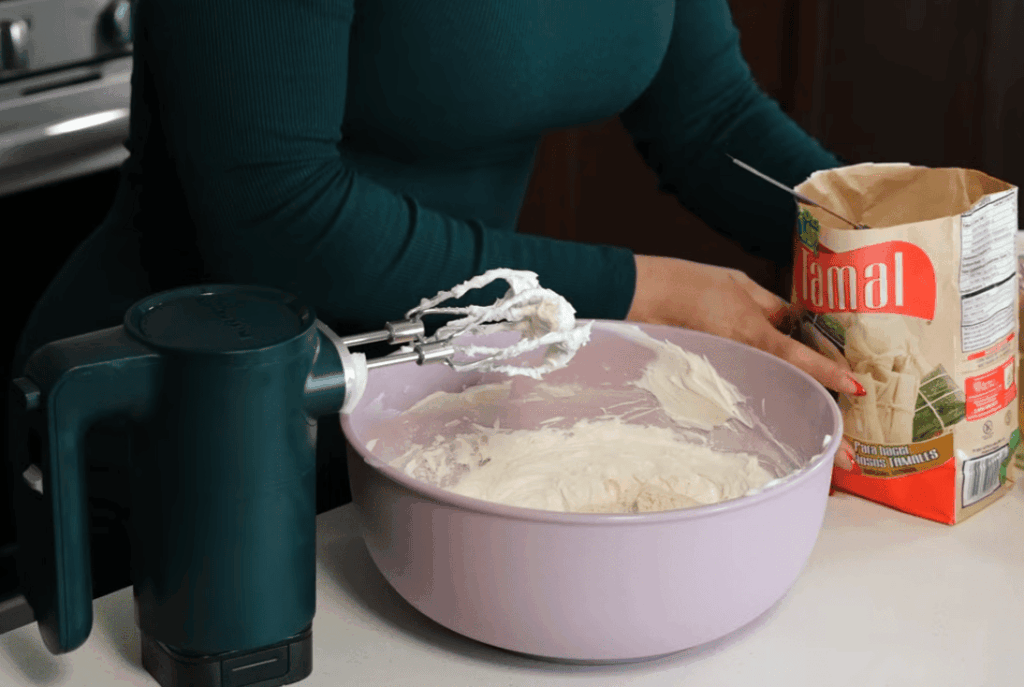
Masa Harina, Broth, and Baking Essentials
Start with masa harina as your foundation. Maseca brand offers reliable options in both regular and tamal versions. You’ll need about 2½ cups of this corn flour for your batch.
Aluminum-free baking powder is essential for achieving that light, fluffy texture. Use ½ teaspoon to avoid any metallic aftertaste. Combine this with 1 tablespoon of salt for balanced seasoning.
Your liquid component can be 1½ cups of vegetable broth or water. This moisture helps bind the dough together. The right broth choice enhances the overall flavor profile.
Corn Husks and Healthy Oils
Corn husks are crucial for shaping your creations during steaming. Look for a package containing 16-18 nice, average-sized husks without dark spots. These natural wrappers impart authentic character.
When it comes to oils, safflower leads with only 1 gram of saturated fat per tablespoon. Olive oil offers distinct flavor and health benefits. You’ll need about ¾ cup of your chosen oil.
Canola, grapeseed, or coconut oil also work well depending on your preferences. Remember that you’re already making a better choice by using oil instead of traditional lard.
Preparing the Masa Dough and Flavorful Filling
Creating the perfect masa consistency and delicious filling transforms ordinary ingredients into extraordinary tamales. This stage brings together your prepared components into the heart of the dish.
Step-by-Step Masa Dough Preparation
Begin by pulsing 2½ cups of drained canned corn in your blender until partially pureed. Transfer this to a large mixing bowl where you’ll combine it with 2 cups of masa harina.
Add ½ cup of warm broth, 1 teaspoon each of baking powder and salt, plus your chosen oil. The vegan version uses ¾ cup of olive oil for rich flavor, while other options include coconut or safflower oil.
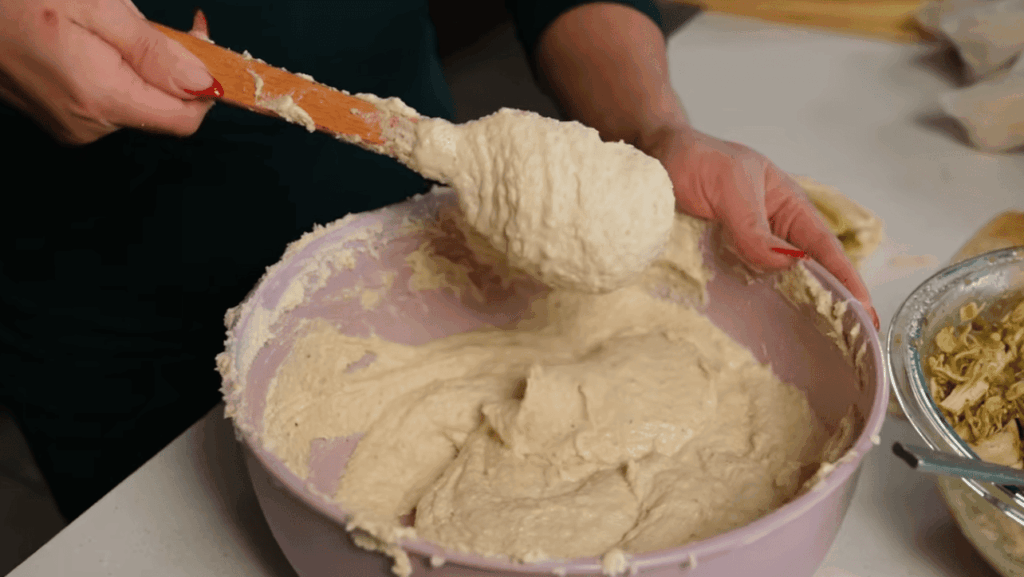
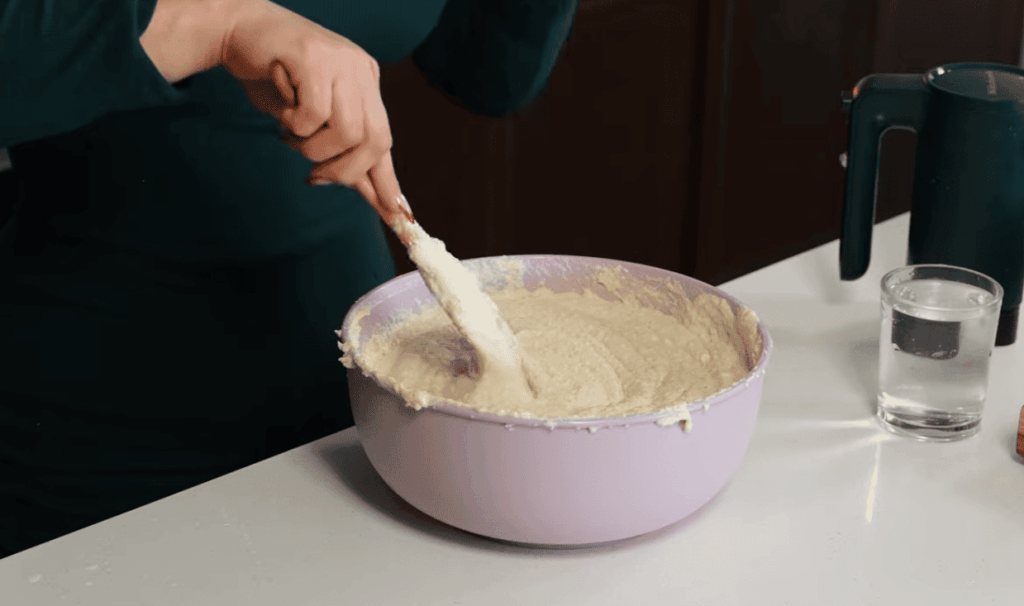
Mix everything by hand until the masa reaches a soft, creamy texture similar to hummus. The dough should spread easily but hold its shape when placed on corn husks.
Tips for Creating a Savory Chicken or Vegan Filling
For chicken filling, boil 1 pound of chicken until cooked through, then shred it with forks. Combine the shredded meat with 8 ounces of salsa verde and chopped pickled jalapeños for authentic flavor.
Vegetarian options offer wonderful versatility. Consider plant-based meat crumbles or a combination of black beans, sweet corn, and diced red bell peppers. Add goat cheese for extra creaminess if desired.
Remember that your filling should complement rather than overwhelm the masa. Adjust spice levels to your preference and experiment with different ingredient combinations based on what you have available.
Assembling and Rolling Your Tamales
The assembly stage is where your prepared ingredients transform into beautiful packages ready for steaming. This process might seem intricate at first, but it quickly becomes intuitive.
You’ll discover a satisfying rhythm as you work through each corn husk. The technique ensures every piece cooks evenly and holds its shape perfectly.
Techniques for Spreading Masa Evenly
Begin with dry, smooth corn husks facing upward. Hold the narrower end with your non-dominant hand for stability.
Use the back of a spoon to spread 3-4 tablespoons of masa dough. Create an oval shape about ¼ inch thick. Dip your spoon in water if the dough sticks to the utensil.
Leave about ½ inch clear space on each side of the husk. This prevents the filling from leaking during the folding process.
Place your filling in a neat line down the center of the masa. About 2 tablespoons creates the perfect balance without overwhelming the dough.
The folding technique is simpler than it appears. Bring one edge to meet the other vertically, then gently push to seal.
Roll the remaining husk to form a tight cylinder. Fold the bottom upward to create a secure package that won’t unfold during cooking.
| Husk Size | Masa Amount | Filling Quantity | Finished Length |
|---|---|---|---|
| Large (6-7 inches) | 4 tablespoons | 2.5 tablespoons | 5-6 inches |
| Medium (5-6 inches) | 3 tablespoons | 2 tablespoons | 4-5 inches |
| Small (4-5 inches) | 2 tablespoons | 1.5 tablespoons | 3-4 inches |
Position your completed creations seam-side down on your tray. This helps them maintain their shape while you finish assembling the batch.
Smaller husks can be torn into strips for tying if needed. Remember that practice improves your technique—even imperfect ones taste delicious!
Steaming Methods: Instant Pot and Stock Pot Techniques
The steam bath is where your carefully wrapped bundles achieve their signature soft yet firm consistency. Both modern and traditional approaches deliver excellent results.
Instant Pot: Efficiency and Moisture Retention
Pressure cooking offers incredible convenience for busy cooks. Add 1½ cups of water to your Instant Pot, just below the steamer basket.
Line the basket with extra corn husks before standing your creations upright. The 65-minute cook time under high pressure ensures thorough cooking.
After the pressure cycle, allow a full natural release. This method locks in moisture beautifully without constant monitoring.
Stovetop Steaming: Traditional Approach
Traditional stovetop steaming uses a tall stock pot with a steamer basket. Fill water to just below the basket’s bottom.
Arrange your packages standing up with folds at the bottom. Maintain a gentle simmer and check water levels every 10-15 minutes.
The cooking time typically ranges from 60-90 minutes. Test doneness by checking if the masa separates cleanly from the husk.
Both methods produce wonderful results. Choose based on your available equipment and preferred cooking style.
Creative Variations and Flavor Enhancements
The real magic of homemade tamales happens when you explore the world of fillings and toppings. This is where you can make each batch uniquely yours.
Exploring Different Fillings and Toppings
Chicken remains a popular choice for its versatility. Use shredded rotisserie chicken with either green or red salsa for quick preparation.
For heartier options, try pork or beef fillings. Shredded pork from tacos pairs wonderfully with salsa verde and cheese. Barbacoa beef with pickled jalapeños creates a spicy, satisfying version.
Vegetarian and vegan options offer exciting alternatives. Black beans with roasted peppers and goat cheese create incredible flavor. Plant-based crumbles work well for a meat-free version.
Don’t forget dessert possibilities! Fruit compotes or berry jams transform these treats into sweet delights. Serve with ice cream for a surprising finish.
Toppings elevate your tamale experience significantly. Try these creative ideas:
- Mix sour cream with salsa verde for a creamy sauce
- Crumbled cotija cheese adds authentic Mexican flavor
- Fresh avocado slices and lime wedges provide brightness
- Greek yogurt offers a lighter alternative to traditional crema
Complete your meal with traditional sides. Seasoned beans and Spanish rice complement the main dish perfectly. A fresh salad balances the rich flavors.
This foundation allows endless customization. Your personal touches with different fillings make each batch special.
Serving, Storing, and Leftover Tips
Once your tamales are perfectly steamed, knowing how to serve and preserve them ensures maximum enjoyment. Proper techniques make all the difference in flavor and freshness.
Delicious Serving Suggestions
Unwrap each corn husk at the table to release the wonderful aroma. Gently roll the tender masa onto your plate, being careful as it breaks easily.
Top your creation with colorful additions like Mexican crema, crumbled cotija cheese, or fresh avocado slices. Bright salsa and lime wedges add zesty flavor.
Serve with traditional sides for a complete meal. Black beans, saffron rice, or a fresh salad balance the rich flavors perfectly.
Best Practices for Refrigerating and Freezing Tamales
Allow your tamales to cool completely before storing. Always keep them in their corn husks for optimal moisture protection.
Refrigerate for up to three days. For longer storage, freezing is your best friend. You have several options:
- Freeze masa dough for future batches
- Freeze wrapped, uncooked tamales on parchment paper
- Freeze fully cooked tamales for quick reheating
Cook frozen tamales in 30 minutes using pressure cooking. This makes weeknight meals incredibly convenient.

Conclusion
You’ve just unlocked a simpler, more nutritious way to enjoy a classic dish. This approach proves that creating delicious tamales doesn’t require a full day in the kitchen.
By swapping traditional lard for lighter oils, you make a better choice without losing authentic flavor. Your masa dough stays moist and satisfying.
The small-batch version saves time, fitting perfectly into a regular week. Whether you use an Instant Pot or a classic steamer, the results are fantastic.
You can customize the center filling to match any taste. Best of all, you can freeze them for future easy meals.
This recipe shows that you don’t have to give up the foods you love. You can make tamales that are both tasty and better for you. Enjoy sharing your creation!