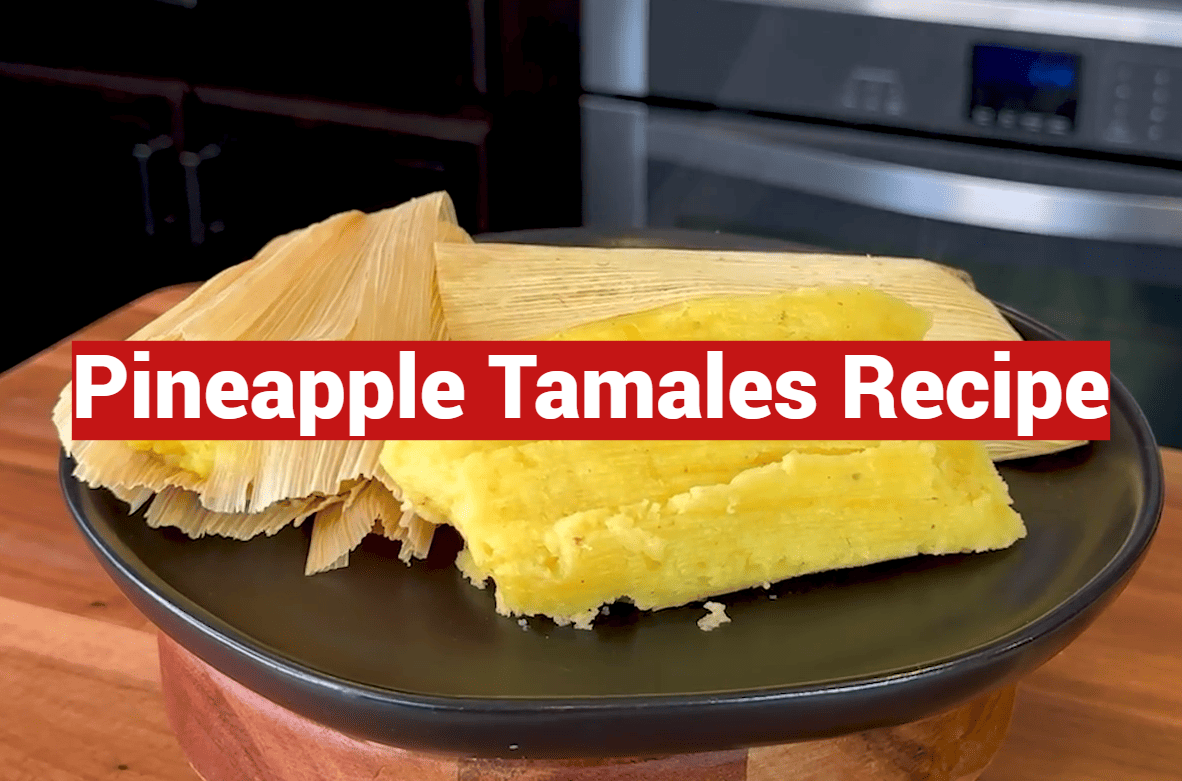
Did you know that in Mexico, over 5 billion tamales are consumed each year? While savory versions dominate the market, sweet variations like pineapple-filled ones hold a special place in family traditions and holiday celebrations.
Welcome to your complete guide for creating authentic sweet tamales at home. We’ll walk you through every step of making these delightful Mexican treats. They’re perfect for breakfast, snacks, or dessert occasions.
This beloved tradition offers a wonderful alternative to savory options. Families have enjoyed these sweet creations for generations during special gatherings. Our comprehensive guide will help you master the art of making fluffy, buttery masa filled with caramelized fruit.
Whether you’re an experienced cook or attempting your first batch, this friendly guide breaks down the process into manageable steps. You’ll discover how to achieve that perfect balance of sweetness and texture.
By the end, you’ll have the confidence to create beautiful sweet tamales that will impress your family and friends. Get ready to fill your kitchen with the irresistible aroma of warm masa and sweet fruit as you embark on this delicious culinary adventure.
Key Takeaways
- Learn to create authentic sweet tamales with a tropical fruit filling
- Master the perfect balance of fluffy masa and sweet caramelized fruit
- Follow step-by-step instructions suitable for all skill levels
- Discover techniques used in traditional Mexican bakeries
- Create impressive treats perfect for special occasions and gatherings
- Understand the cultural significance of this beloved dessert
- Achieve professional results with home kitchen equipment
Introduction to Sweet Pineapple Tamales
The art of making sweet tamales represents a cherished culinary tradition that blends corn masa with tropical fruits. These delightful creations offer a wonderful alternative to savory versions.
What Are Sweet Tamales?
Sweet tamales differ significantly from traditional savory ones. They incorporate fruit purees directly into the masa dough, creating a dessert-like experience.
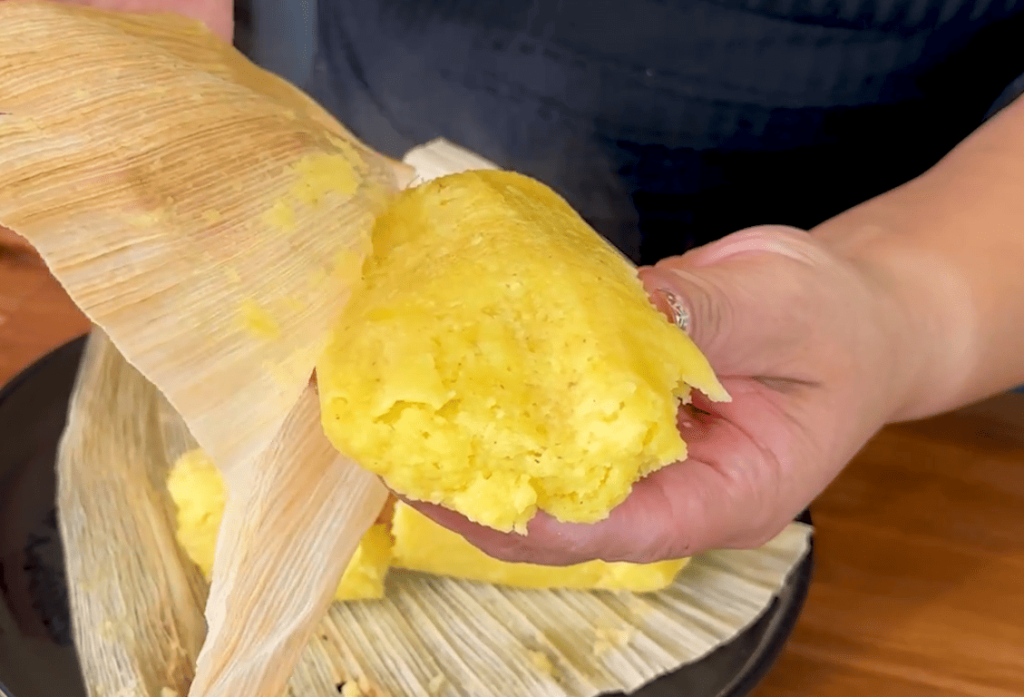
The foundation starts with masa made from nixtamalized corn flour. When combined with butter, sugar, and fruit, it transforms into a fluffy, cake-like texture.
Unlike savory versions with meat fillings, sweet variations mix fruit throughout the dough. This ensures every bite delivers tropical sweetness.
A Brief Cultural Background
Tamales de piña rank among the most popular sweet varieties in Mexico. You’ll find them at street food stalls across the country.
Families traditionally enjoy these treats for breakfast with champurrado or as an afternoon snack. They’ve become staples at celebrations and holiday gatherings.
The cultural significance extends beyond being just a sweet treat. They represent creativity and regional diversity within Mexican cuisine.
Key Ingredients and Essential Tools
The secret to fluffy, tender dessert masa lies in selecting quality ingredients and having the proper equipment ready. Getting these fundamentals right from the start makes the entire process smoother and more enjoyable.
Ingredients Highlight: From Masa Harina to Fresh Pineapple
Masa harina forms the foundation of your dough. This special corn flour gives authentic texture and flavor. Choose a reliable brand for consistent results.
Use room temperature unsalted butter for the best texture. Beating it with brown sugar creates air pockets that make your masa light. Fresh fruit brings vibrant flavor, though canned works in a pinch.
Brown sugar adds rich molasses notes that complement tropical flavors perfectly. Don’t forget fresh baking powder – it makes all the difference between flat and fluffy results.
Tools You’ll Need for a Successful Recipe
Your steamer pot is perhaps the most critical tool. Choose one large enough to hold a dozen creations standing upright. This prevents constant water refilling during cooking.
A stand mixer with paddle attachment makes incorporating ingredients easier. However, a large bowl and good old-fashioned effort work just fine too.
Essential helpers include measuring cups for accuracy, a blender for pureeing fruit, and a spatula for scraping bowls. Having everything organized before you start ensures success.
Preparing the Corn Husks and Pineapple Base
Before diving into the masa mixing process, you’ll need to prepare two essential components: flexible corn husks and concentrated fruit filling. These preparations ensure your final creations have the perfect texture and flavor balance.
Rehydrating and Sorting Corn Husks
Start by sorting through your dried corn husks. Look for the largest, most intact pieces that will be easiest to work with. Smaller or torn husks can be reserved for lining your steamer pot.
Place the selected husks in a large bowl and cover them with hot water. Let them rest for 15 to 20 minutes until they become soft and pliable. This prevents cracking or tearing when you fold them later.
For best results, bring a large pot of water to a rolling boil first. Remove it from heat, then add your corn husks. Use kitchen tongs to push them under the surface so every husk gets fully saturated.
Caramelizing and Blending the Pineapple
While your corn husks soak, begin caramelizing your fruit. This process concentrates the natural sugars and intensifies the tropical flavor throughout your masa.
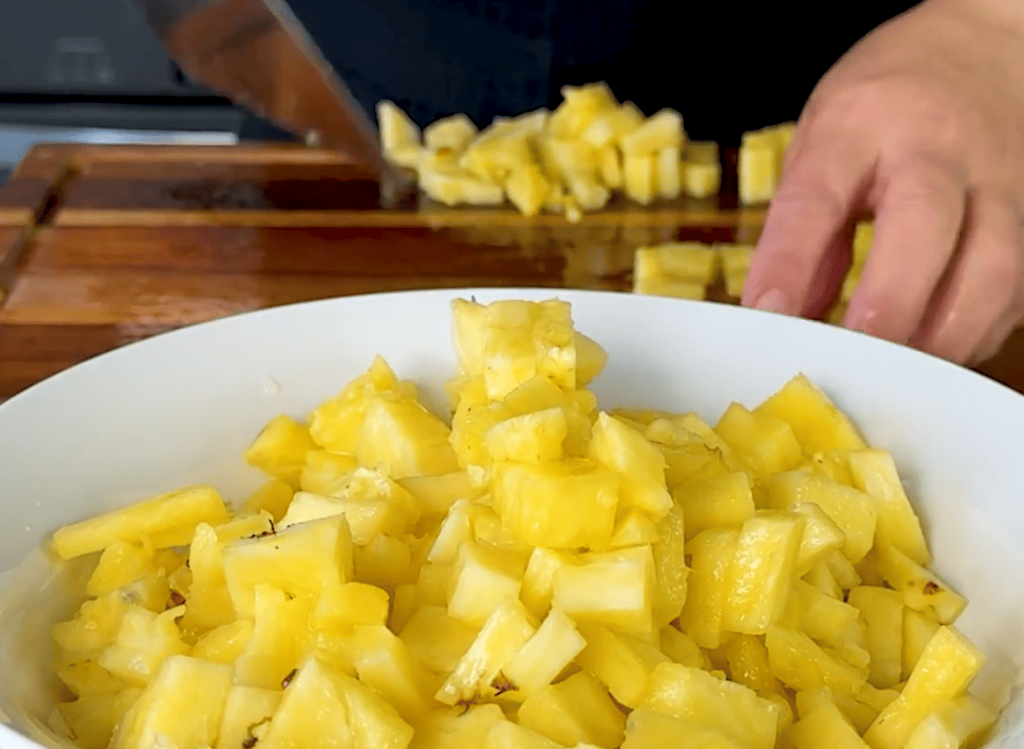
Cook three-quarters of your chopped fruit over low heat for about an hour. Stir frequently to prevent burning. Wait until all moisture evaporates and the fruit turns golden and sticky.
Once cooled slightly, transfer the caramelized fruit to a blender. Pulse it into small, concentrated pieces that will distribute evenly. Set aside the remaining fresh chunks to fold into the masa later for texture contrast.
After soaking, drain the hot water from your corn husks. Pat them dry with a kitchen towel and keep them covered with a damp cloth until assembly to prevent drying out.
Crafting the Masa Dough
Achieving light, fluffy tamales starts with proper technique when combining your ingredients. This stage transforms simple components into a magical foundation.
Mixing Dry Ingredients and Leavening Agents
Begin by fitting your stand mixer with the paddle attachment. Add brown sugar and butter, then beat on medium speed for 3-4 minutes. The mixture should become pale and fluffy.
In a separate bowl, whisk together masa harina, baking powder, and salt. Professional bakers emphasize precision in this step.
“The alternating method of adding dry and wet ingredients creates the ideal texture by gradually building structure while maintaining moisture.”
Use a food scale for accurate measurements. Many home cooks pack too much masa harina into cups, resulting in dense results. Alternate between adding the dry mixture and pineapple puree until you achieve a smooth, soft dough.
| Measurement Method | Accuracy | Resulting Texture | Recommended For |
|---|---|---|---|
| Food Scale | High Precision | Light & Fluffy | Professional Results |
| Measuring Cups | Moderate | Variable | Casual Baking |
| Eyeballing | Low | Often Dense | Experienced Cooks Only |
The finished dough should feel slightly tacky. If too dry, add a tablespoon of pineapple juice. If too wet, incorporate more masa harina.
Cover the bowl with plastic wrap and let the dough rest for 20 minutes. This allows the masa harina to fully hydrate, improving both texture and flavor.
Step-by-Step Pineapple Tamales Assembly
The assembly stage transforms your prepared ingredients into beautiful, traditional packages ready for steaming. This hands-on process requires attention to detail for perfect results.
Placing and Spreading the Dough on Corn Husks
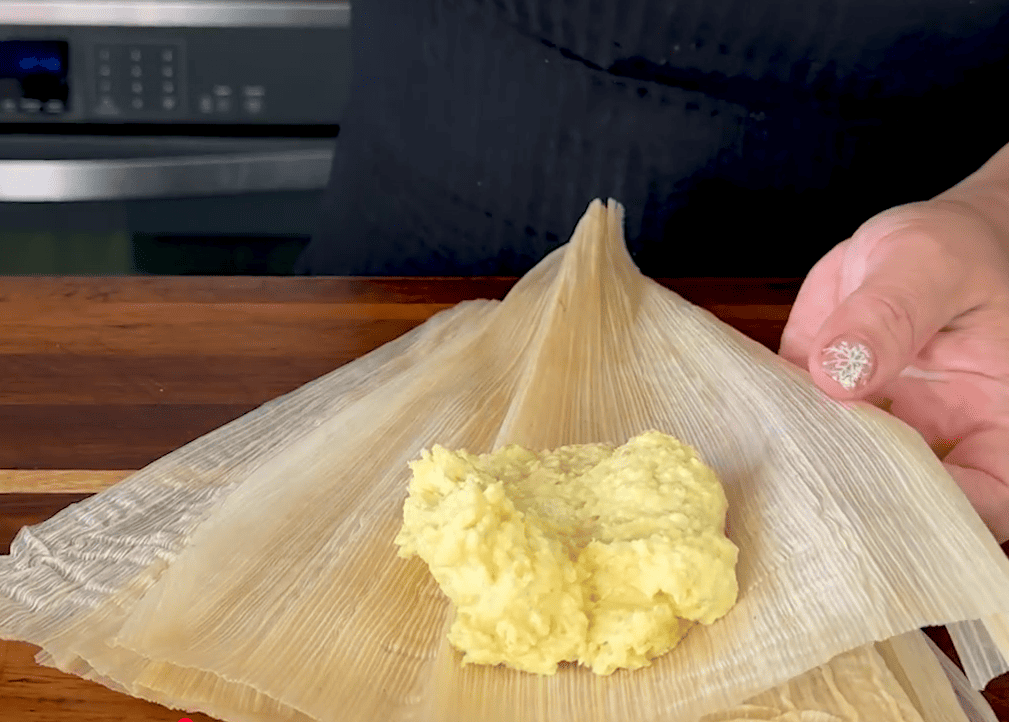
Hold a softened corn husk in your palm with the wide end facing you. Add about a heaping third cup of dough to the center. Leave one inch of empty space on all sides except the bottom.
This spacing gives the masa room to expand during cooking. Spread the mixture into a cylindrical shape rather than flat. This ensures even cooking and professional appearance.
Folding Techniques for a Perfect Wrap
Bring the right edge of the husk over the dough toward the left side. Then fold the left side over to create a secure tube. The bottom flap folds upward while leaving the top open.
This open top allows steam to penetrate during cooking. Some cooks use thin strips from extra husks to tie the bottom fold. This step is optional if your corn wrappers are pliable enough.
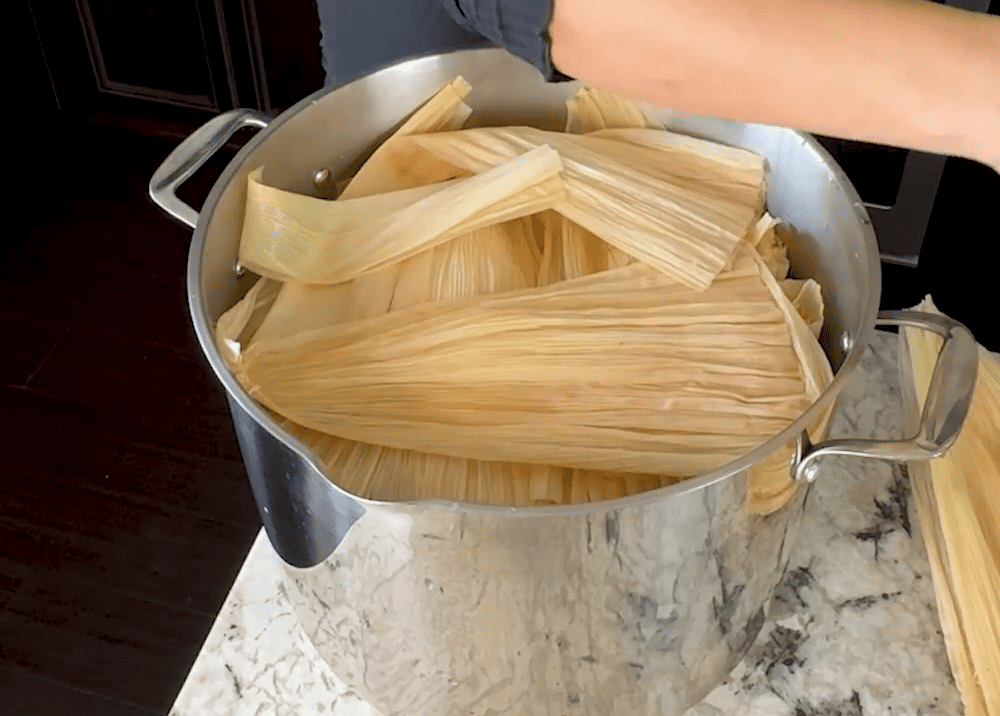
Arrange your finished tamales upright in the steamer with open ends facing up. Lean them against each other for support without overcrowding. Proper spacing ensures steam circulates evenly around each package.
Steaming for Perfectly Soft Tamales
Proper steaming technique separates good results from truly exceptional ones. This gentle cooking method ensures your creations achieve that signature fluffy texture everyone loves.
Setting Up Your Steamer Pot
Begin by adding 1½ quarts of water to your steamer pot. The water level should sit just below the basket. Bring it to a rolling boil over medium-high heat.
This typically takes 10 to 15 minutes. Arrange your assembled packages standing upright in the basket. Lean them against each other for support.
Monitoring Water Levels and Cooking Times
Reduce heat to medium-low once boiling. Maintain a steady steam for 1 hour 35 minutes to 1 hour 45 minutes. Set a timer to check water levels at the one-hour mark.
Replenish with hot water as needed. If the pot runs dry, the bottom can burn. This ruins both your pot and your hard work.
| Steaming Method | Water Amount | Cooking Time | Key Consideration |
|---|---|---|---|
| Standard Steamer Pot | 1.5 quarts | 1h 35m-1h 45m | Check water hourly |
| Large Stock Pot | Just below basket | About 1 hour | Frequent water checks |
| Electric Steamer | As manufacturer directs | Follow device settings | Automatic shut-off safety |
| Traditional Tamalera | 2 quarts | 1h 40m average | Built-in water well |
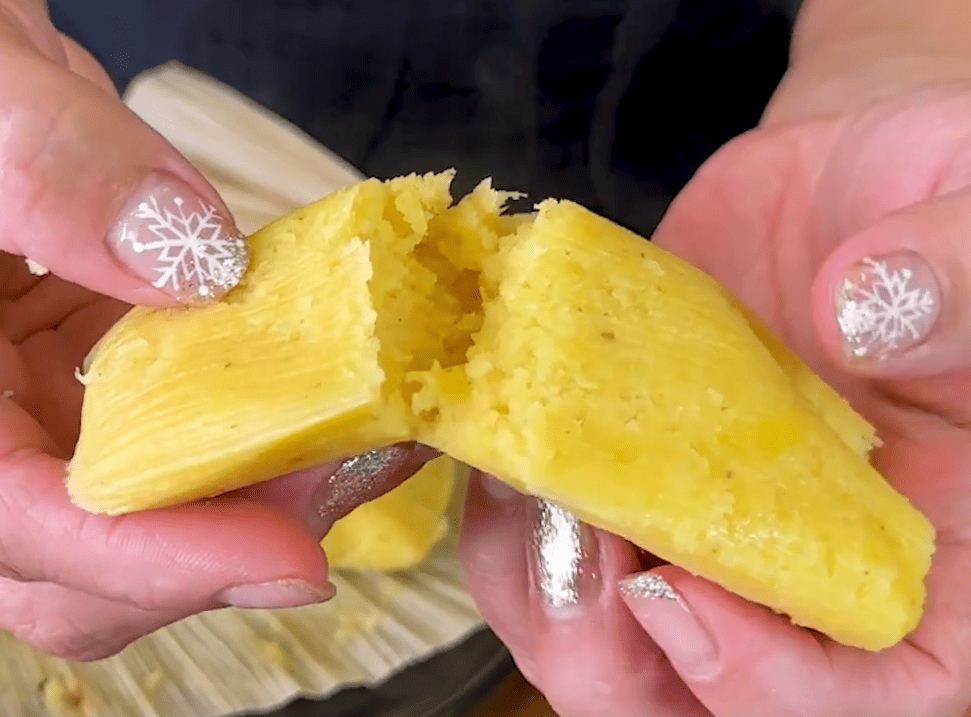
Testing doneness requires patience. At the 1 hour 25-minute mark, remove one piece and let it cool for 8-10 minutes. Check the center for raw spots.
If needed, continue steaming for another 10-20 minutes. Once done, remove them to a platter and cover with foil. Let them rest for about 10 minutes to finish setting.
Serving Suggestions and Sweet Variations
Once your dessert packages are perfectly steamed, it’s time to explore the many ways to enjoy them throughout the day. These sweet creations offer incredible flexibility for different meal occasions and personal preferences.
Enjoying Tamales as Breakfast, Snack, or Dessert
Your homemade treats shine at any time of day. Serve them warm for breakfast with traditional Mexican champurrado or atole. They make a perfect afternoon snack with coffee or tea.
For a special dessert presentation, unwrap them and drizzle with cajeta or sweetened condensed milk. The creamy sweetness complements the tropical fruit flavors beautifully.
Optional Toppings: Coconut Sauce and Toasted Coconut
Transform your creations into piña colada-inspired delights with homemade coconut sauce. Combine cream of coconut, sugar, vanilla, and cornstarch in a saucepan. Whisk until smooth and simmer until thickened.
Toast half a cup of sweetened shredded coconut in a dry pan over low heat. Stir constantly until golden and fragrant. Sprinkle generously over your sauced treats for incredible texture.
| Serving Occasion | Recommended Beverage | Topping Suggestions | Preparation Time |
|---|---|---|---|
| Breakfast | Champurrado or Atole | Light drizzle of cajeta | 5 minutes warming |
| Afternoon Snack | Coffee or Mexican Hot Chocolate | Toasted coconut only | 2-3 minutes microwaving |
| Dessert | Dessert Wine or Tea | Full coconut sauce treatment | 10 minutes sauce preparation |
| Special Occasion | Sparkling Beverage | Caramel and coconut combo | 15 minutes full presentation |
Store your remaining treats in their husks inside an airtight container. They keep well in the refrigerator for up to four days. For longer storage, wrap individually and freeze for up to three months.
Reheating is simple using your steamer or microwave. Add a splash of pineapple juice when reheating to maintain moisture. This recipe offers endless customization options for your favorite food.
Conclusion
The satisfaction of creating homemade sweet treats from scratch is a reward that extends far beyond the kitchen. You now have all the knowledge you’ll need to make these delightful Mexican desserts whenever the craving strikes.
Breaking the process into manageable steps makes this recipe accessible for cooks of all levels. The beauty lies in its versatility—enjoy them plain or customize with your favorite additions.
Remember that practice builds confidence with each batch you create. Sharing these traditional creations with loved ones creates lasting memories around your table.
Keep these important notes for future batches: proper storage in an airtight container keeps them fresh, and freezer storage extends their life. You’ll need to allow adequate room in your steamer for perfect results.
Now that you’ve mastered the fundamentals, you’re ready to explore other corn-based dough variations. Continue your journey into the wonderful world of Mexican culinary traditions.